
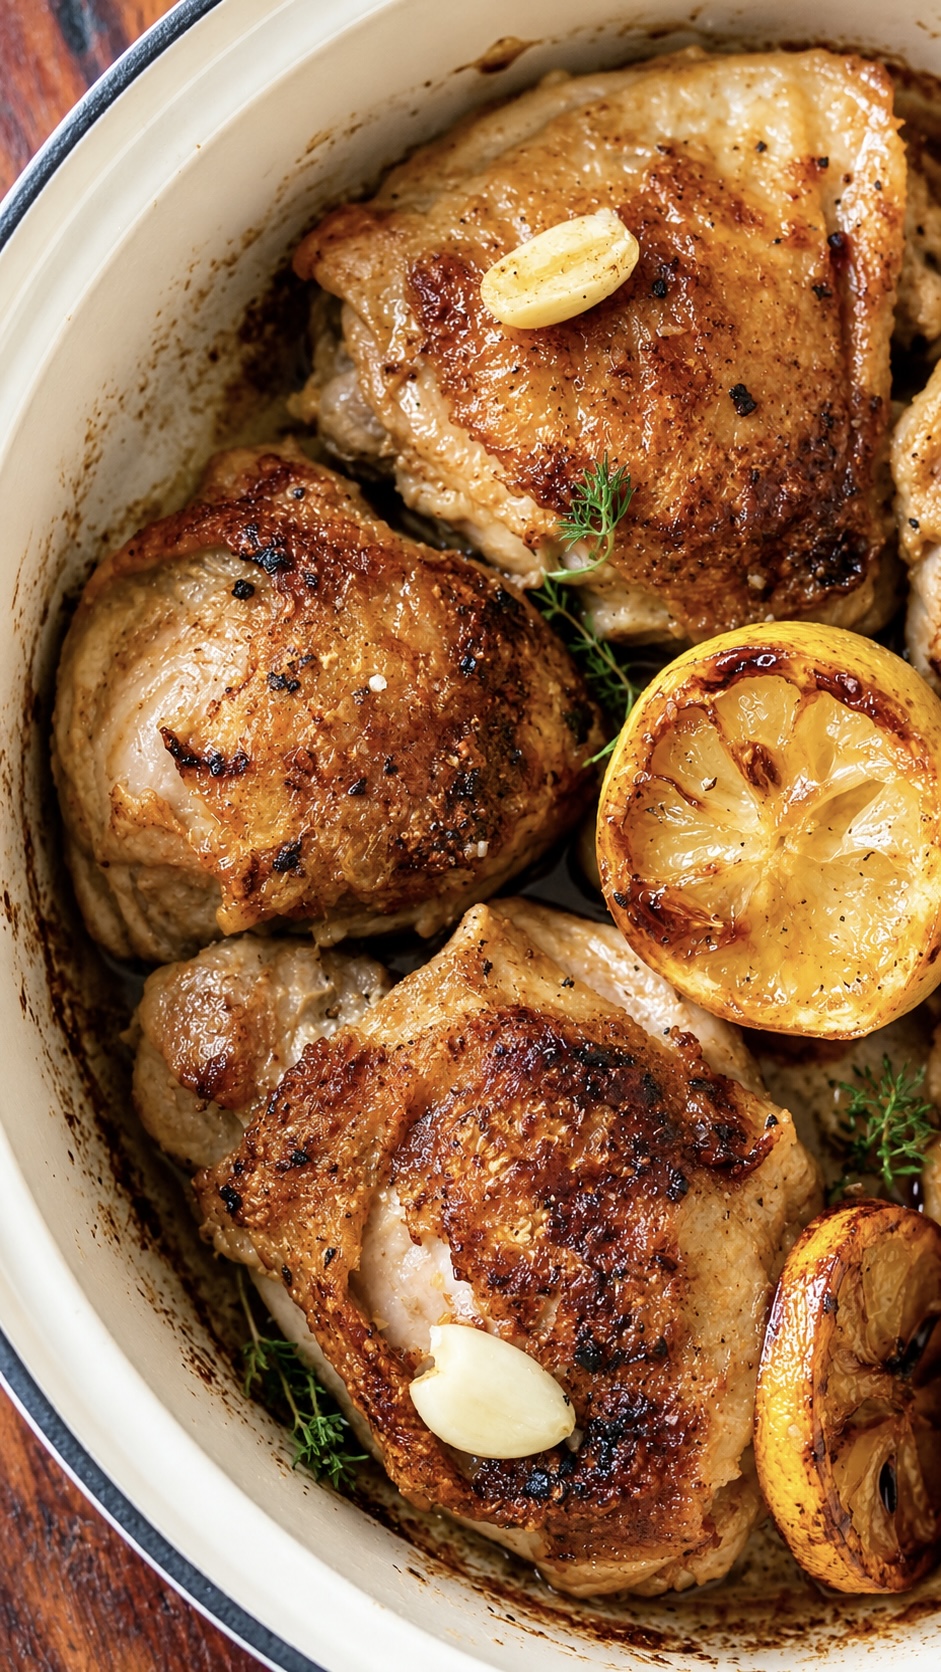
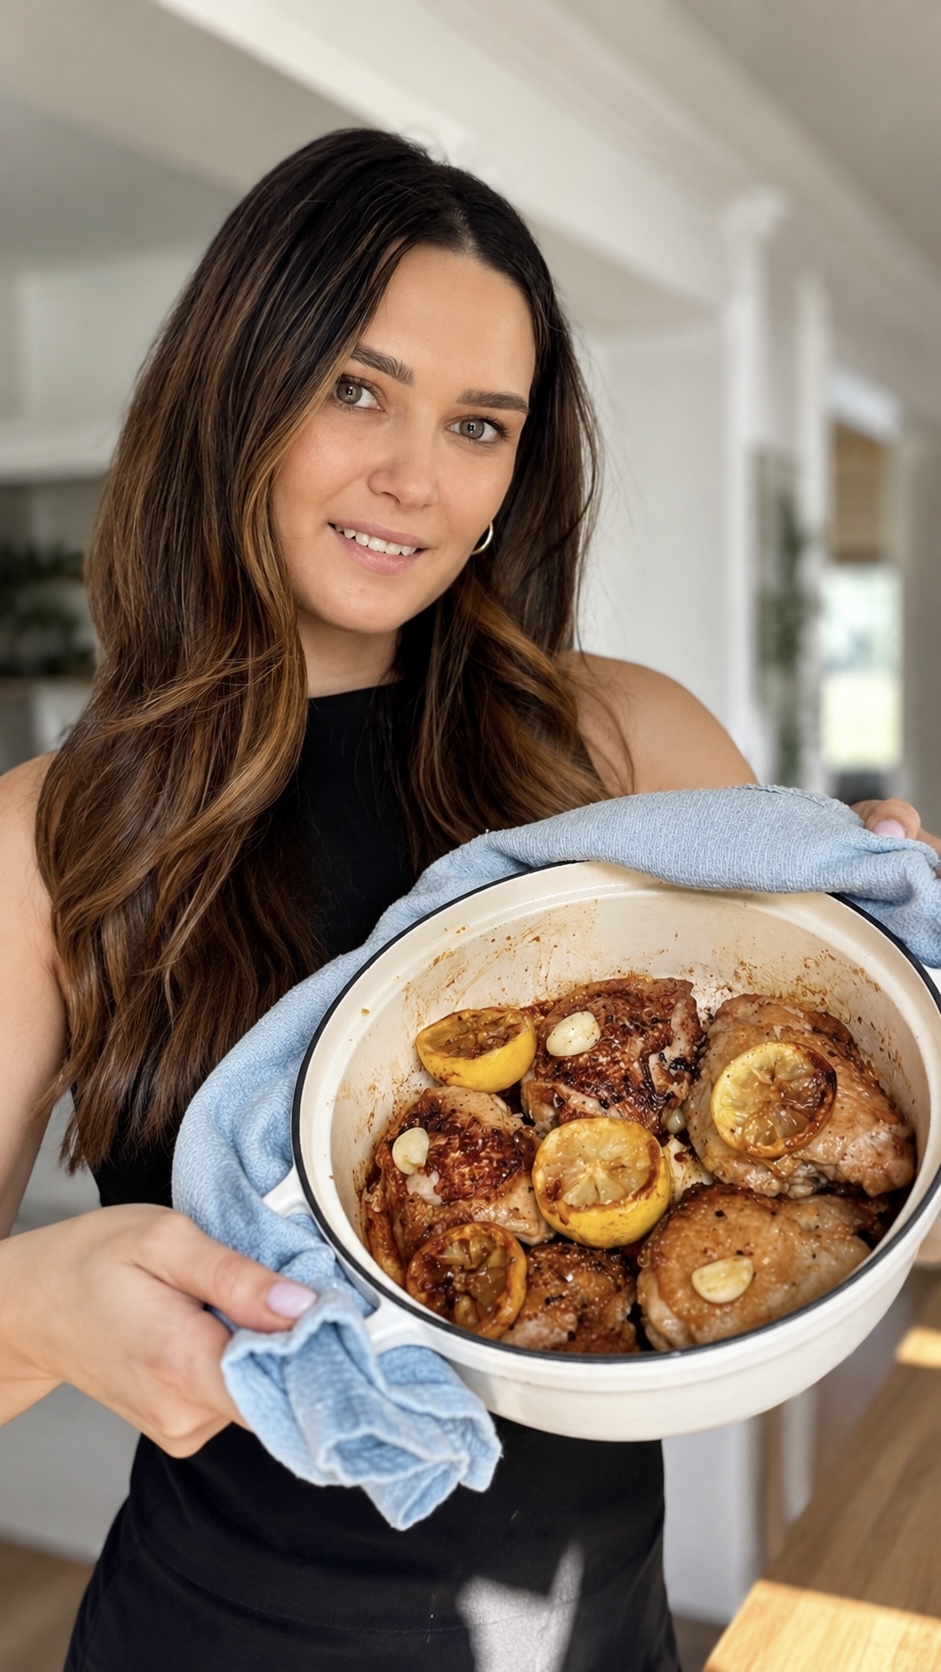
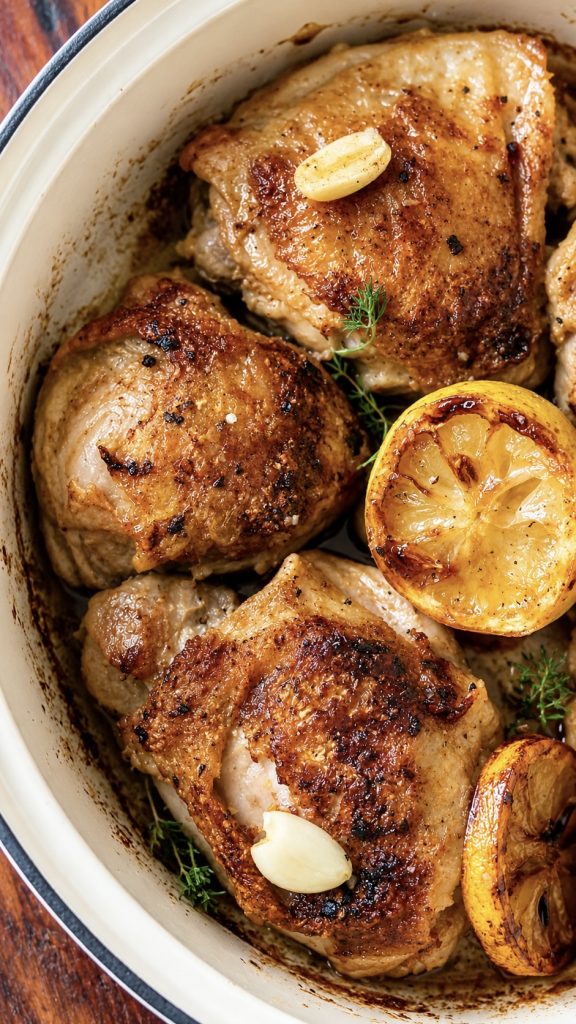
Crispy Lemon Garlic Chicken Thighs
Crispy Lemon Garlic Chicken Thighs with buttery garlic pan sauce and smoky charred lemons. This easy restaurant-style chicken recipe delivers ultra crispy skin and juicy meat without overnight marinating. Perfect for weeknight dinners, dinner parties, or a cozy comfort food meal at home.

Why Baking Powder Makes Chicken Skin Crispy
Baking powder helps break down proteins in the skin and pulls moisture outward, creating tiny bubbles that crisp beautifully during cooking. This creates that signature crackly restaurant-style crust.
You may also like :
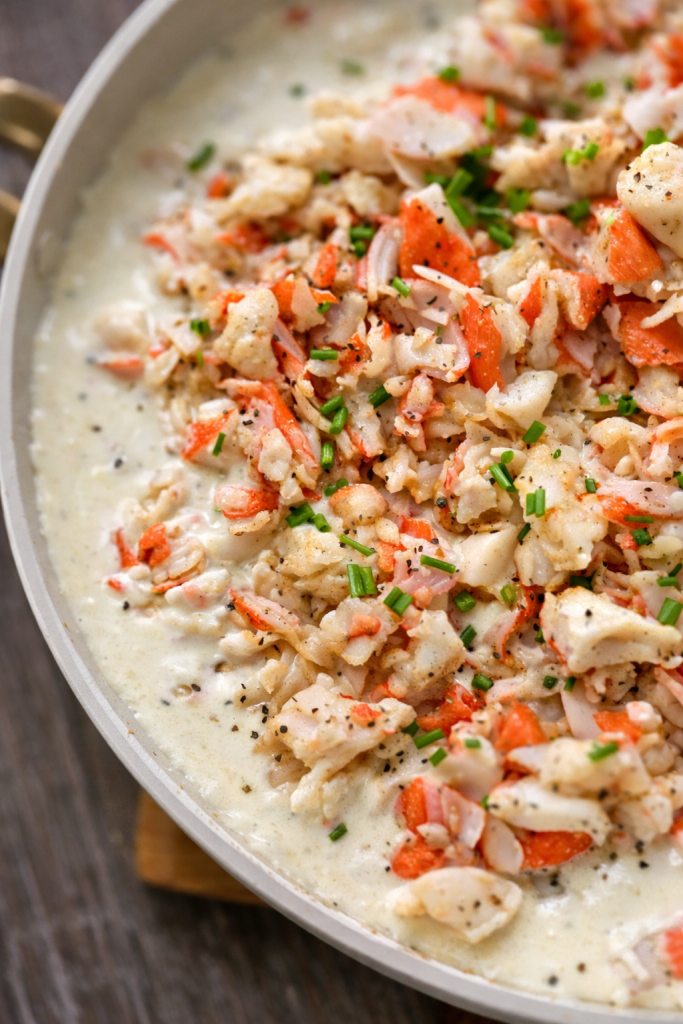
Creamy Garlic Parmesan Chicken Thighs (one pan)
Juicy Chopped Chicken Fritters
Helpful Tips for Crispy Lemon Garlic Chicken Thighs
- Dry skin = crispy skin
- Use medium heat, not high
- Don’t overcrowd the pan
- Let the chicken rest 5 minutes before serving
- Fresh lemon zest makes a huge difference
Why You’ll Love This Recipe
- Ultra crispy golden skin with juicy meat inside
- No overnight marinade needed
- Made with simple pantry ingredients
- Restaurant-quality flavor at home
- Rich garlic butter sauce with smoky lemon flavor
- Perfect for Pinterest-worthy dinner photos
- Family-friendly and naturally low carb
| Time | |
| Prep Time | 15 minutes |
| Resting Time | 20–30 minutes |
| Cook Time | 20 minutes |
| Total Time | About 45 minutes |
YOU MAY ALSO LIKE:
Kitchen Tools
- Cast iron skillet or Dutch oven
- Tongs
- Small mixing bowl
- Spoon for basting
- Paper towels
- Heavy burger press or small heavy pan
- Microplane for lemon zest
Ingredients for Crispy Lemon Garlic Chicken Thighs
Chicken
- 8 bone-in, skin-on chicken thighs
- 2 tsp salt
- 1 tsp smoked paprika
- 1 tsp garlic powder
- 1 tsp onion powder
- 1 tsp baking powder
- 1 tbsp olive oil
Garlic Lemon Butter
- 3 tbsp unsalted butter
- 8 garlic cloves
- 2 lemons
- Red pepper flakes, optional
for Serving
- Lemon zest
- Flaky salt
- Microgreens or fresh basil
How to Make Crispy Lemon Garlic Chicken Thighs
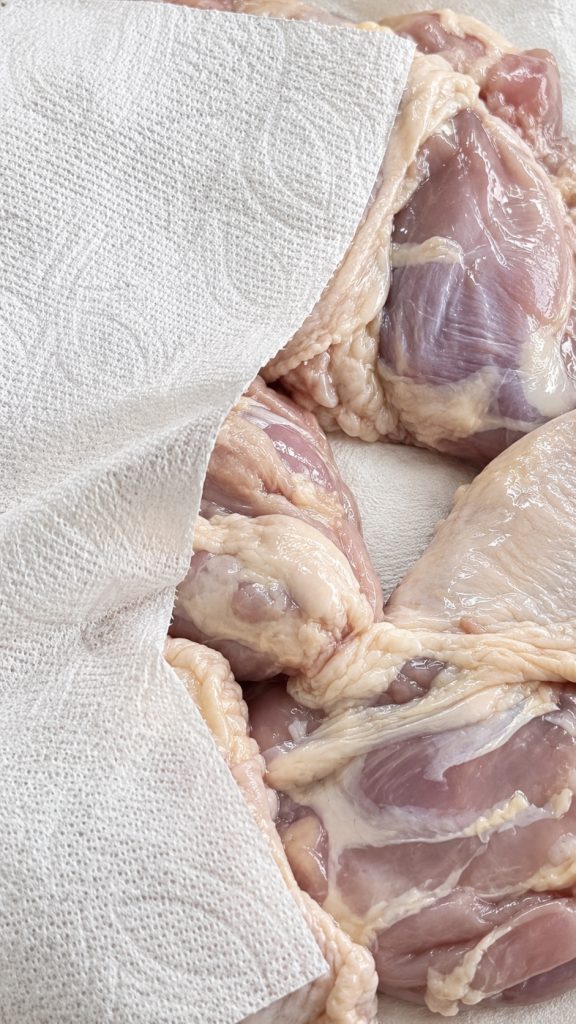
Step 1: Pat the Chicken Dry
Use paper towels to dry the chicken extremely well on all sides. Moisture creates steam, which prevents crispy skin.
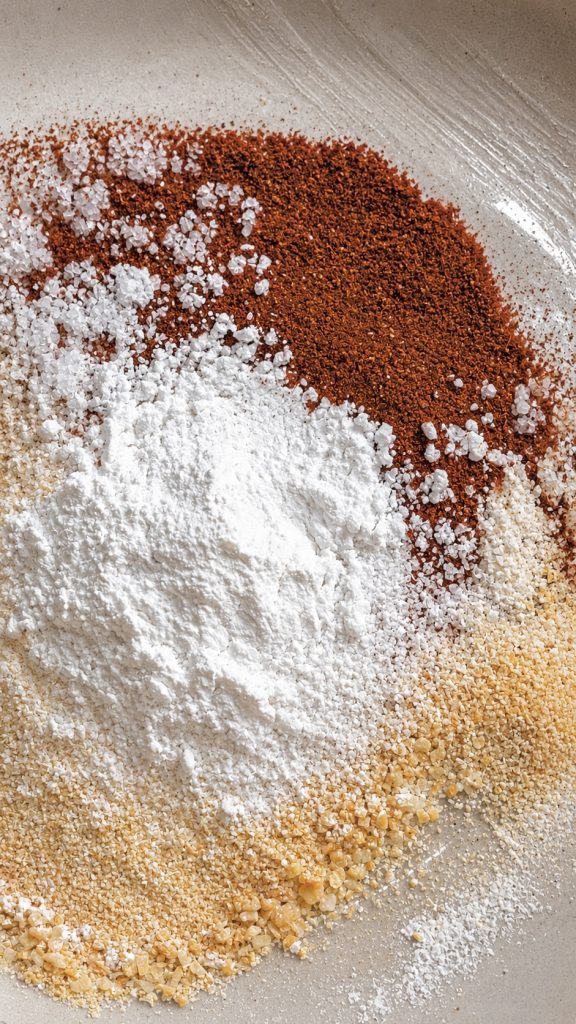
Step 2: Make the Crispy Seasoning
In a small bowl, combine:
- Salt
- Smoked paprika
- Garlic powder
- Onion powder
- Baking powder
Mix well.
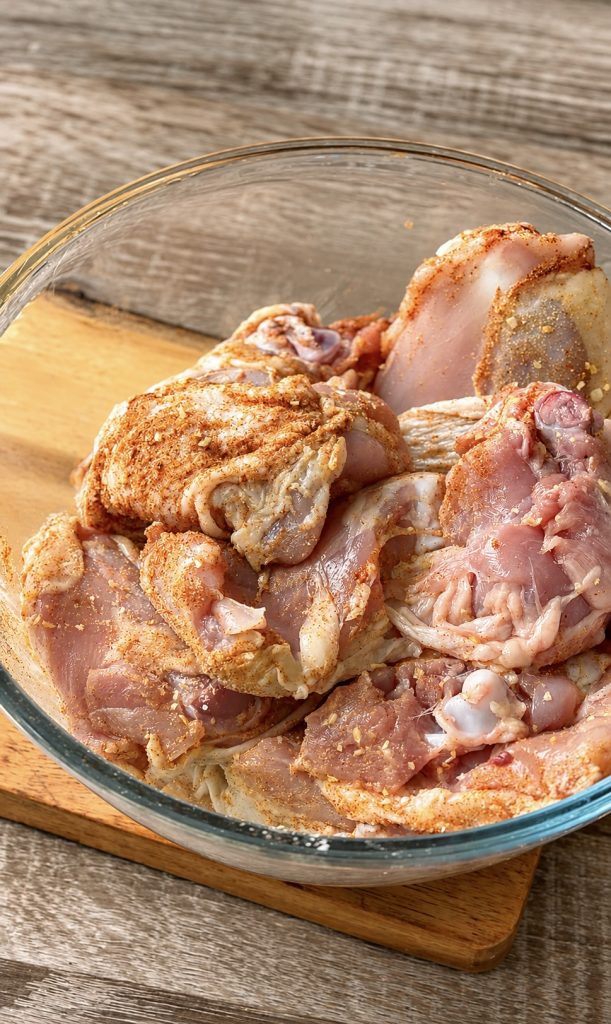
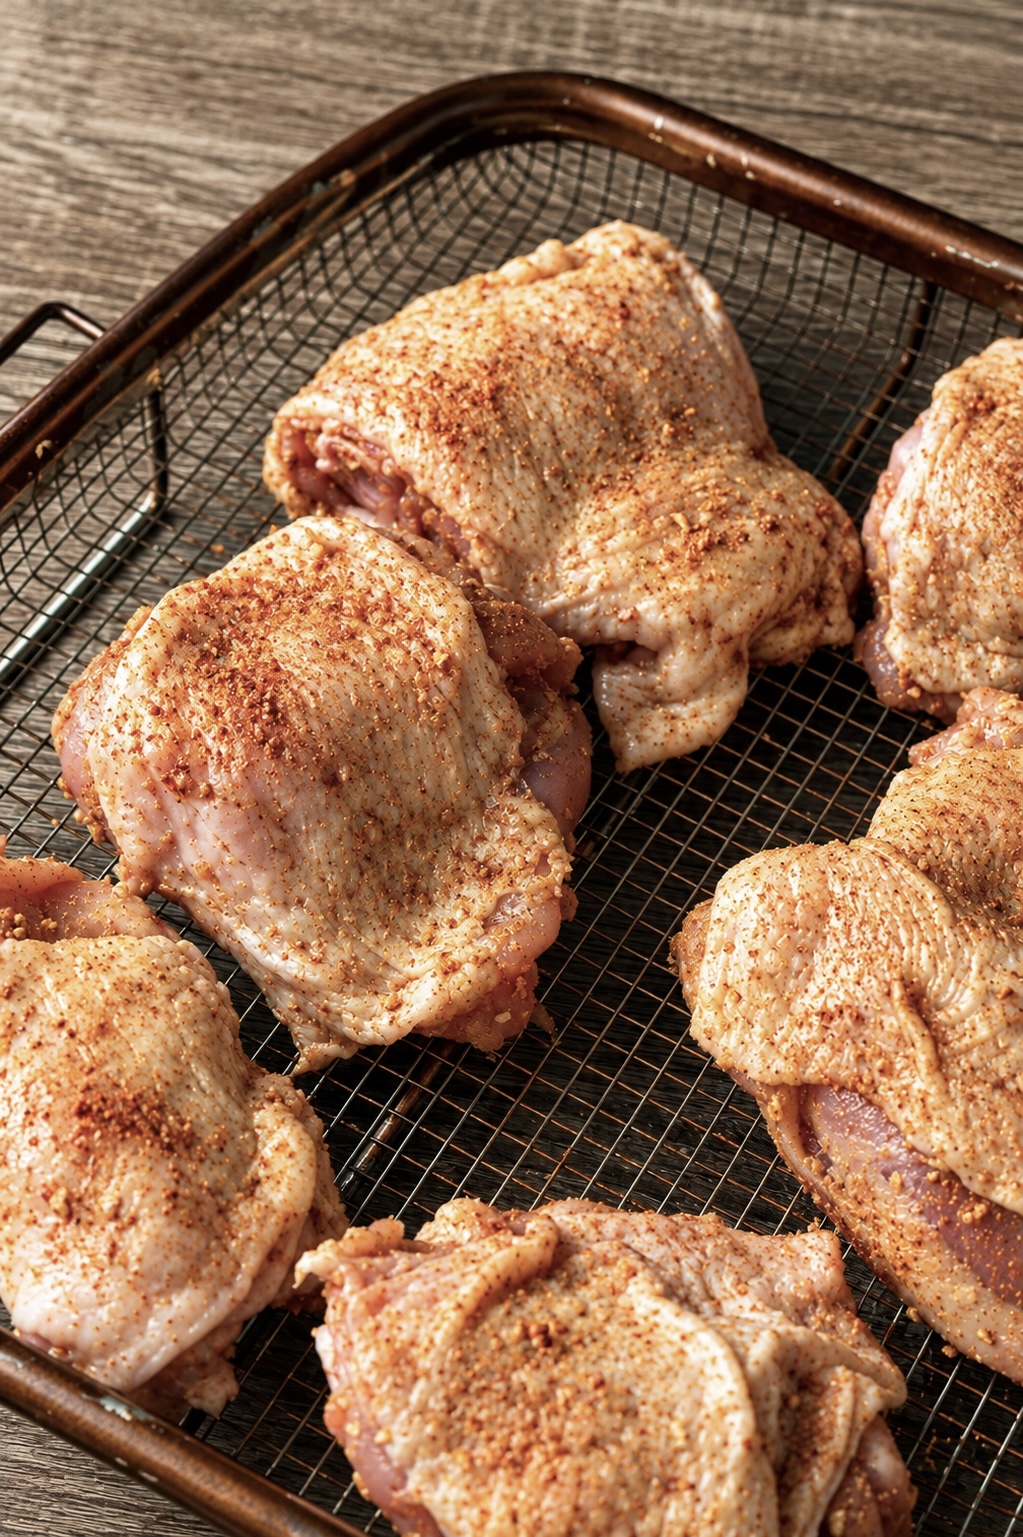
Step 3: Season the Chicken
Rub the chicken lightly with olive oil, then coat evenly with the seasoning mixture.
Step 4: The Air-Dry Trick
Place the chicken uncovered on a plate or rack for 20–30 minutes.
This helps the skin dry even further for maximum crispiness.
Fast Restaurant Trick
If you’re short on time, use a hair dryer on the COOL setting for 60 seconds to dry the surface faster.
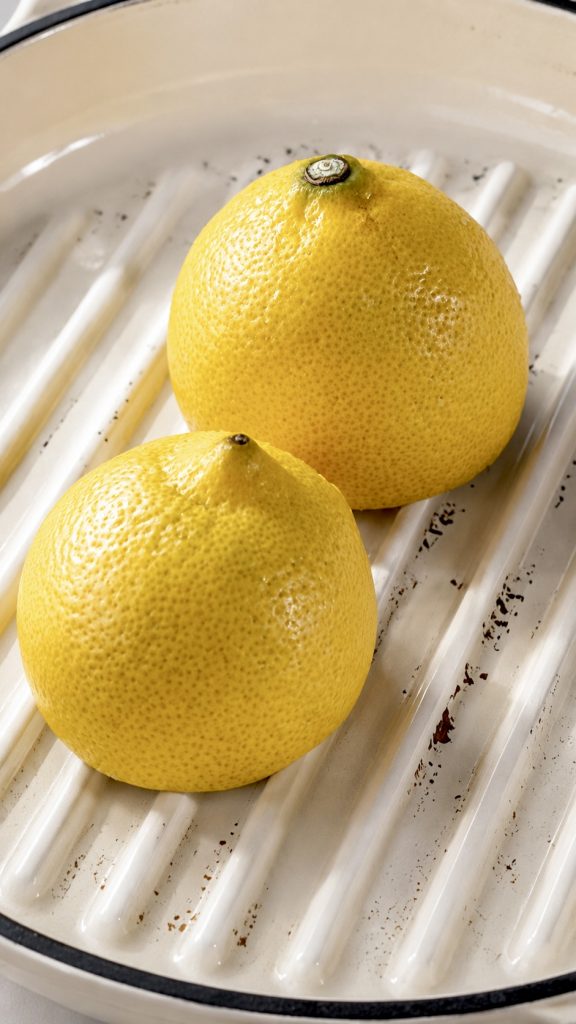
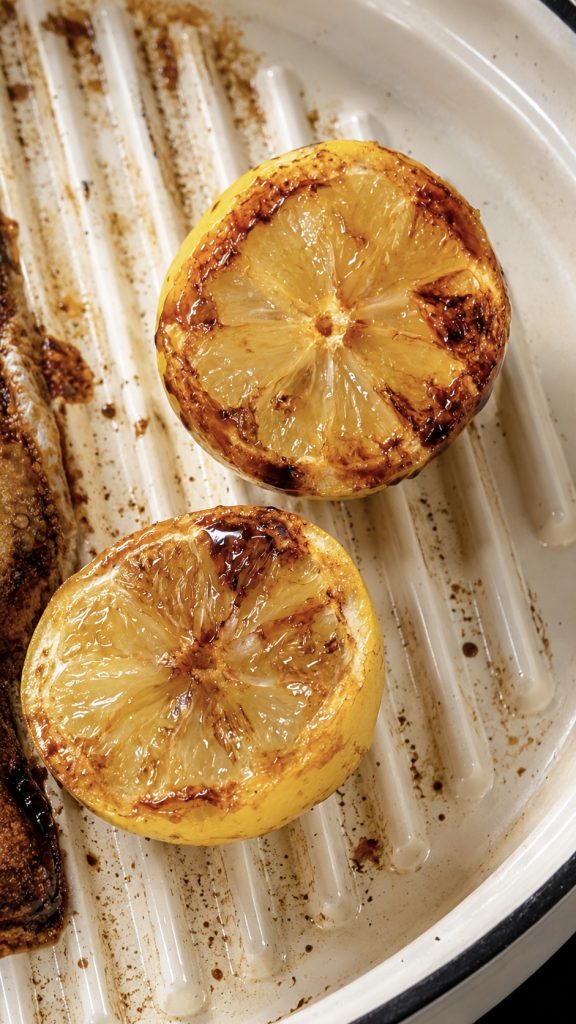
Step 5: Char the Lemons
Dip the cut side of each lemon half into a tiny pinch of sugar.
Sear face-down in a dry hot skillet for 2–3 minutes until caramelized and deep golden.
Step 6: Start in a Cold Pan
Place the chicken skin-side down into a cold cast iron skillet or Dutch oven.
Then turn the heat to medium.
This slowly renders the fat and creates an incredibly crispy crust without burning the skin.
Step 7: Don’t Touch It
Cook undisturbed for 8–10 minutes.
If the chicken sticks, it is not ready yet.
Once the skin naturally releases and turns deep golden brown, flip and cook another 5–7 minutes.
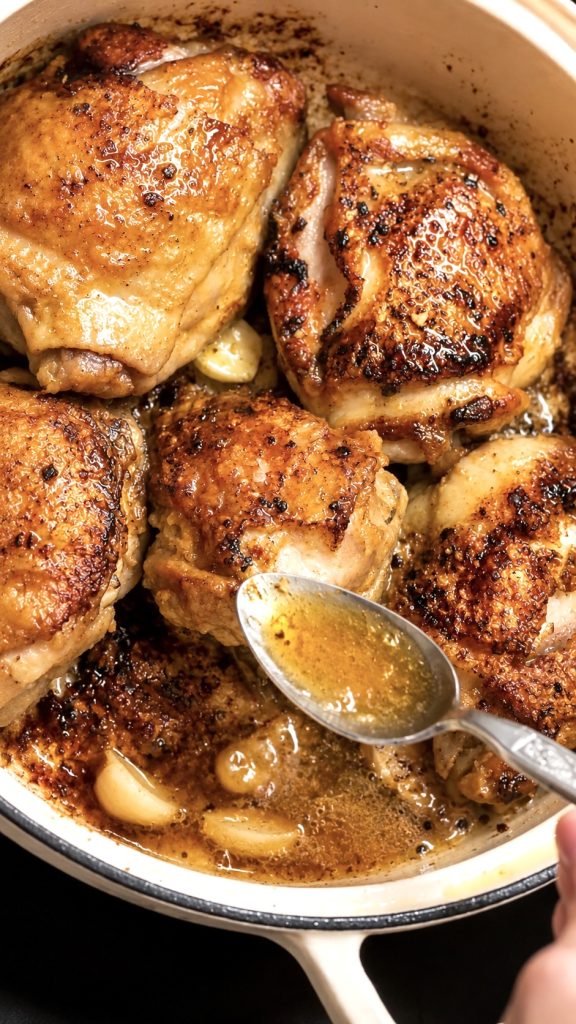
Step 8: Garlic Butter Baste
Lower the heat and add:
- Butter
- Garlic cloves
- Red pepper flakes
Spoon the hot butter continuously over the chicken.
This creates an ultra glossy finish and keeps the chicken juicy.
Step 10: Finish with Charred Lemon
Only at the very end, squeeze the charred lemon juice over the chicken.
Adding lemon too early softens the crispy skin.
Finish with:
- Lemon zest
- Flaky salt
- Fresh herbs
- Black pepper
Restaurant Style Serving Ideas
Serve the chicken over:
- Creamy mashed potatoes
- Crispy smashed potatoes
- Burrata or whipped feta
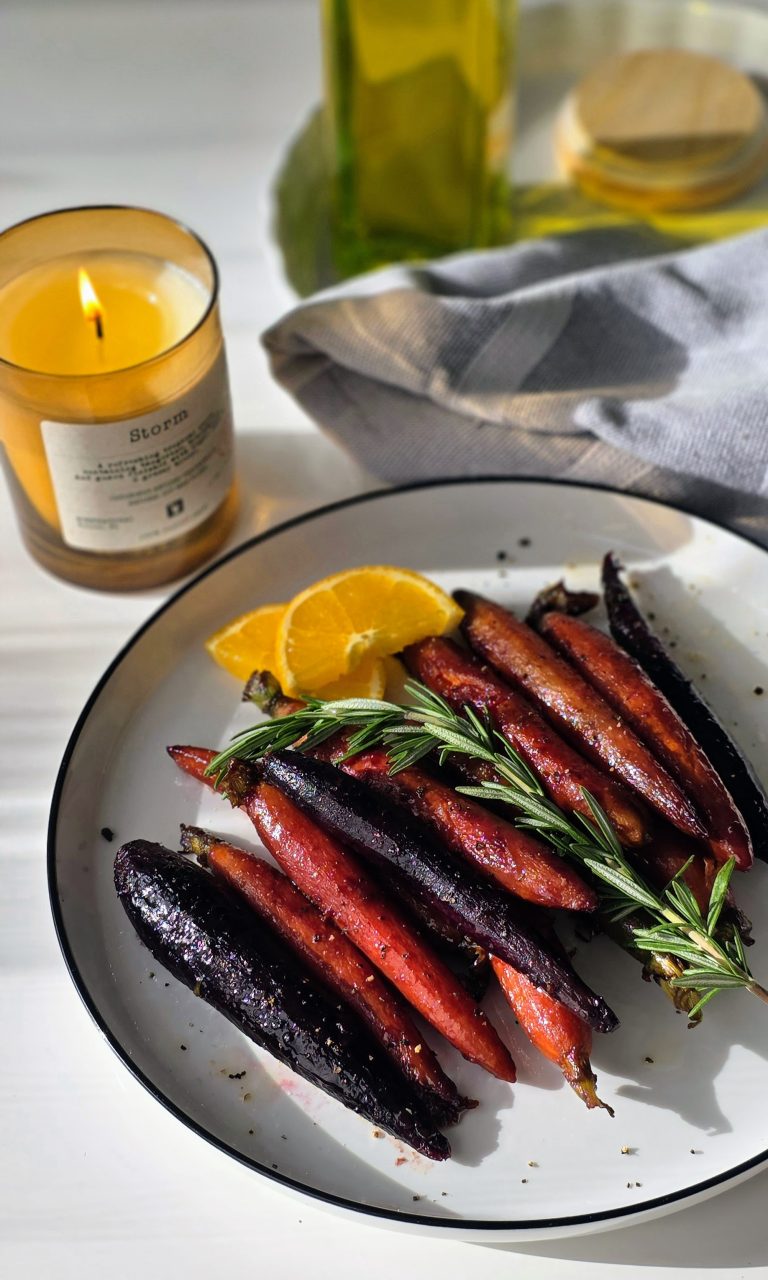
- Roasted asparagus
- Grilled sourdough bread
For a modern bistro look:
- Swipe herb oil across the plate
- Stack the chicken slightly
- Add charred lemons and roasted garlic around the dish
- Finish with microgreens
Common Mistakes to Avoid
Starting with a Hot Pan
The skin burns before the fat renders.
Flipping Too Early
The skin tears and sticks.
Crowding the Pan
Chicken steams instead of crisps.
Adding Lemon Too Soon
Acid softens the crispy skin.
Storage and Reheating
Store leftovers in an airtight container for up to 4 days.
To reheat:
- Air fryer: 375°F for 4–5 minutes
- Oven: 400°F for 8–10 minutes
Avoid microwaving if you want to keep the skin crispy.
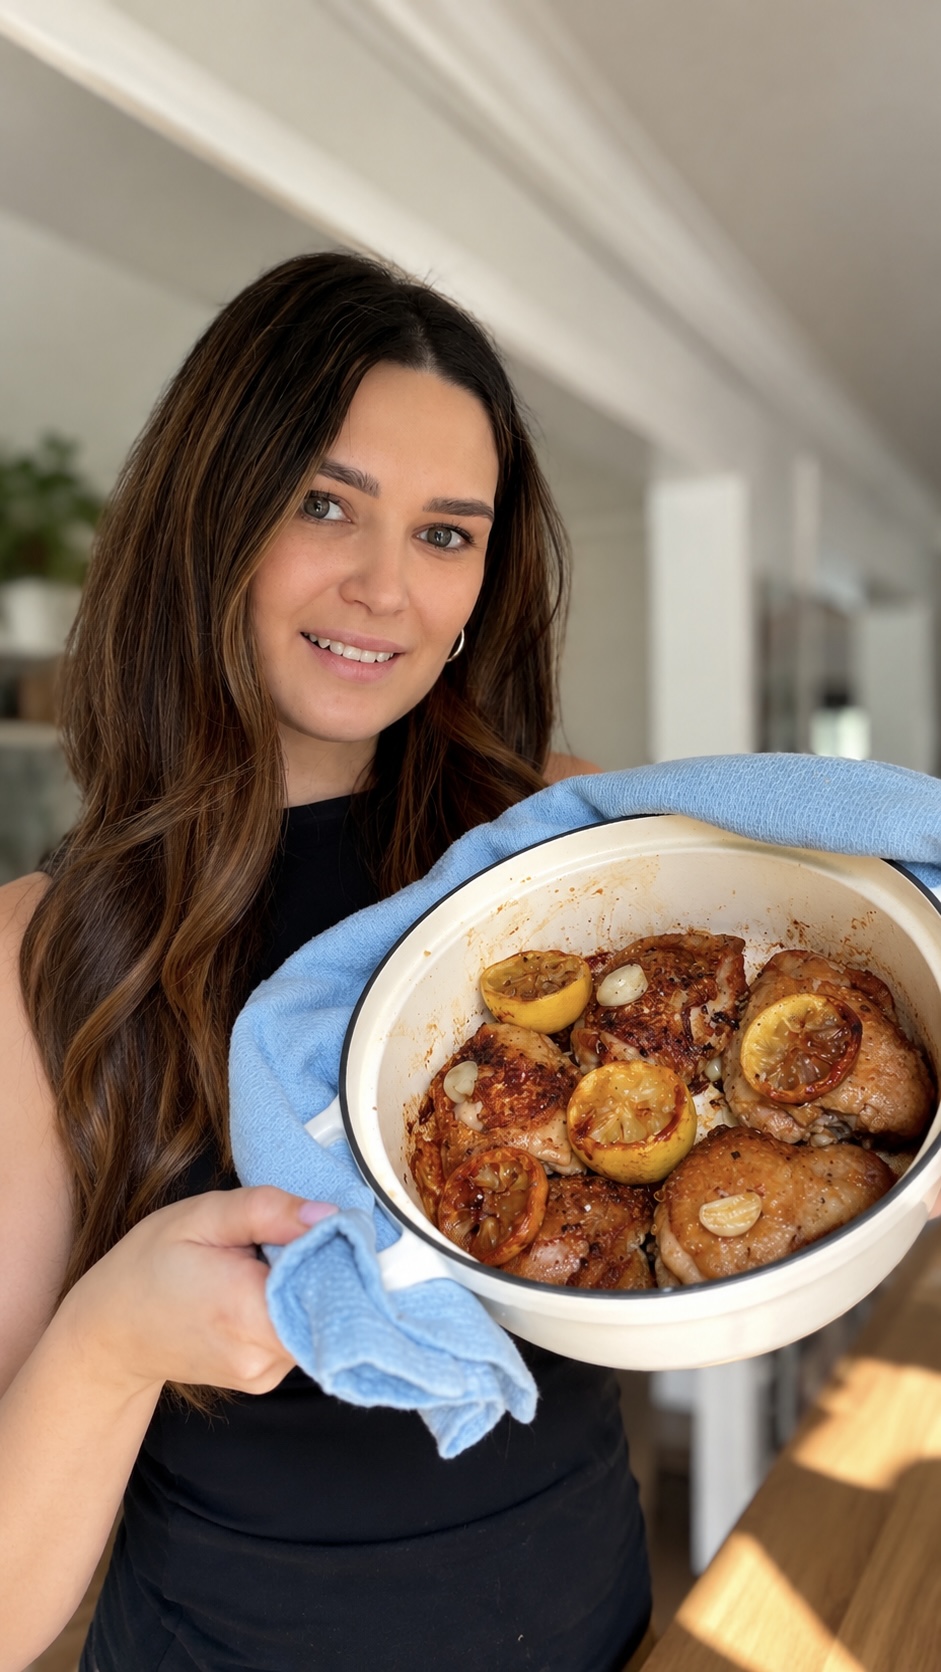
Crispy Lemon Garlic Chicken Thighs Extra Juicy Inside, Ultra Crispy Outside, Restaurant Style in Under 45 Minutes
Ingredients
Method
- Use paper towels to dry the chicken extremely well on all sides. Moisture creates steam, which prevents crispy skin.
- In a small bowl, combine:
- Salt
- Smoked paprika
- Garlic powder
- Onion powder
- Baking powder
- Mix well.
- Rub the chicken lightly with olive oil, then coat evenly with the seasoning mixture.
- Place the chicken uncovered on a plate or rack for 20–30 minutes.
- This helps the skin dry even further for maximum crispiness.
- Fast Restaurant Trick
- If you’re short on time, use a hair dryer on the COOL setting for 60 seconds to dry the surface faster.
- Dip the cut side of each lemon half into a tiny pinch of sugar.
- Sear face-down in a dry hot skillet for 2–3 minutes until caramelized and deep golden.
- Step 6: Start in a Cold Pan
- Place the chicken skin-side down into a cold cast iron skillet or Dutch oven.
- Then turn the heat to medium.
- This slowly renders the fat and creates an incredibly crispy crust without burning the skin.
- Cook undisturbed for 8–10 minutes.
- If the chicken sticks, it is not ready yet.
- Once the skin naturally releases and turns deep golden brown, flip and cook another 5–7 minutes.
- Lower the heat and add:
- Butter
- Garlic cloves
- Red pepper flakes
- Spoon the hot butter continuously over the chicken.
- This creates an ultra glossy finish and keeps the chicken juicy.
Notes
Why Baking Powder Makes Chicken Skin Crispy
Baking powder helps break down proteins in the skin and pulls moisture outward, creating tiny bubbles that crisp beautifully during cooking. This creates that signature crackly restaurant-style crust. Do not use baking soda. It will leave a metallic taste.Helpful Tips
- Dry skin = crispy skin
- Use medium heat, not high
- Don’t overcrowd the pan
- Let the chicken rest 5 minutes before serving
- Fresh lemon zest makes a huge difference
Common Mistakes to Avoid
Starting with a Hot Pan
The skin burns before the fat renders.Flipping Too Early
The skin tears and sticks.Crowding the Pan
Chicken steams instead of crisps.Adding Lemon Too Soon
Acid softens the crispy skin.Storage and Reheating
Store leftovers in an airtight container for up to 4 days. To reheat:- Air fryer: 375°F for 4–5 minutes
- Oven: 400°F for 8–10 minutes
love it! thanks!