

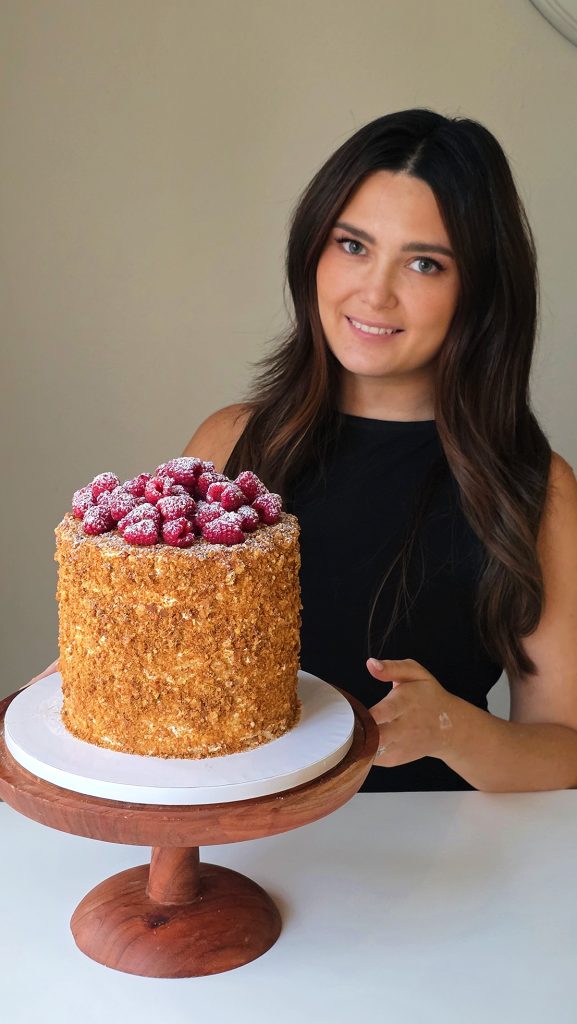
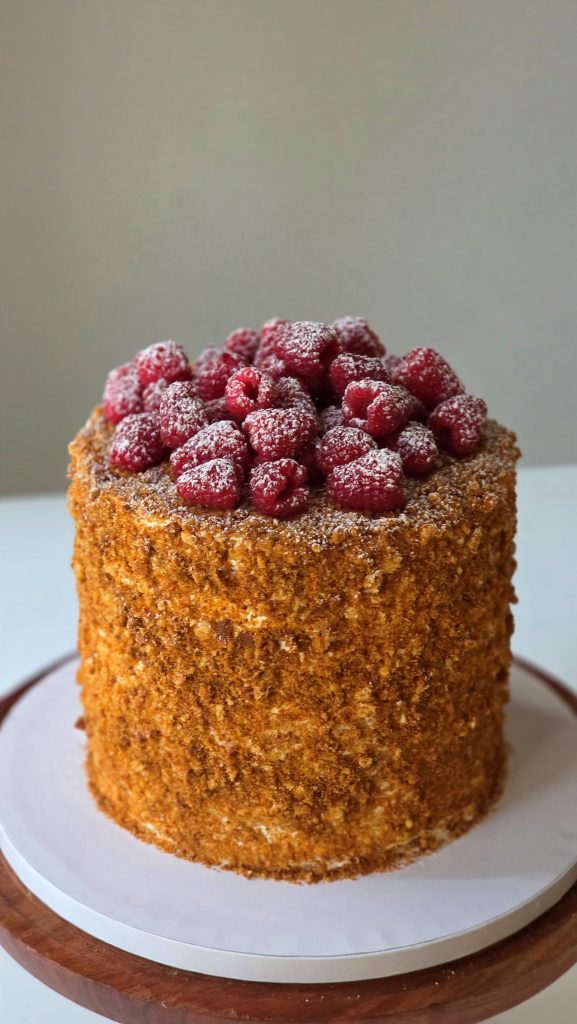
No-rolling Honey Cake Thin Layers with Raspberry. Lazy Medovik
This Easy and so soft No-Rolling Honey Cake (Medovik) is simple to make and perfect for beginners. The layers don’t need to be rolled out, just spread the batter and bake. I call this cake- Lazy Medovik or Lazy No-rolling Honey Cake Thin Layers with Raspberry. Russian Medovik
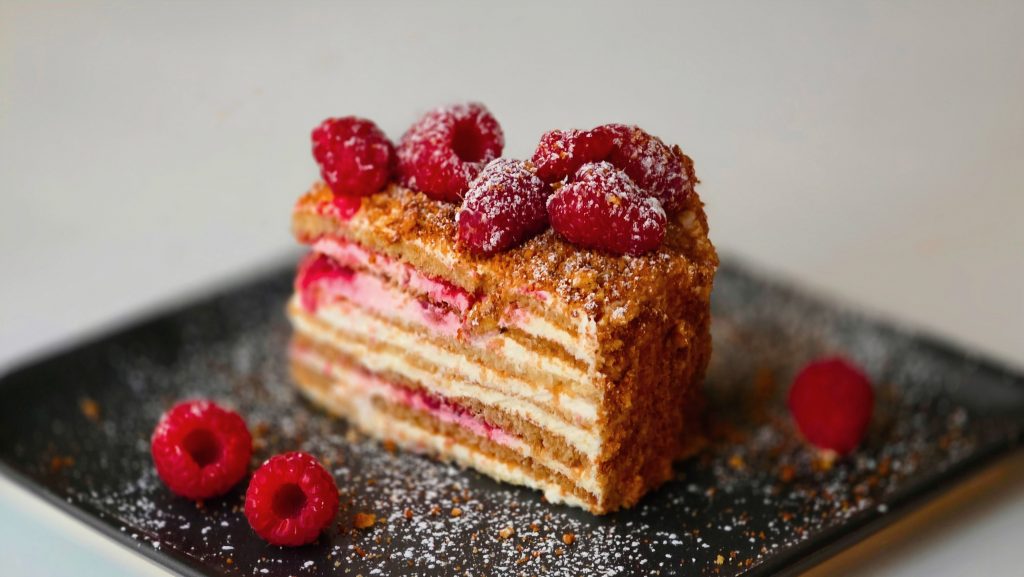
The cake turns out incredibly soft and tender, and the raspberries add a refreshing hint of tartness that balances the sweetness beautifully.
Medovik, also known as Honey Cake, is a beloved dessert with roots in Eastern Europe, where it has been enjoyed for over a century. Traditionally, the layers were rolled out by hand, creating thin, delicate sheets filled with a simple sour-cream-based frosting.
If your creams ever gives you troubles, check out my guide on 7 Common Mistakes & How to Solve Them it’s a lifesaver.
The caramel notes in this cake are rich and deep, almost like my Golden Key Dulce de Leche Cake if you love that caramel warmth, you’ll adore Medovik too.
For the raspberries: frozen ones work beautifully here. If you’re a fan of fruit-forward bakes, you might also love my ultra-moist Invisible Apple Cake or the rich Chocolate Cherry Loaf Cake both simple, both stunning.
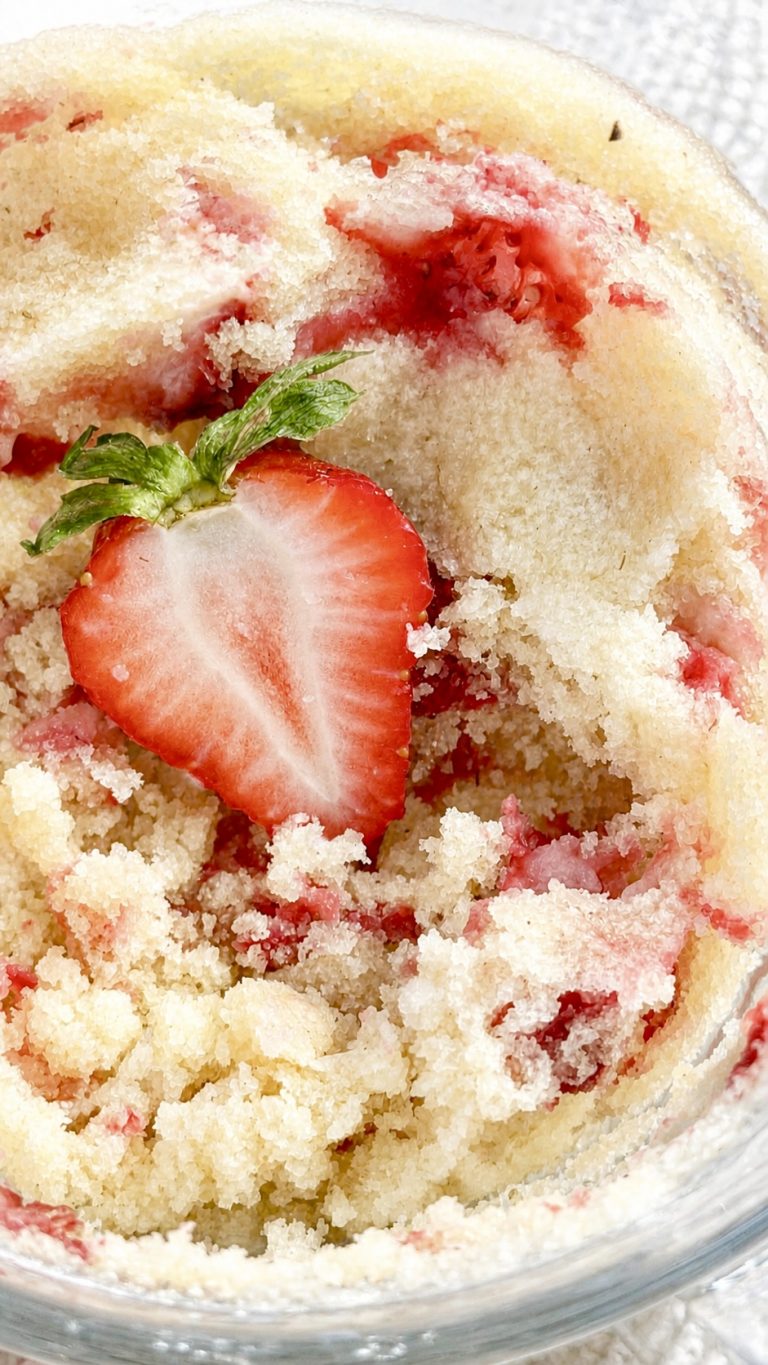
Short on time?5-Minute Strawberry Mug Cake is the opposite of this recipe, instant and kid-friendly, but just as satisfying when a craving hits.
Tools You’ll Need for honey cake
• Stand mixer or hand mixer— for whipping eggs with sugar until fluffy
• Heat-safe bowl / double boiler or mixer bowl — for the water bath
• Silicone baking mats — for spreading batter without rolling (Amazon affiliate link on the recipe page)
• Spatula — for folding and spreading batter
• Adjustable baking ring — for clean, even layers (Amazon affiliate link on the recipe page)
• Turntable / non-stick cake stand — for easy assembly (Amazon affiliate link on the recipe page)
• Plastic wrap — for wrapping layers and assembled cake
• Cake board — base for assembling
YOU MAIGHT LIKE IT TOO:

Easy Lemon Tiramisu With Homemade Lemon Curd

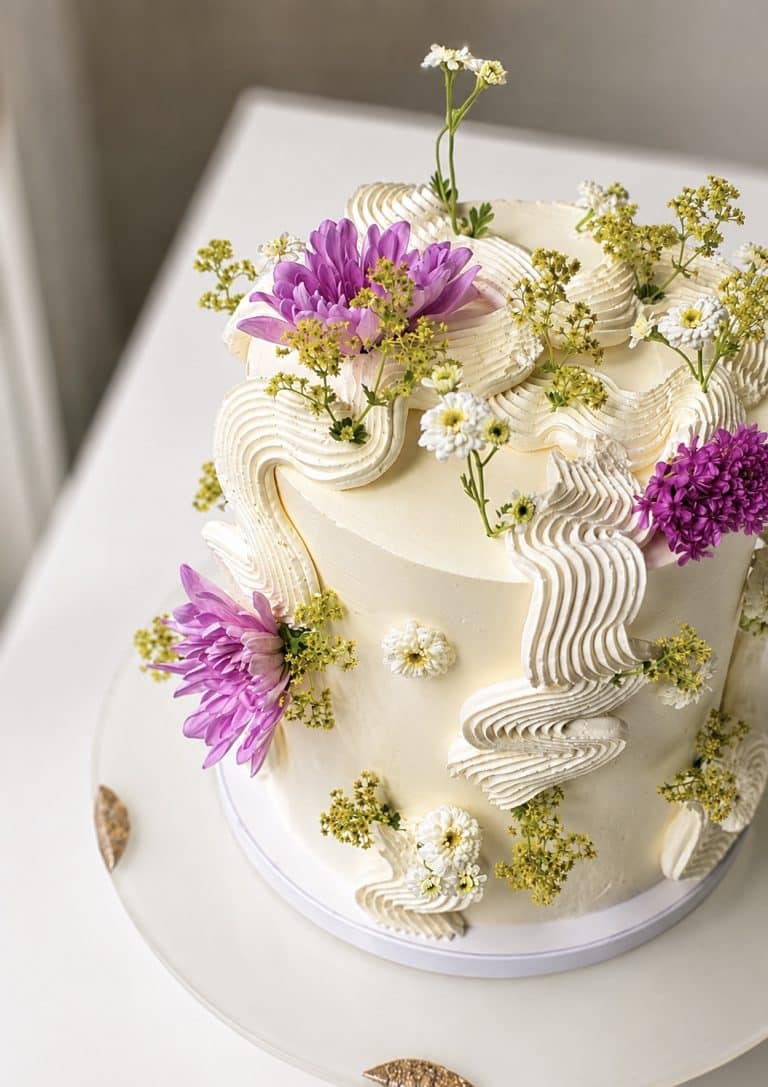
Stable Vanilla Buttercream for Wedding Cakes
Ingredients for Lazy Medovik
For the Cake Layers:
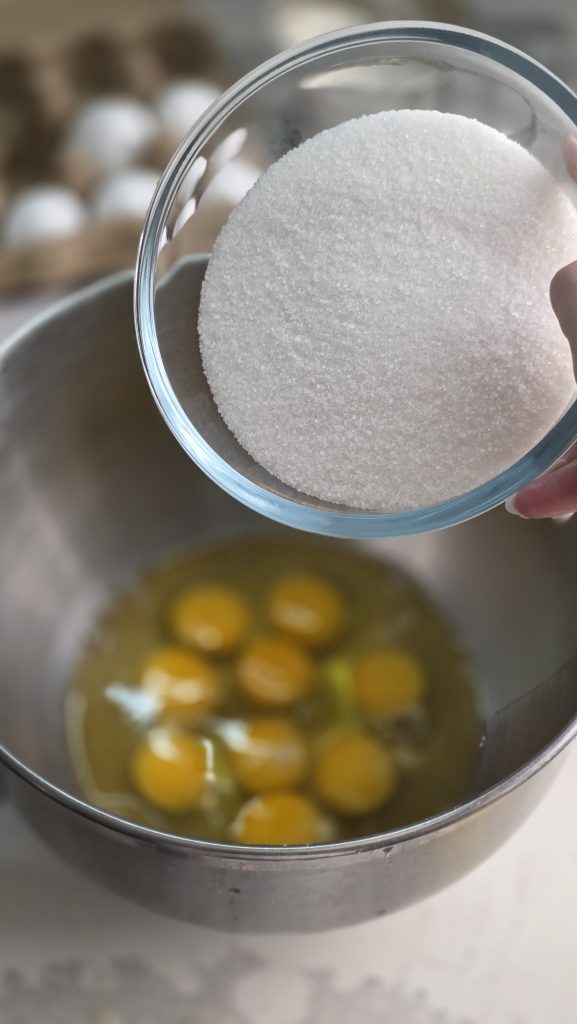
• 9 medium eggs
• 2 cups granulated sugar
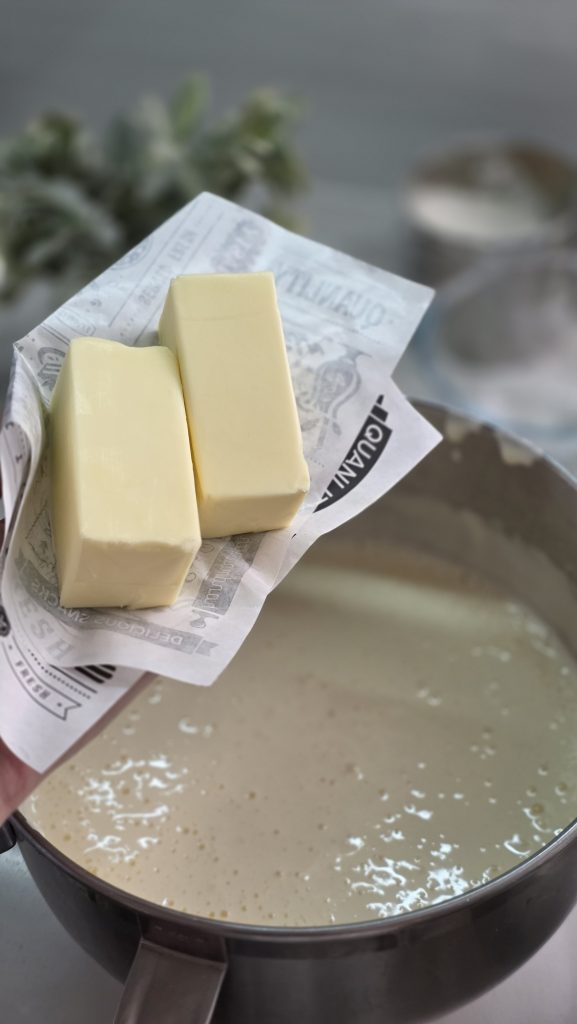
• 2 sticks (226 g) unsalted butter
• 5 Tbsp honey
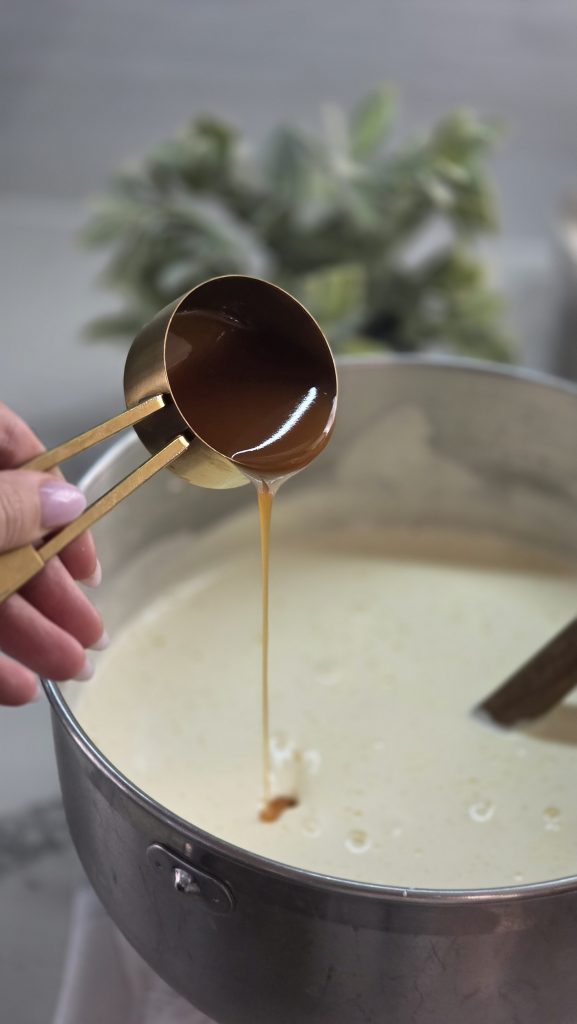
• ¼ cup caramel sauce
• 2 tsp baking soda, activated with vinegar
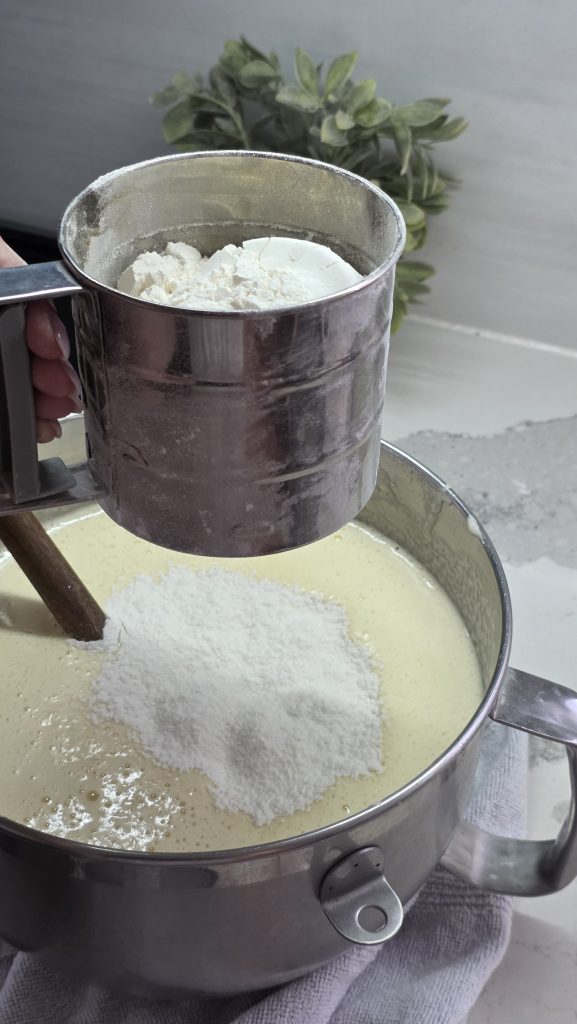
• 3 cups all-purpose flour, sifted
• 2 tsp apple cider vinegar (for soda)
For the Cream
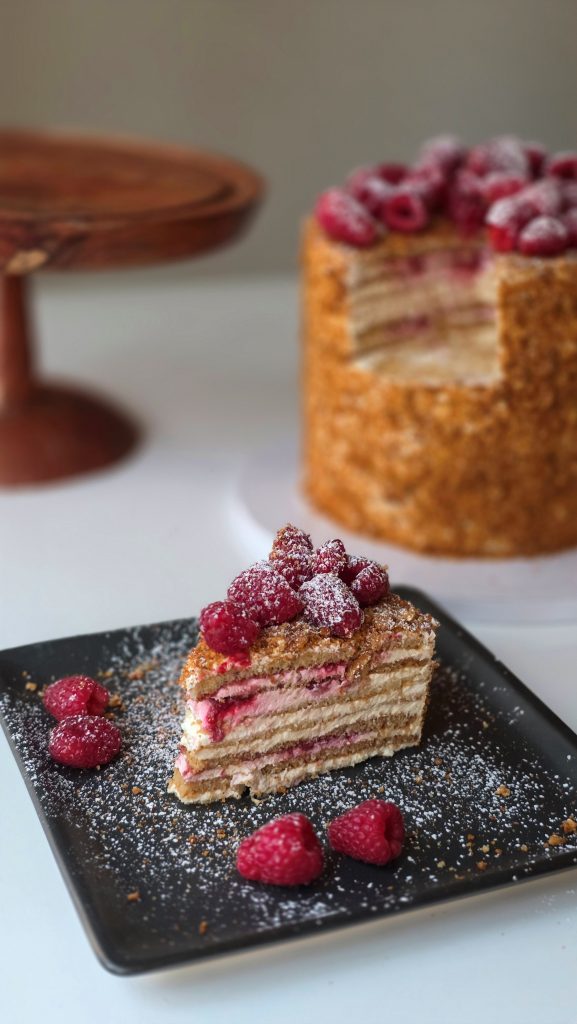
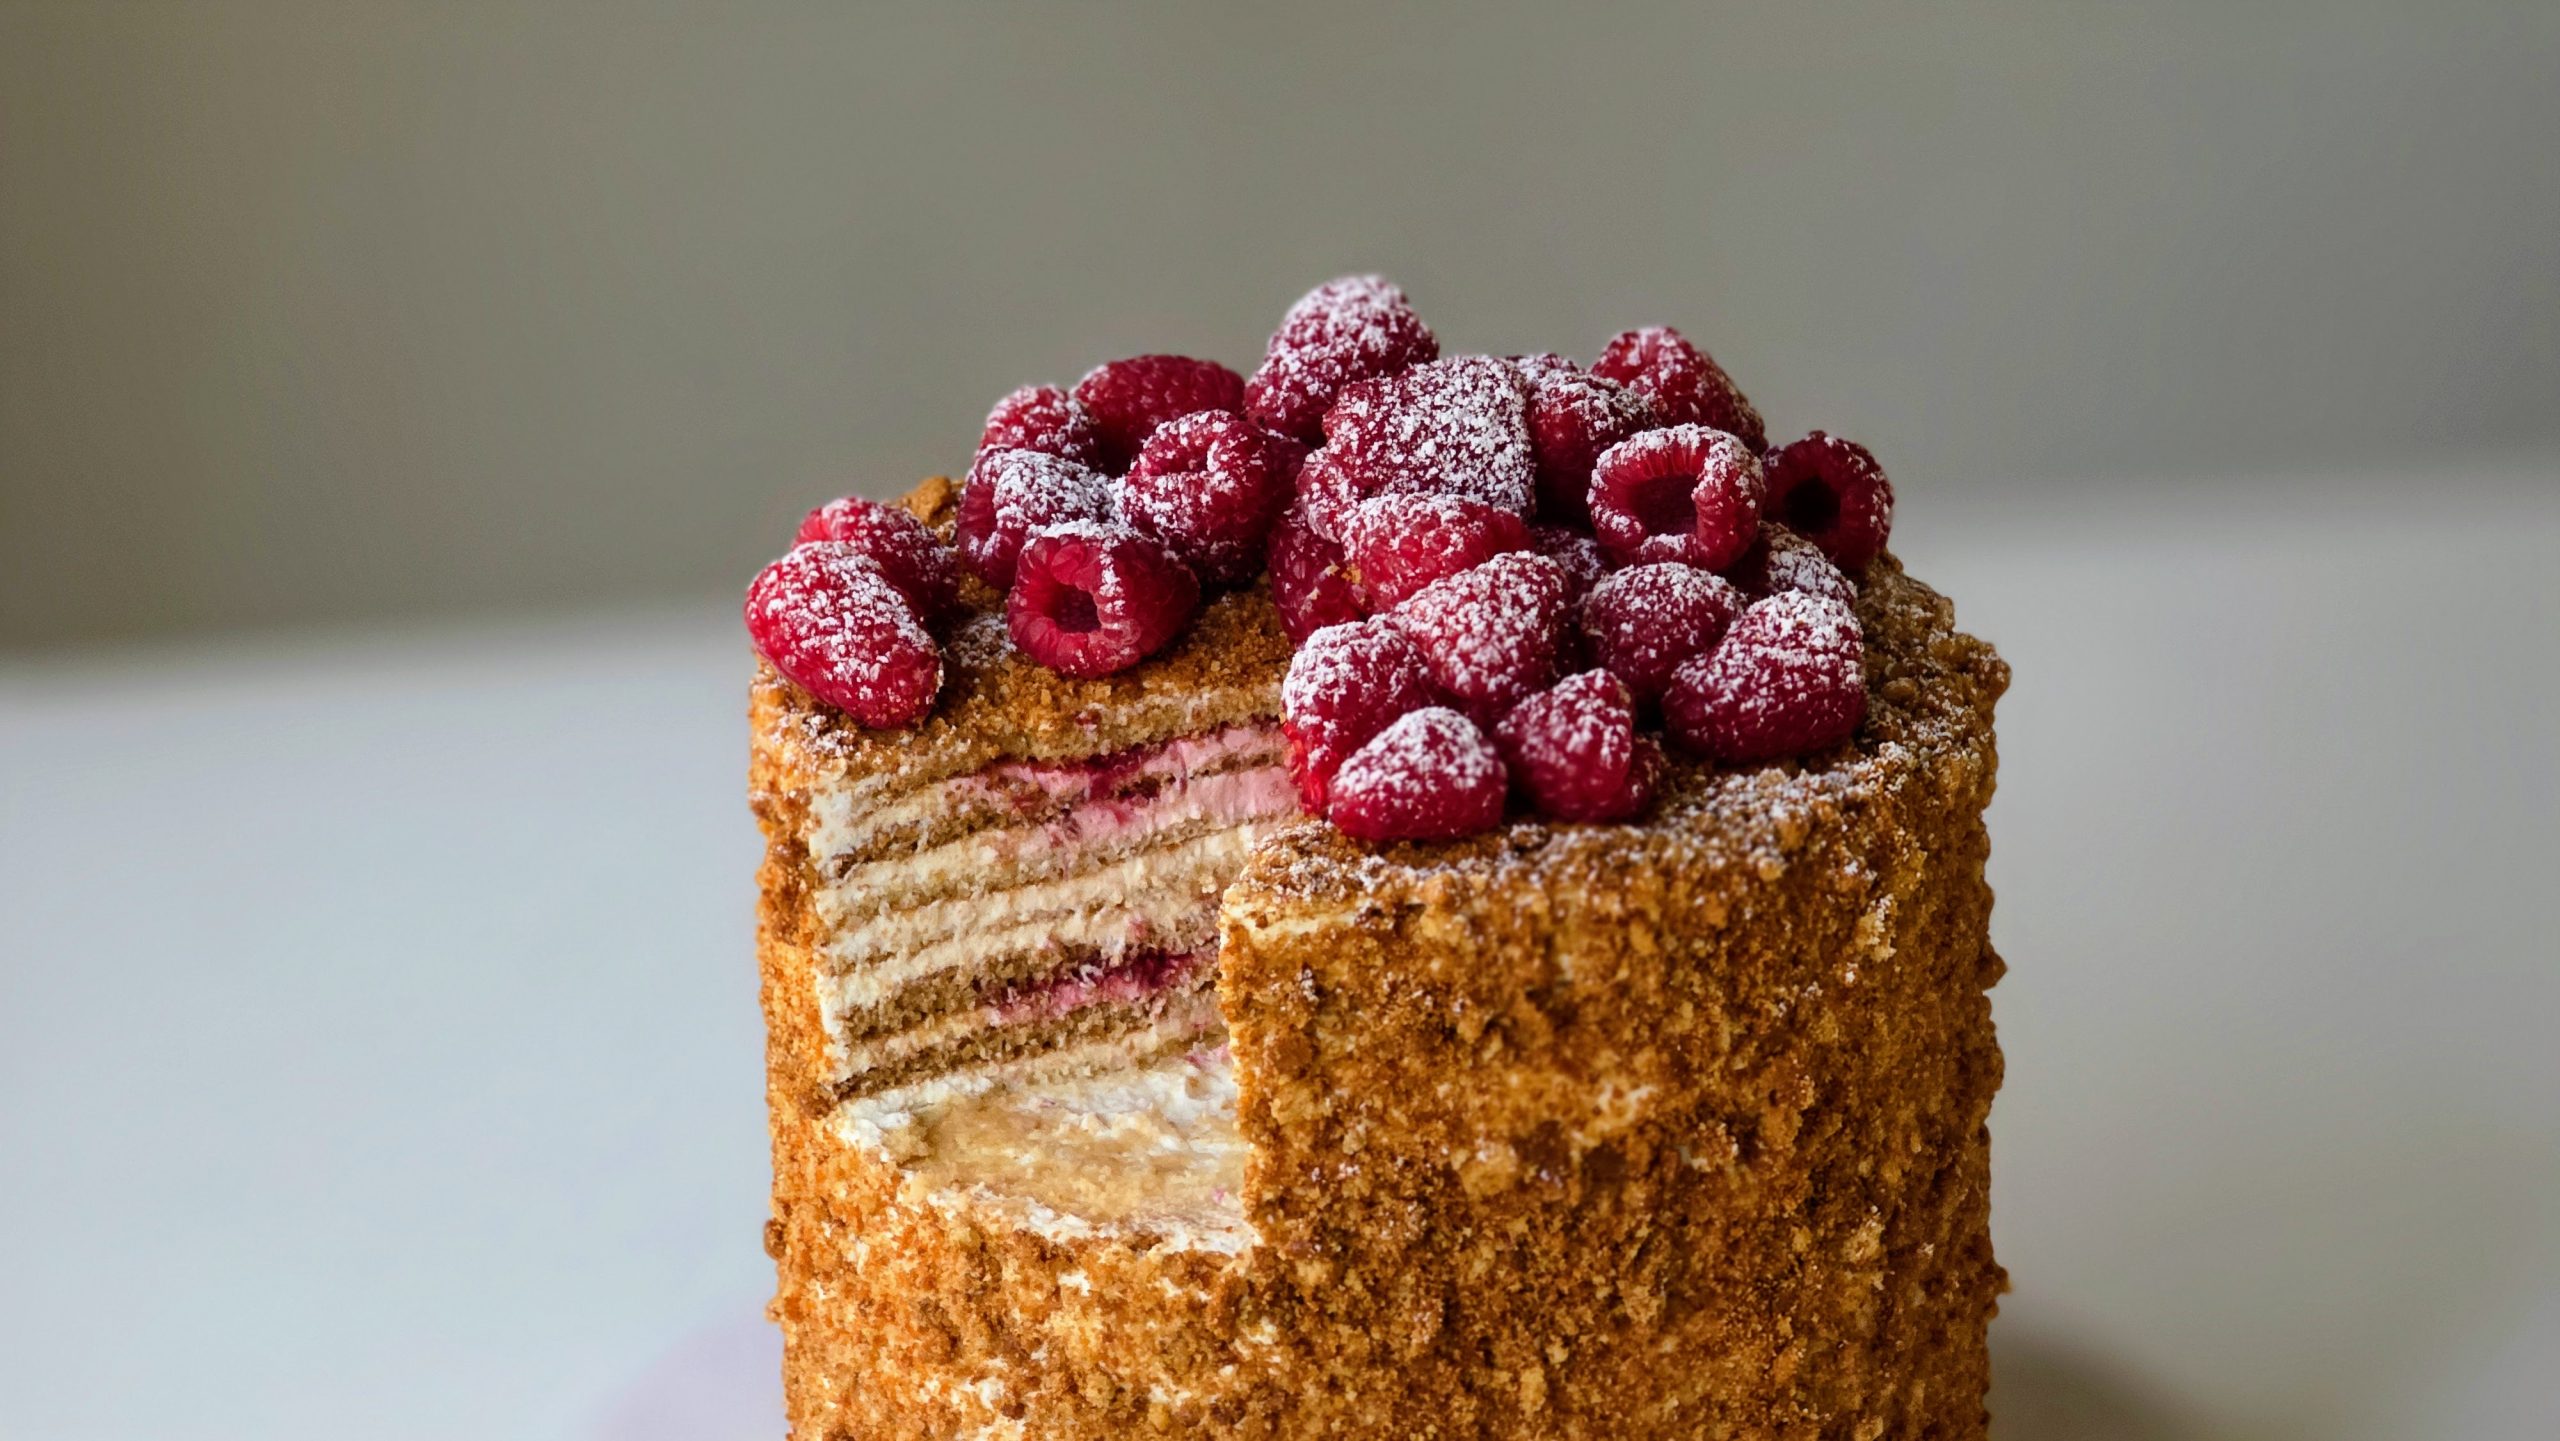
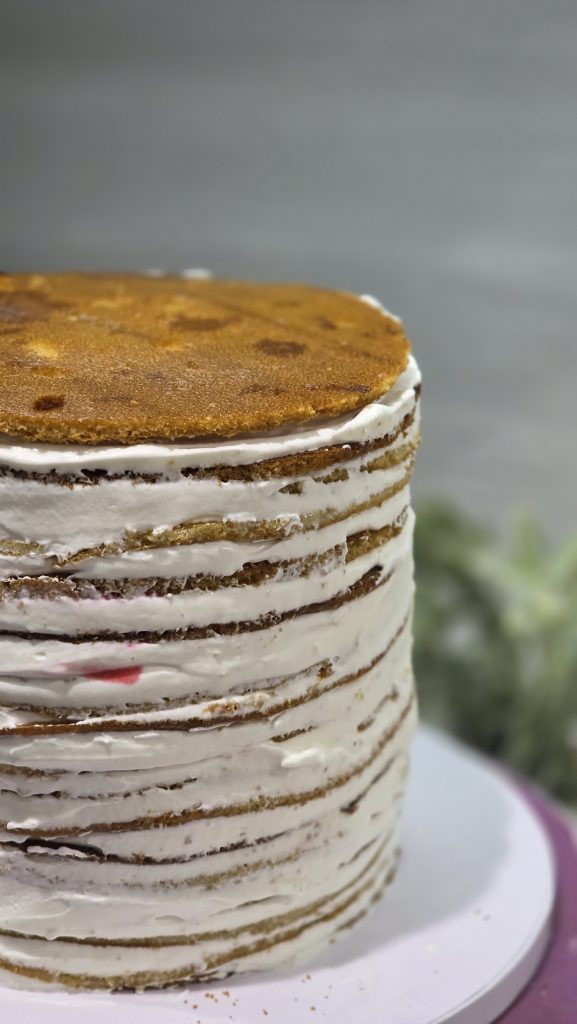
- Perfect for a tall 7-inch cake with 28 layers
- Powdered sugar: 90 g (3 oz / ¾ cup)
- Heavy whipping cream: 1.3 liters (1300 ml / 5 ½ cups / 44 oz)
- Sour cream: 900 g (32 oz / 3 ⅔ cups)
Perfect for a tall 7-inch cake with 28 layers (about 9″ tall)
Instructions for Honey cake
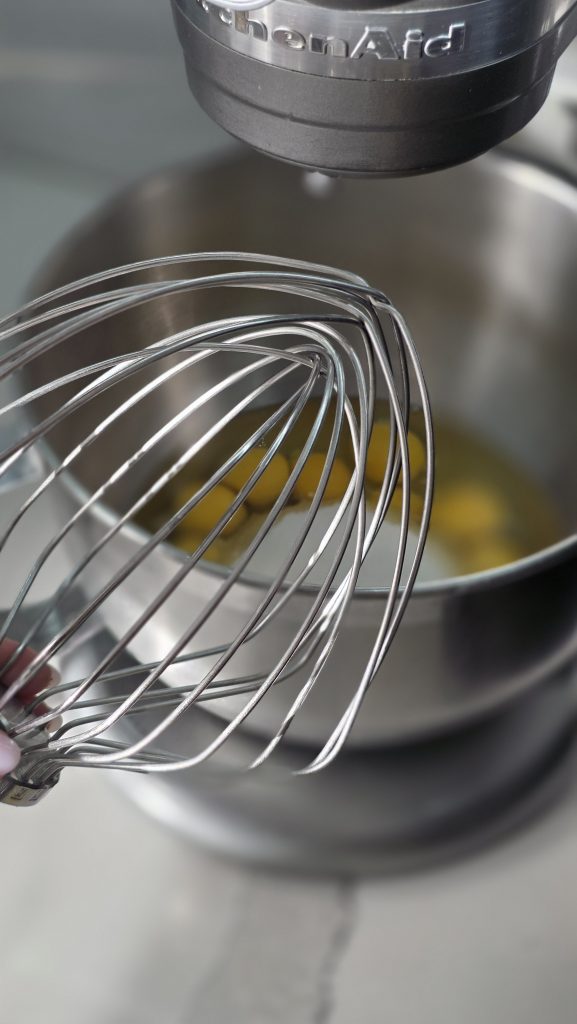
Whip the Eggs
- In a stand mixer, beat the eggs with sugar on medium speed until the mixture is light, fluffy, and significantly increased in volume.
- Gradually increase the speed as the mixture thickens.

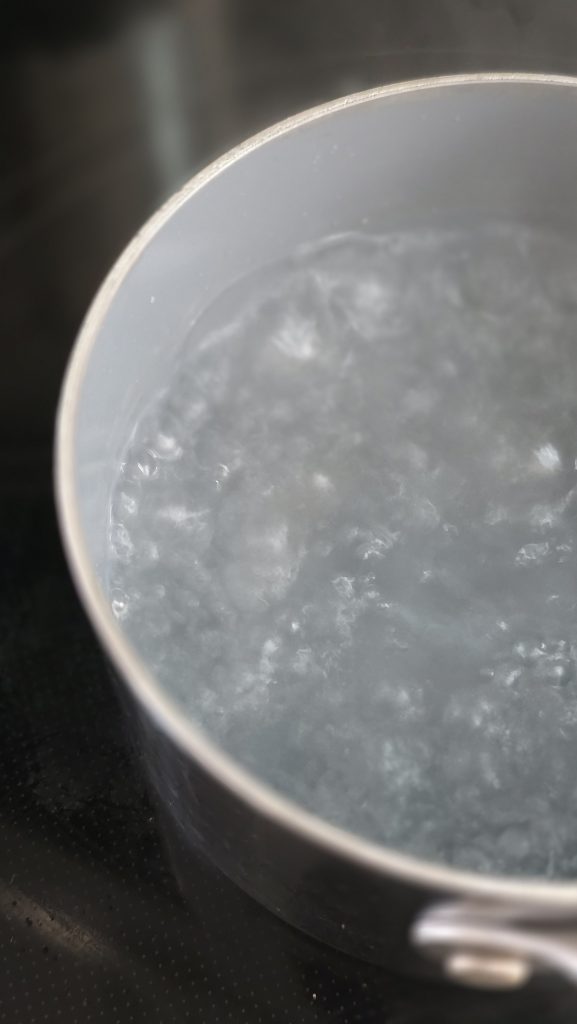
Prepare a Water Bath
- Bring a pot of water to a gentle simmer.
- Place the mixer bowl (or any heat-safe bowl) over the pot (with whipped eggs) making sure the bottom does not touch the water.

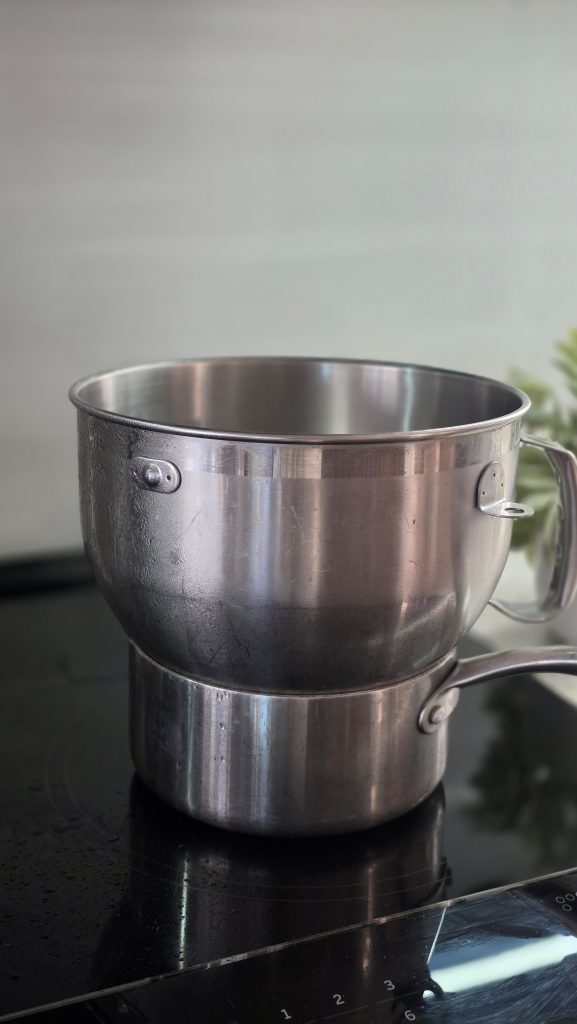
Melt the Butter, Honey & Caramel
- Transfer the whipped egg mixture over the water bath.
- Add the butter and stir continuously with a spatula.
- When the butter is almost melted, add the honey and caramel sauce.

- In a small bowl, activate baking soda with vinegar (1 tsp soda + 1 tsp vinegar each time).
- Immediately add the foaming mixture into the batter and stir gently.
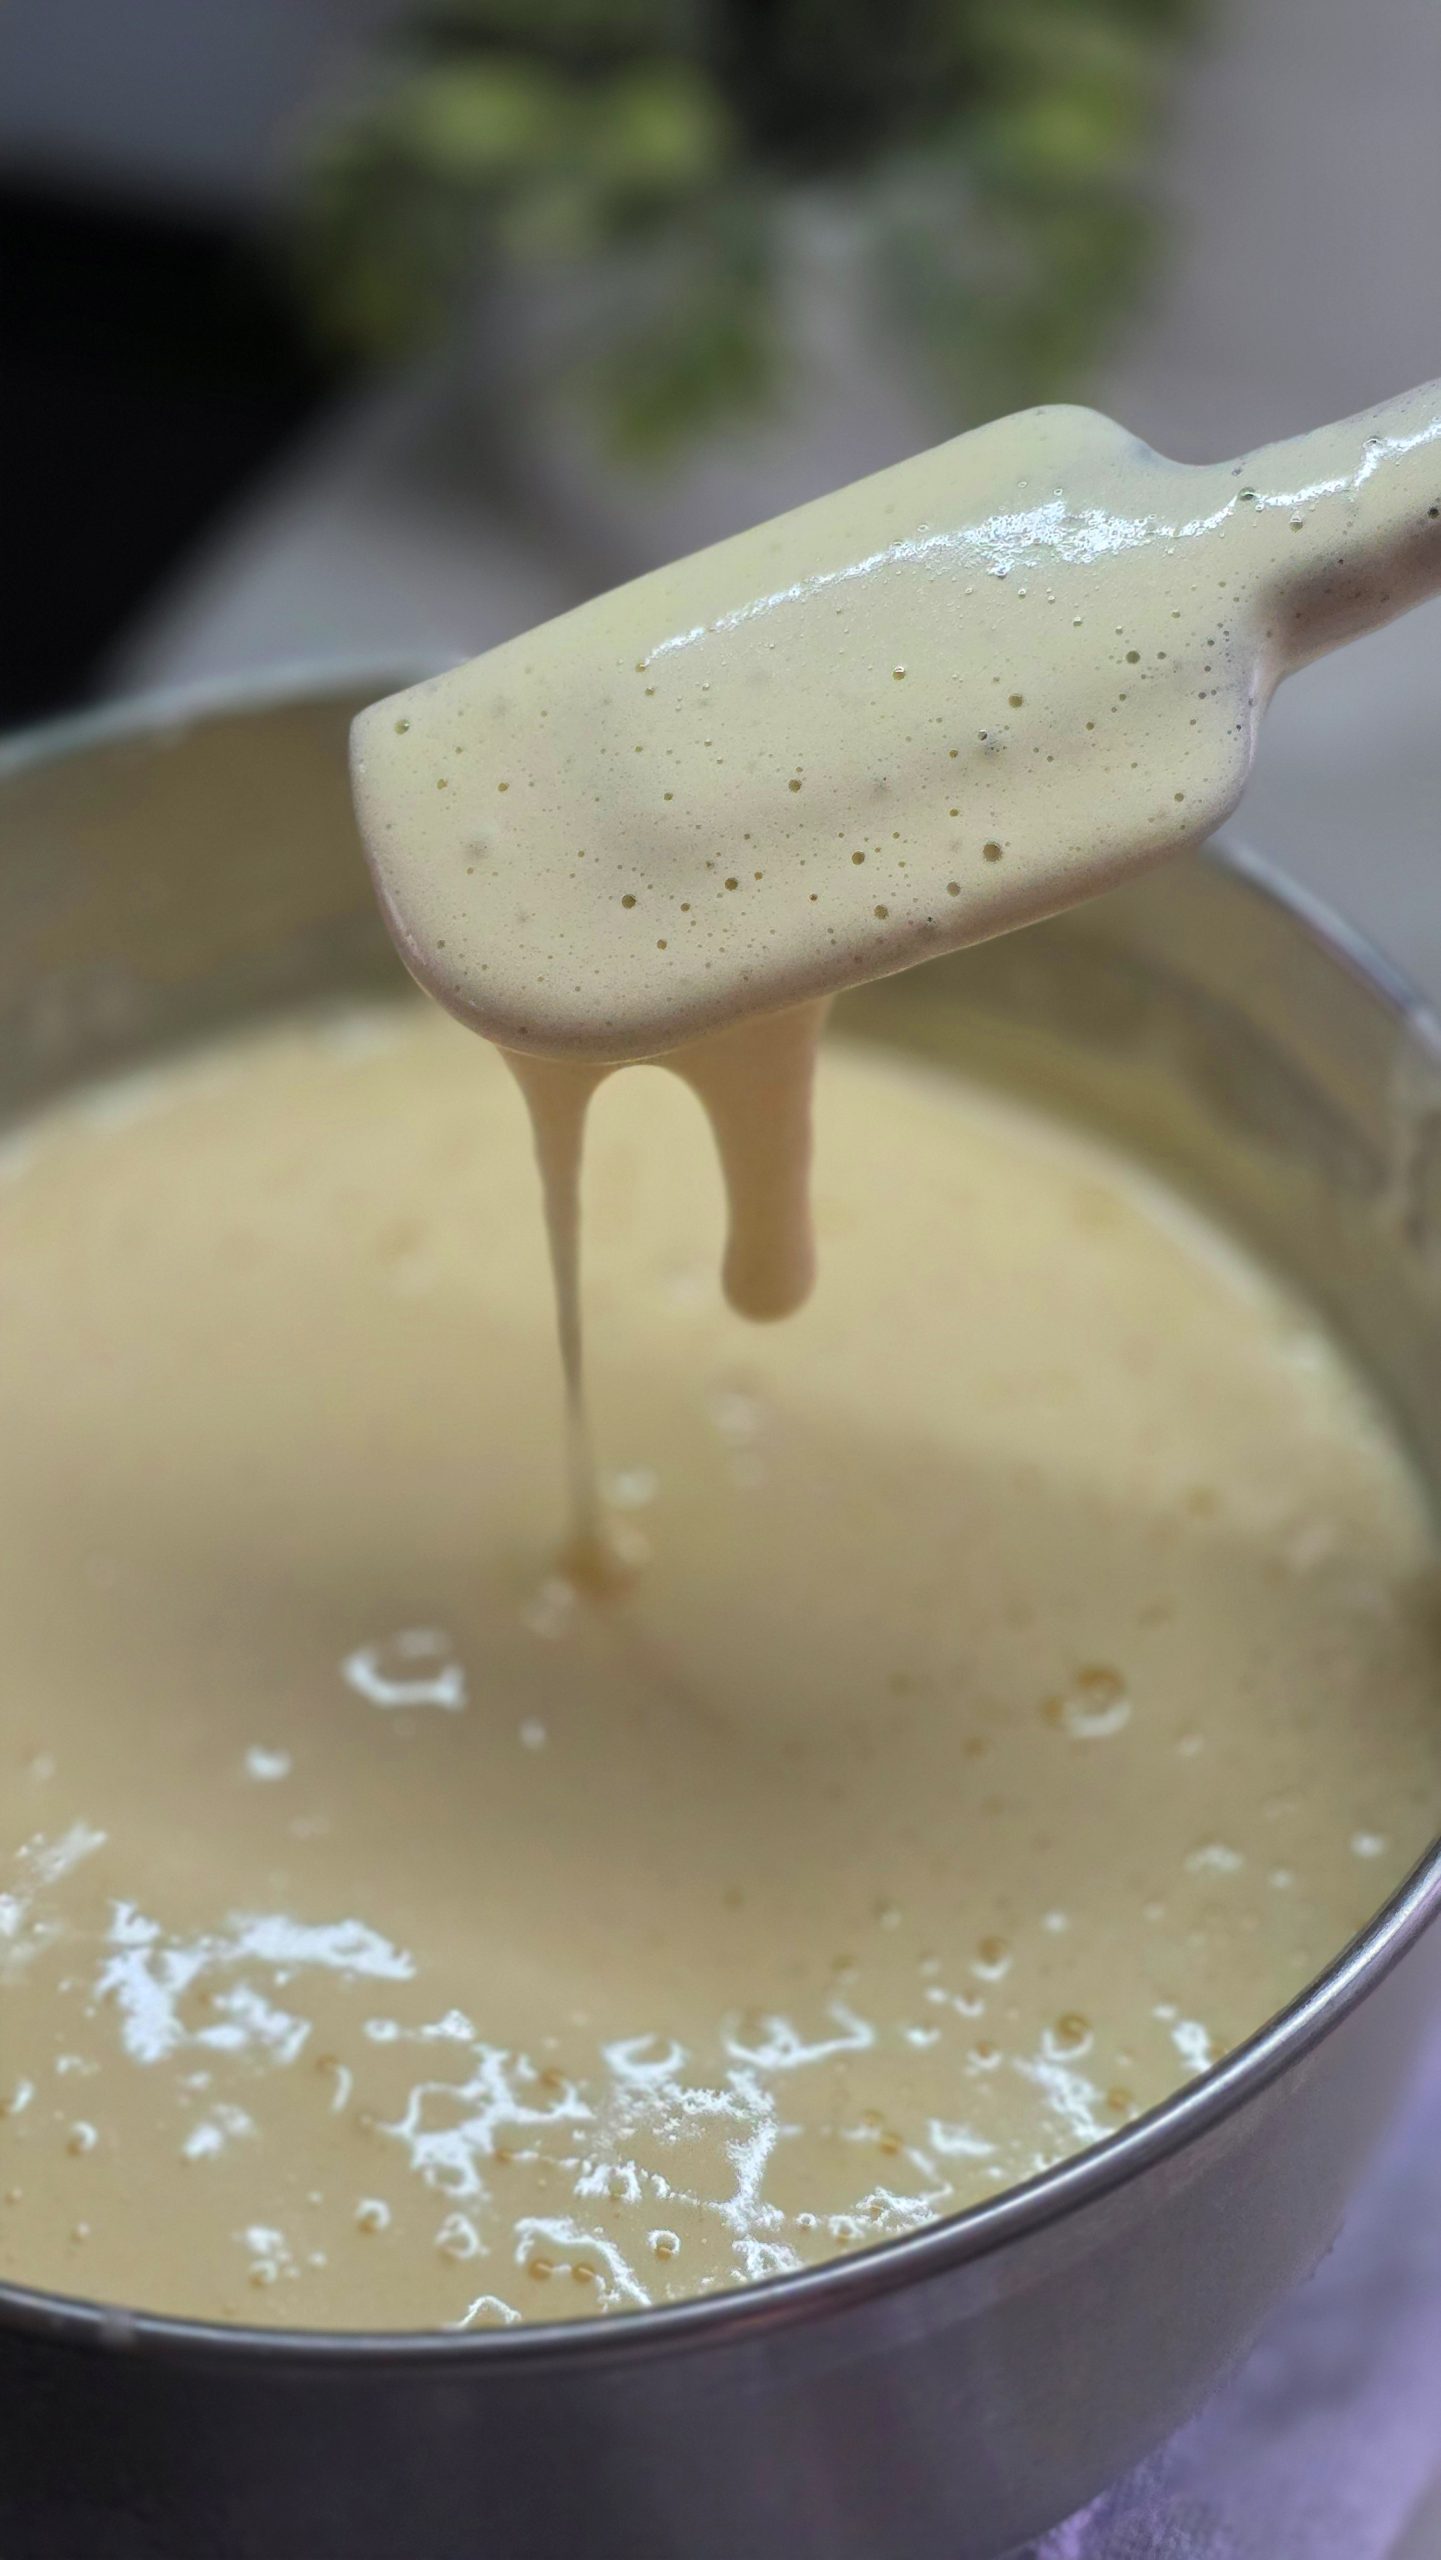
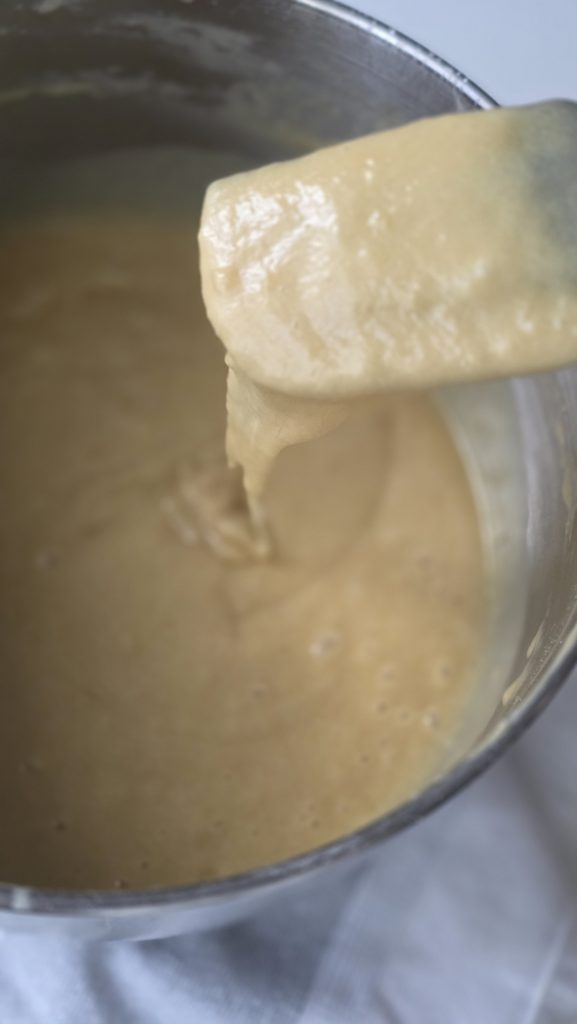
- The batter will begin to change color to a warm caramel shade.

Add Flour
- Add sifted flour in small portions (½ cup at a time).
- Gently fold with a spatula until no streaks remain.
- The batter will thicken and deepen in color.
- Remove the bowl from the water bath and let it cool slightly.
- Preheat the oven to 330°F (165°C).
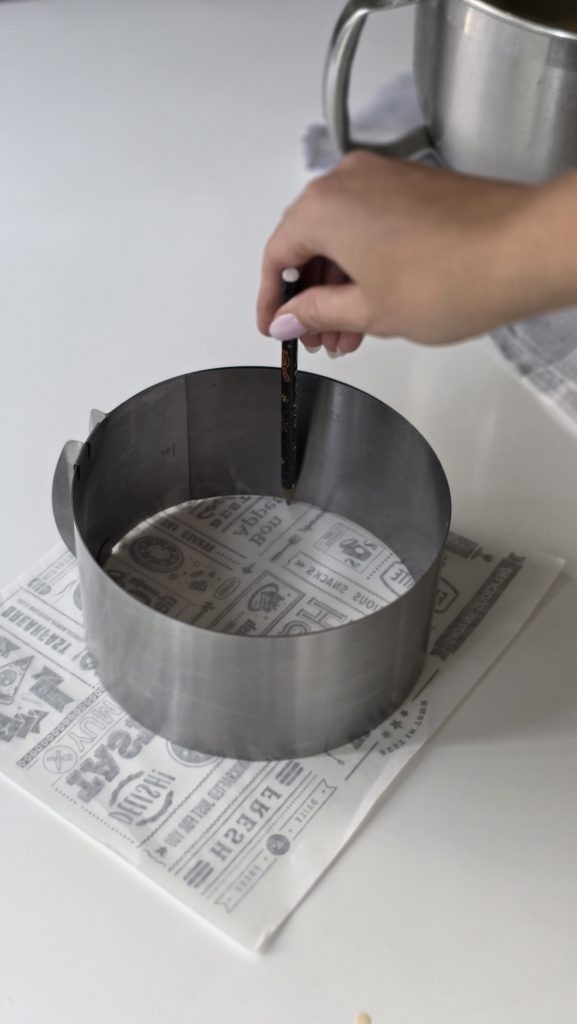
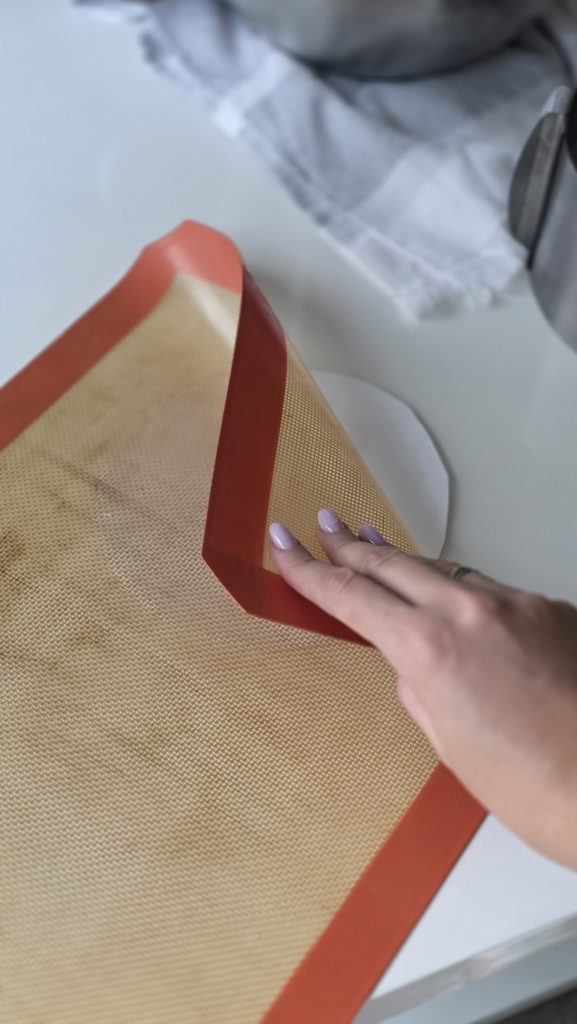
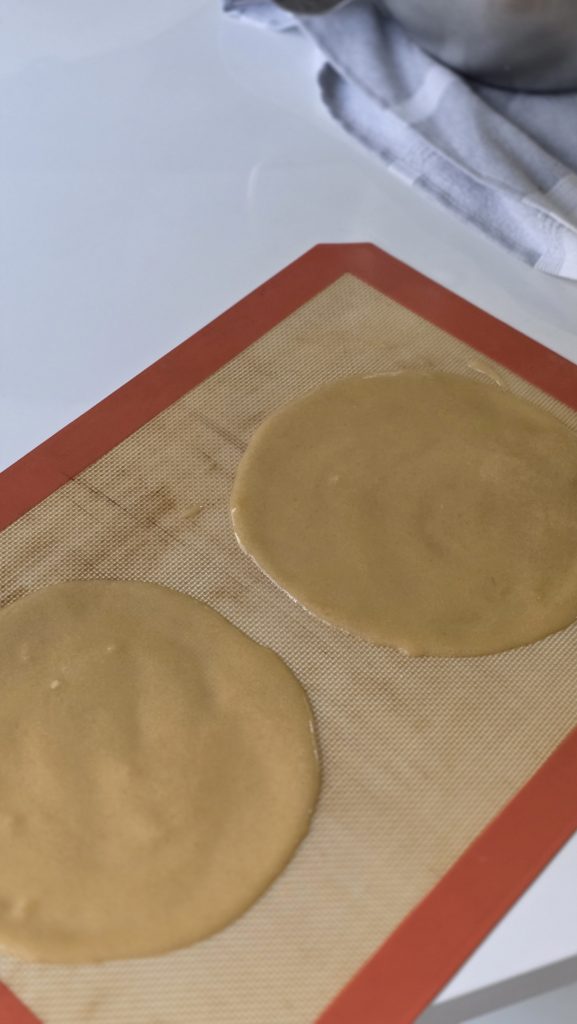
- Line silicone baking mats with parchment circles for size reference (7-inch layers for a tall cake; 8–12 inches for a wider, shorter cake).
- Spread a thin, even layer of batter over the mat using a spatula.
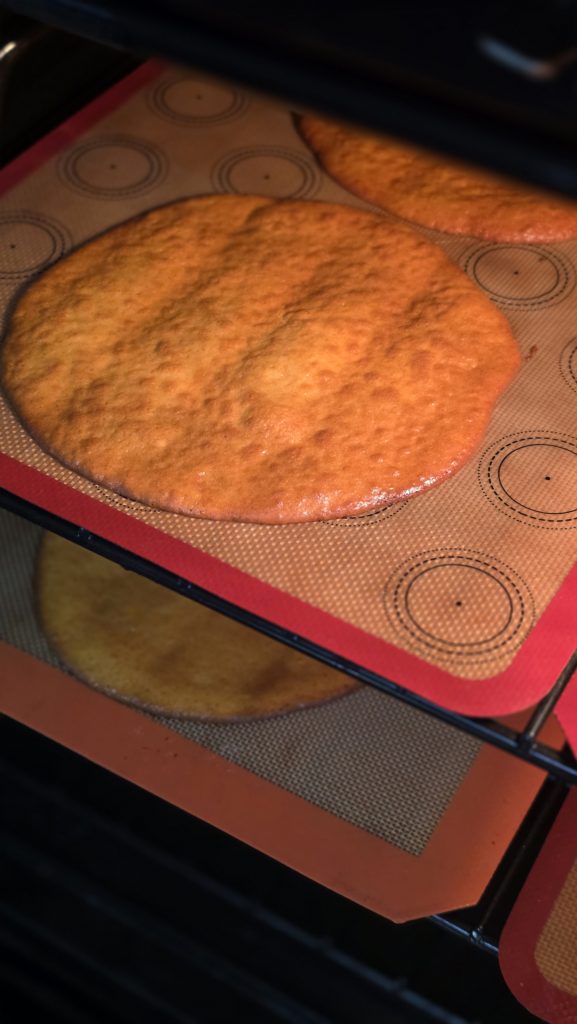
- Bake for 5 minutes at 330°F, then switch to convection at 350°F for 1 more minute until the edges turn golden.
- Do not overbake — the layers should stay soft and flexible.
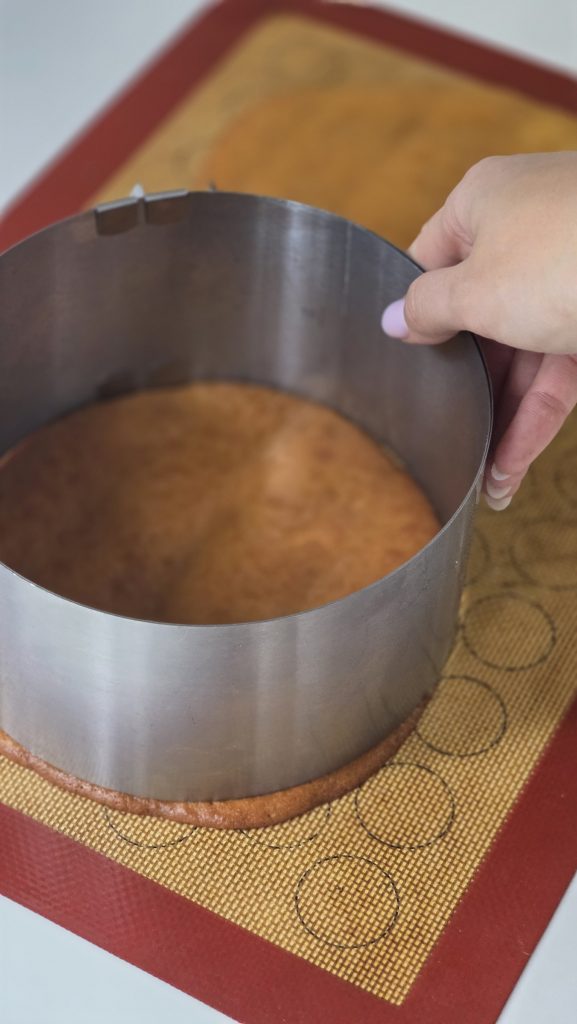
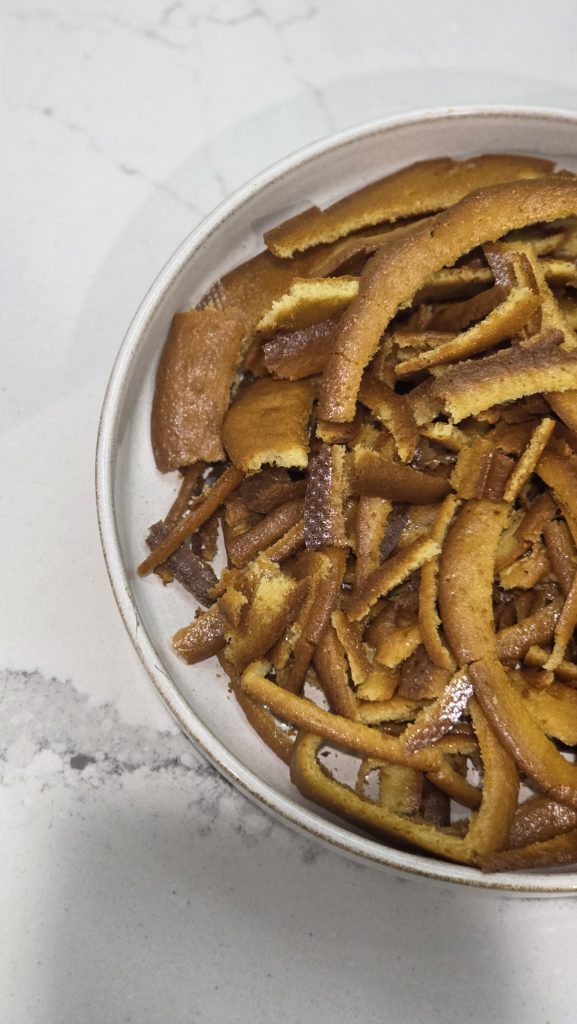
- Trim the edges while warm and set the trimmings aside for crumbs.
- Cool the layers separately so they do not stick; place parchment or silicone between them.

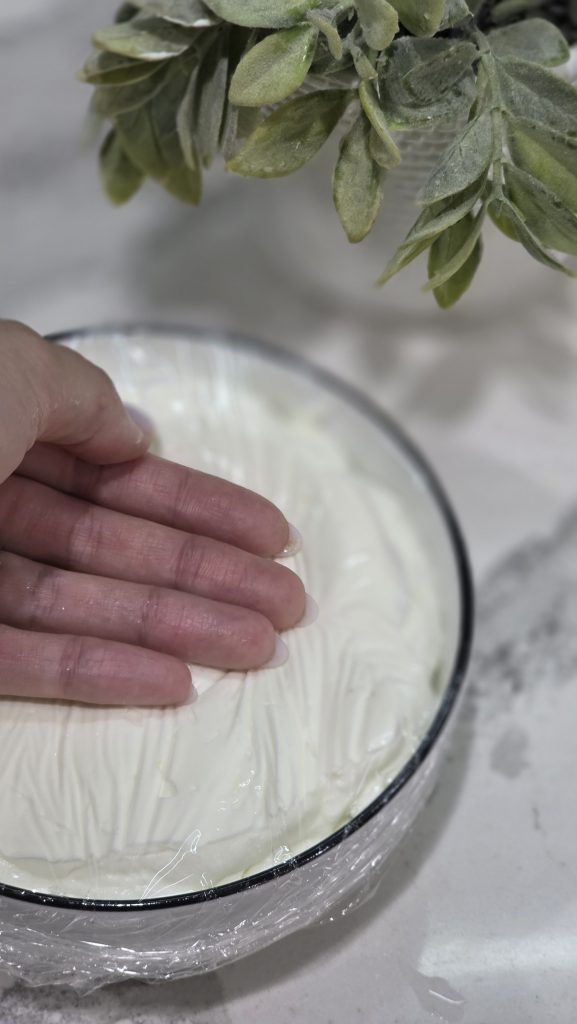
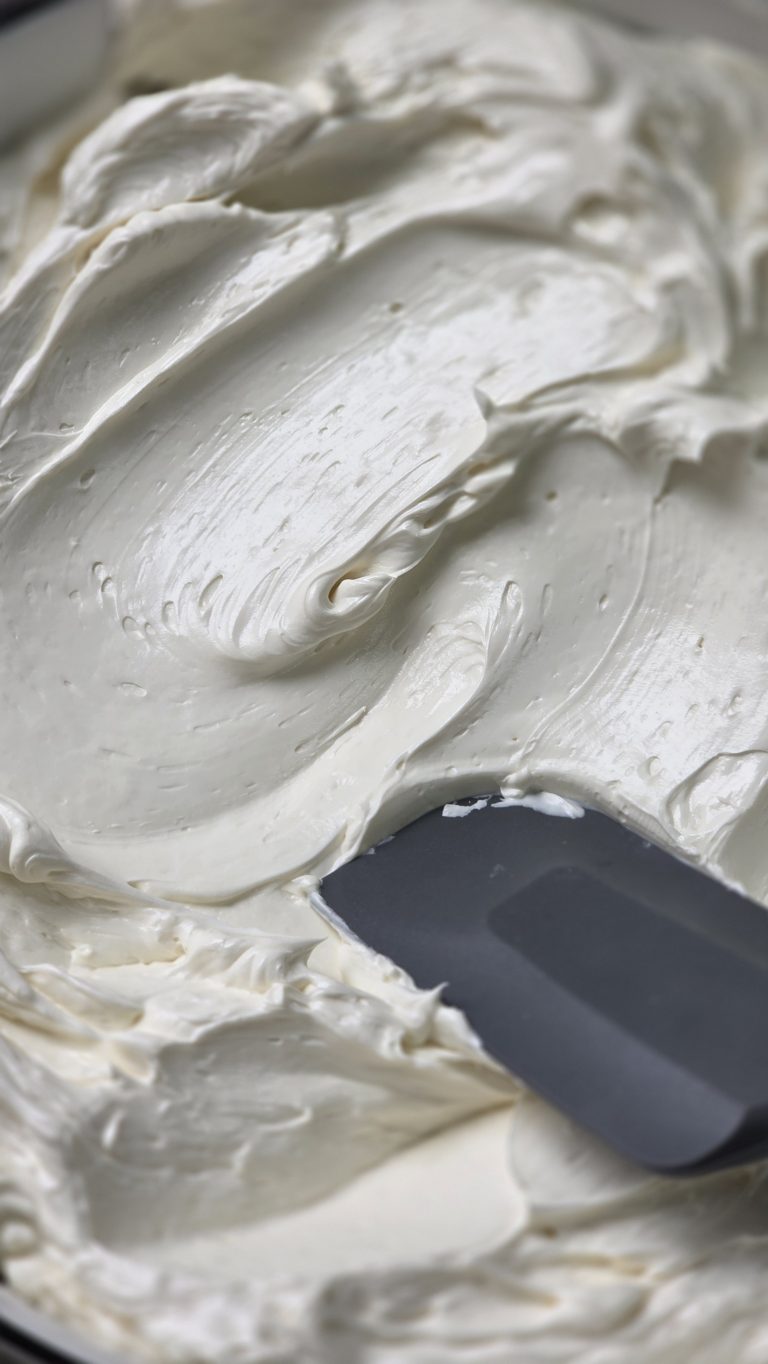
Make the Cream
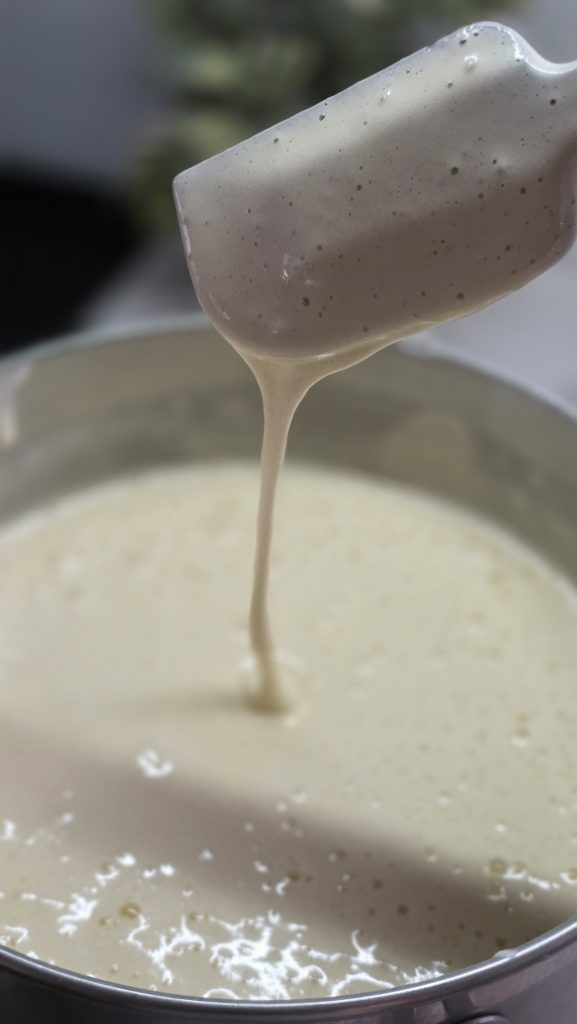
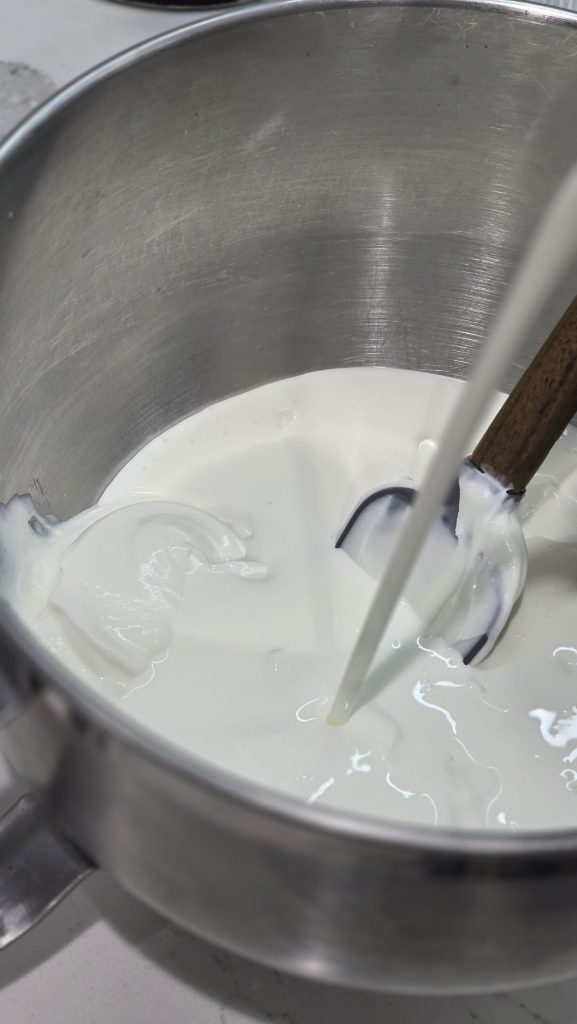
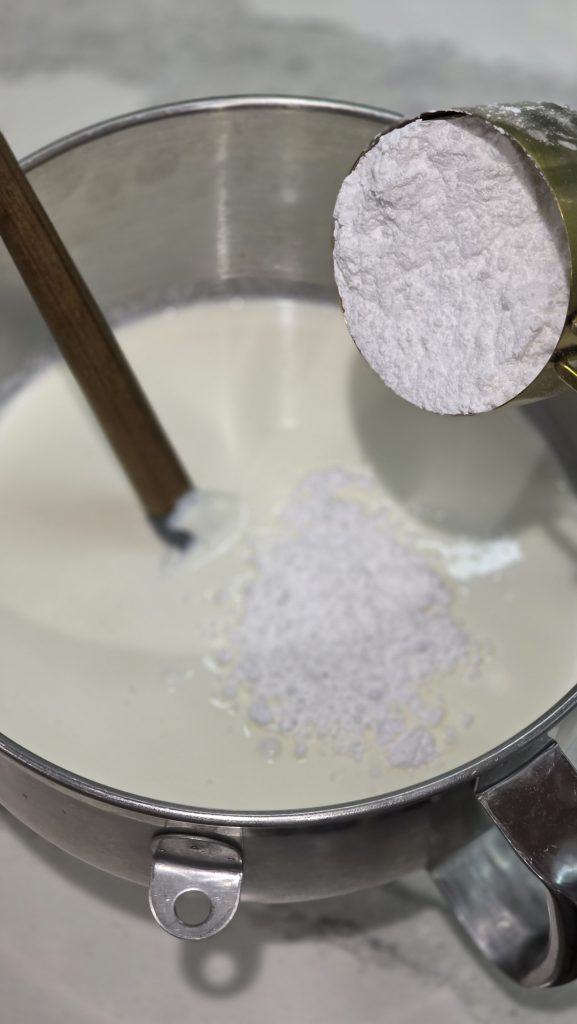
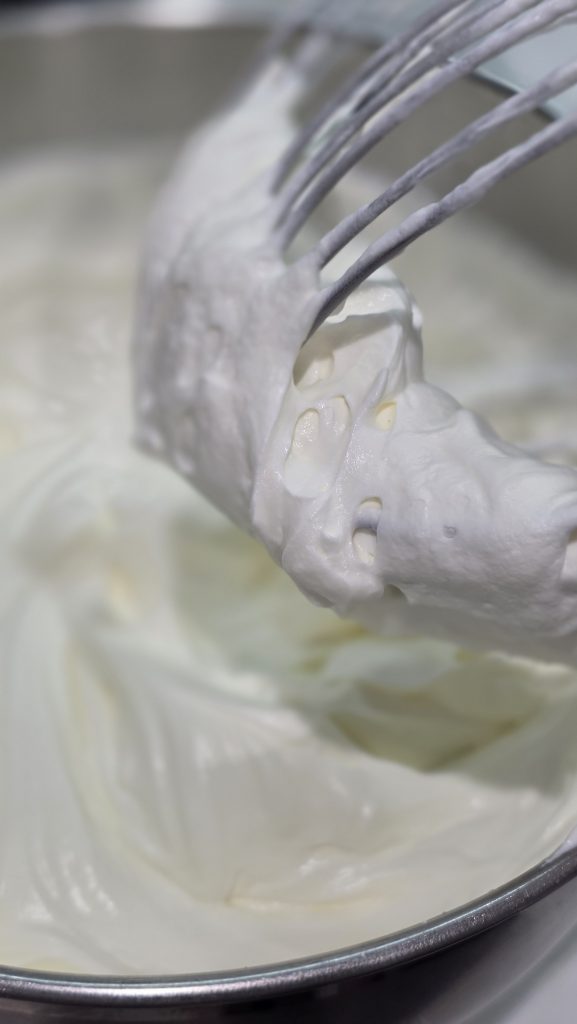
- In a mixing bowl, combine sour cream, heavy cream, and powdered sugar.
- Start on low speed, gradually increasing to high.
- Whip until thick and stable, but do not overwhip — it may turn runny.
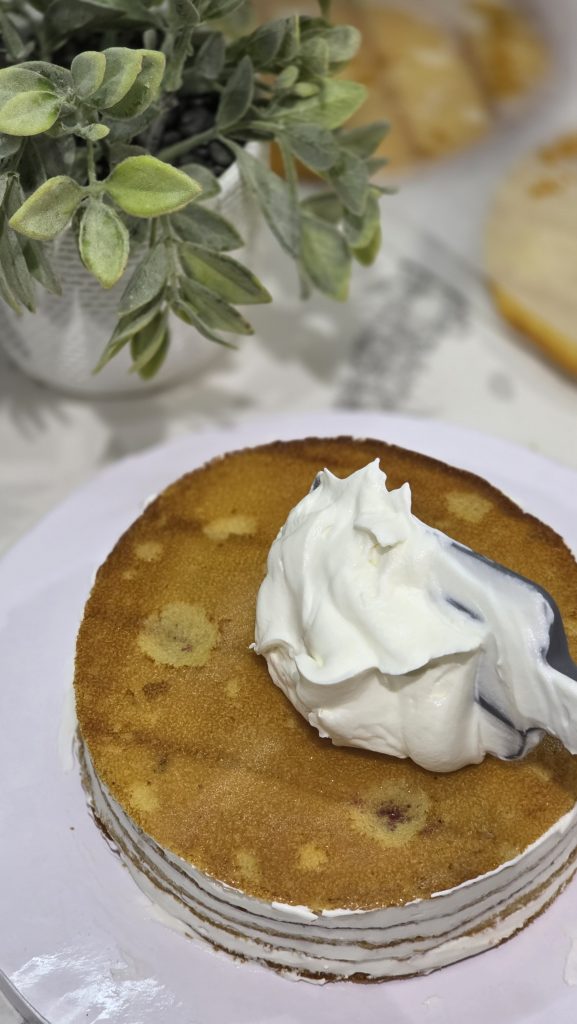
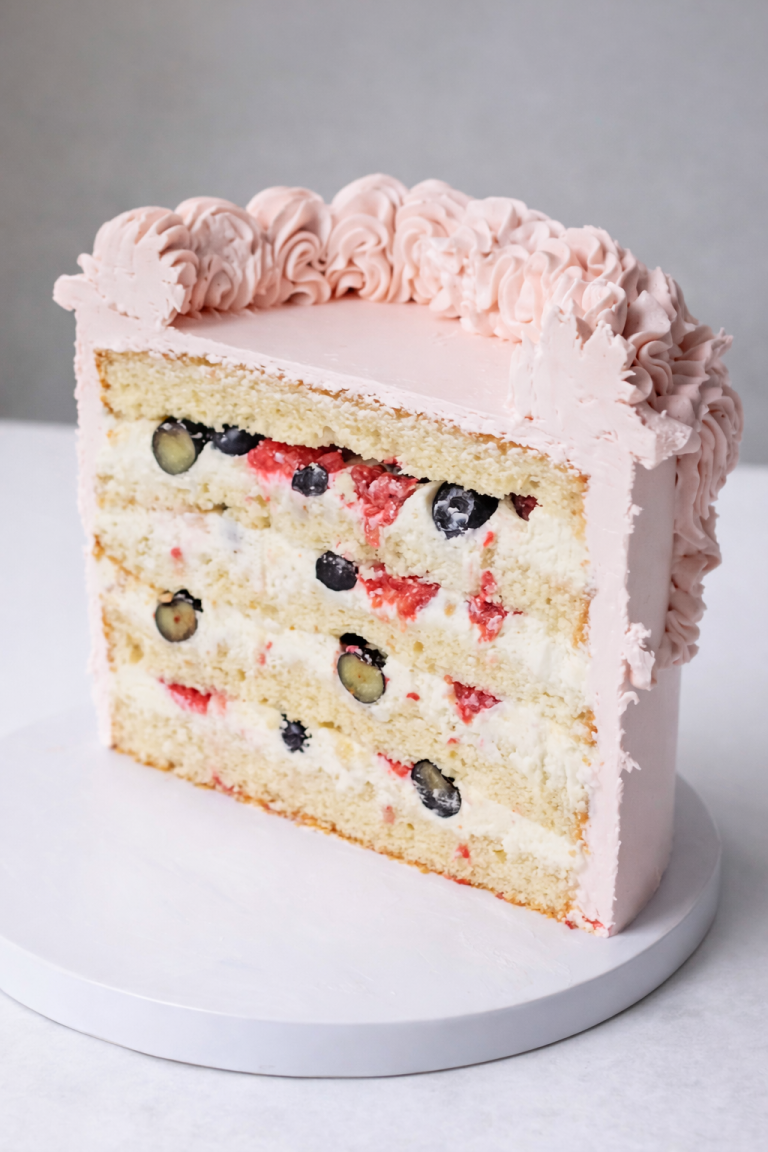
Assemble the Cake
- Place a small amount of cream on the cake board to prevent slipping.
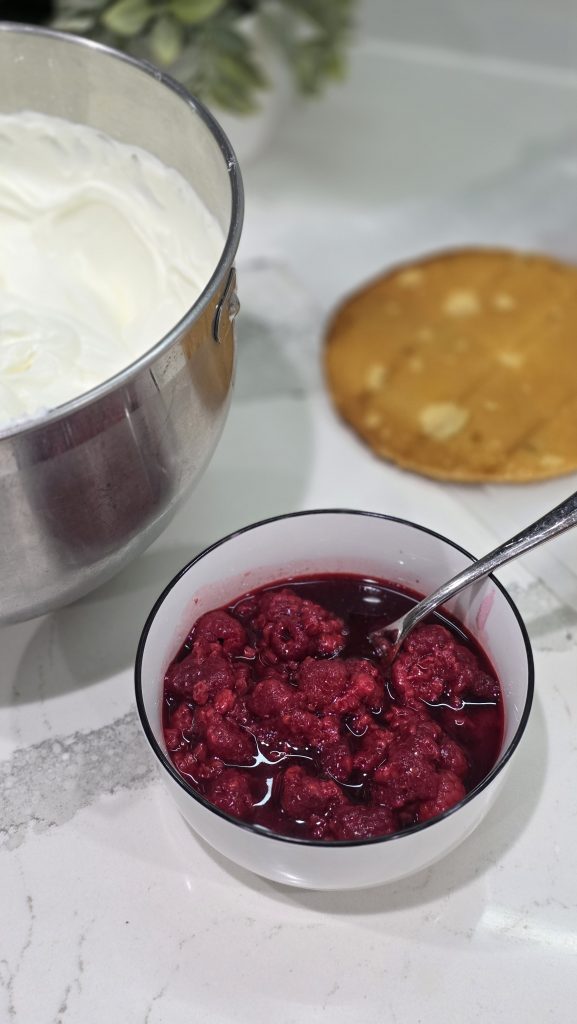
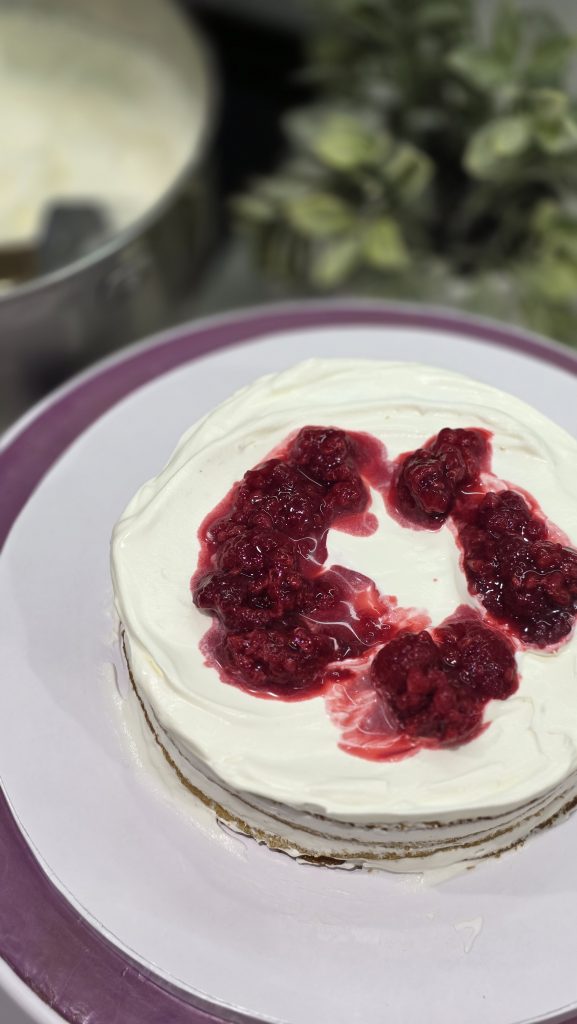
- Add the first layer → cream → layer → cream + raspberries → repeat.
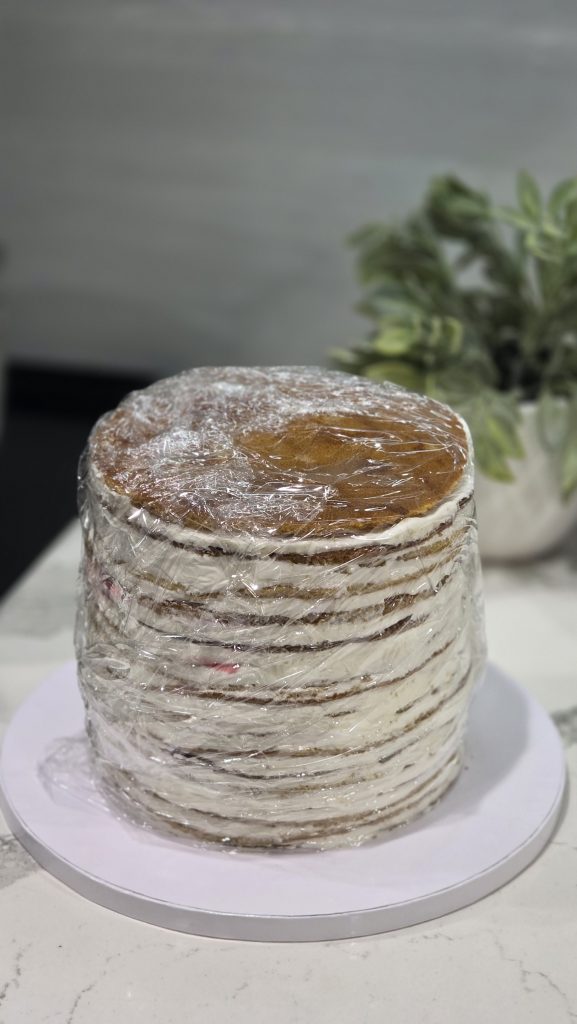
- Wrap the assembled cake tightly in plastic wrap.
- Gently adjust the shape with your hands if needed.
- Chill for 6–8 hours, preferably overnight.
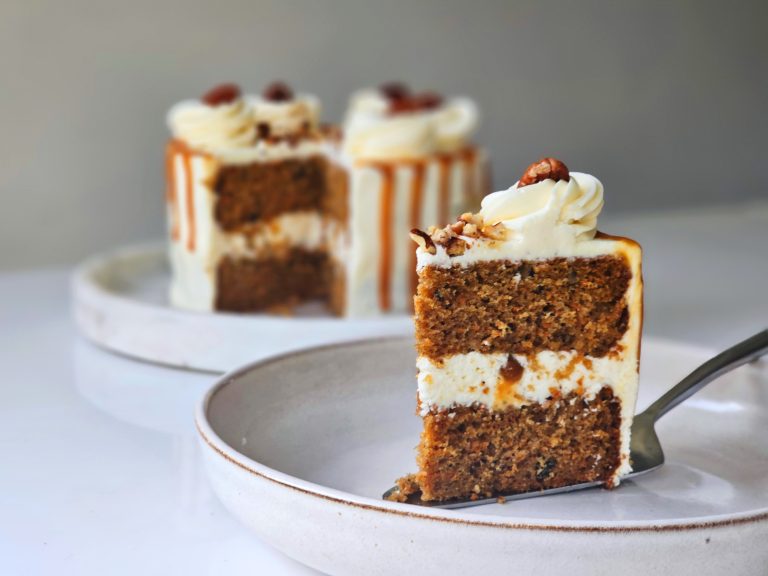
Finish the Cake
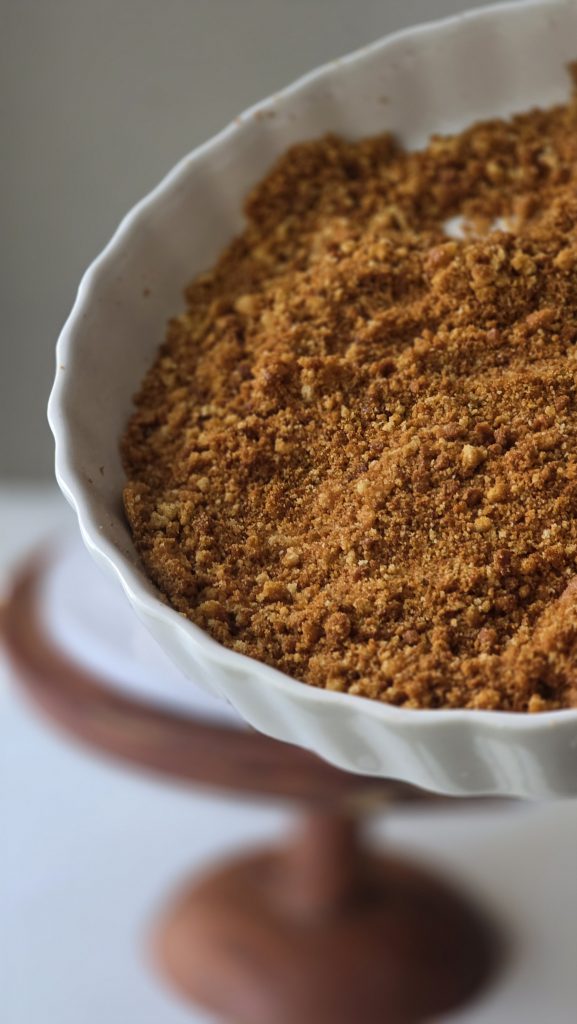
- Grind leftover layer trimmings into fine crumbs (you may dry them lightly in the oven first).
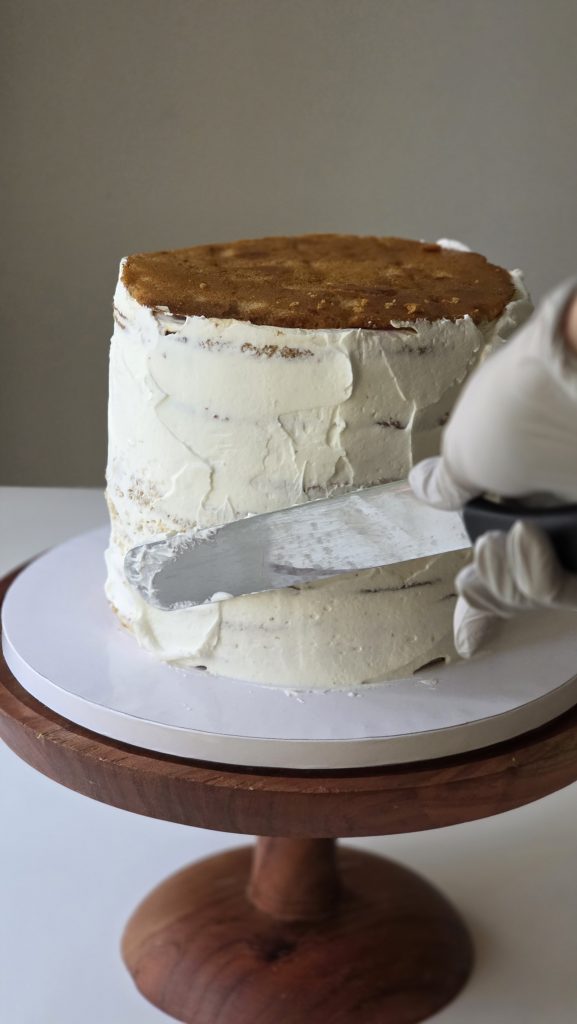
- Coat the cake with a thin layer of cream.
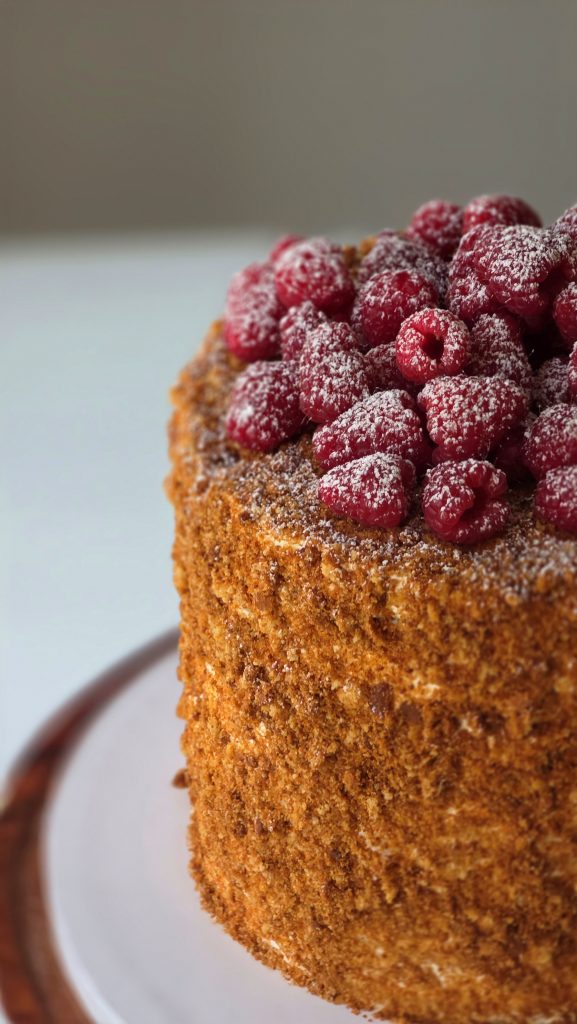
- Press crumbs onto the sides and top.
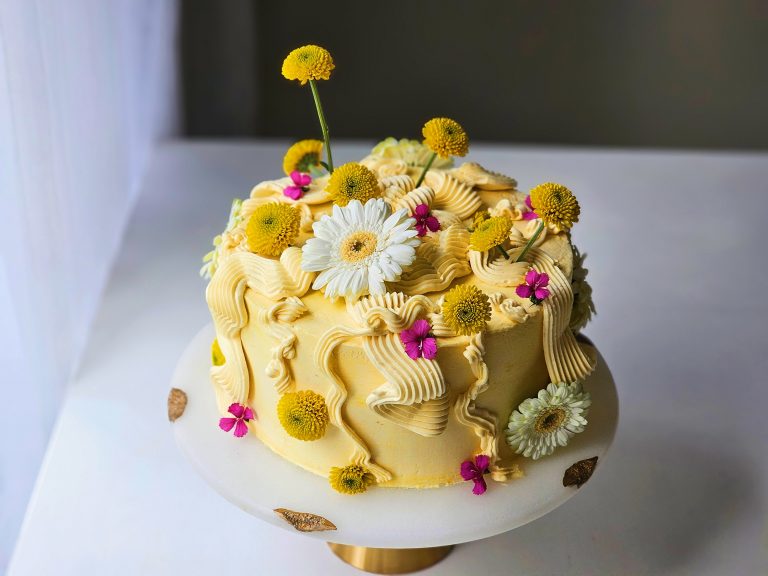
Decorate with fresh raspberries or your choice of toppings.

Tips & Notes
About Honey Flavor
- Honey greatly influences the taste.
- Raw local honey tastes different depending on region.
- Honey collected near citrus groves can give a pleasant orange-floral aroma.
- Darker honey makes the cake richer; lighter honey keeps it mild.
About Raspberries
- Frozen raspberries work beautifully — they are often sweeter and harvested at peak ripeness.
- You can omit raspberries completely.
- Variation: add chopped walnuts between layers or mix some into the crumb coating.
Texture Tips
- Do not overbake — layers must stay bendable.
- Water in the water bath evaporates quickly; refill with hot water as needed.
- Cream thickens more after chilling — the cake tastes even better on the second day.
Storage
- Store in the refrigerator for up to 3 days.
- The cake becomes softer and more flavorful as it rests.
Make-Ahead Instructions (Baking the Layers in Advance)
If you want to prepare the cake layers ahead of time, you absolutely can.
Here’s how to store them properly so they stay soft, flexible, and perfect for assembling later:
- Once baked and fully cooled, wrap each cake layer individually in plastic wrap.
This prevents the layers from drying out or sticking to one another. - Store in the refrigerator for 2–3 days before assembling.
- Make sure the layers are evenly brown, including the edges — they should not darken or become hard.
- When ready to assemble, simply unwrap the layers, prepare the cream, and continue with the recipe as usual.

Honey Cake (Medovik) with Raspberry
Ingredients
Method
- In a stand mixer, beat the eggs with sugar on medium speed until the mixture is light, fluffy, and significantly increased in volume.
- Gradually increase the speed as the mixture thickens.
- Bring a pot of water to a gentle simmer.
- Place the mixer bowl (or any heat-safe bowl) over the pot (with whipped eggs) making sure the bottom does not touch the water.
- Transfer the whipped egg mixture over the water bath.
- Add the butter and stir continuously with a spatula.
- When the butter is almost melted, add the honey and caramel sauce.
- In a small bowl, activate baking soda with vinegar (1 tsp soda + 1 tsp vinegar each time).
- Immediately add the foaming mixture into the batter and stir gently.
- The batter will begin to change color to a warm caramel shade.
- Add sifted flour in small portions (½ cup at a time).
- Gently fold with a spatula until no streaks remain.
- The batter will thicken and deepen in color.
- Remove the bowl from the water bath and let it cool slightly.
- Line silicone baking mats with parchment circles for size reference (7-inch layers for a tall cake; 8–12 inches for a wider, shorter cake).
- Spread a thin, even layer of batter over the mat using a spatula.
- Bake for 5 minutes at 330°F, then switch to convection at 350°F for 1 more minute until the edges turn golden.
- Do not overbake — the layers should stay soft and flexible.
- Trim the edges while warm and set the trimmings aside for crumbs.
- In a mixing bowl, combine sour cream, heavy cream, and powdered sugar.
- Start on low speed, gradually increasing to high.
- Whip until thick and stable, but do not overwhip — it may turn runny.
- Place a small amount of cream on the cake board to prevent slipping.
- Add the first layer → cream → layer → cream + raspberries → repeat.
- Wrap the assembled cake tightly in plastic wrap.
- Gently adjust the shape with your hands if needed.
- Leave a little cream for covering the cake. Store the cream in the refrigerator, covered tightly with plastic wrap to keep out any air
- Grind leftover layer trimmings into fine crumbs (you may dry them lightly in the oven first).
- Coat the cake with a thin layer of cream.
- Press crumbs onto the sides and top.
- Decorate with fresh raspberries or your choice of toppings.
- About Honey Flavor
- Honey greatly influences the taste.
- Raw local honey tastes different depending on region.
- Honey collected near citrus groves can give a pleasant orange-floral aroma.
- Darker honey makes the cake richer; lighter honey keeps it mild.
- Frozen raspberries work beautifully — they are often sweeter and harvested at peak ripeness.
- You can omit raspberries completely.
- Do not overbake — layers must stay bendable.
- Water in the water bath evaporates quickly; refill with hot water as needed.
- Cream thickens more after chilling — the cake tastes even better on the second day.
- Store in the refrigerator for up to 3 days.
- The cake becomes softer and more flavorful as it rests.
- If you want to prepare the cake layers ahead of time, you absolutely can.
- Here’s how to store them properly so they stay soft, flexible, and perfect for assembling later:
- Once baked and fully cooled, wrap each cake layer individually in plastic wrap.
- This prevents the layers from drying out or sticking to one another.
- When ready to assemble, simply unwrap the layers, prepare the cream, and continue with the recipe as usual.
Tried this recipe?
Let us know how it was!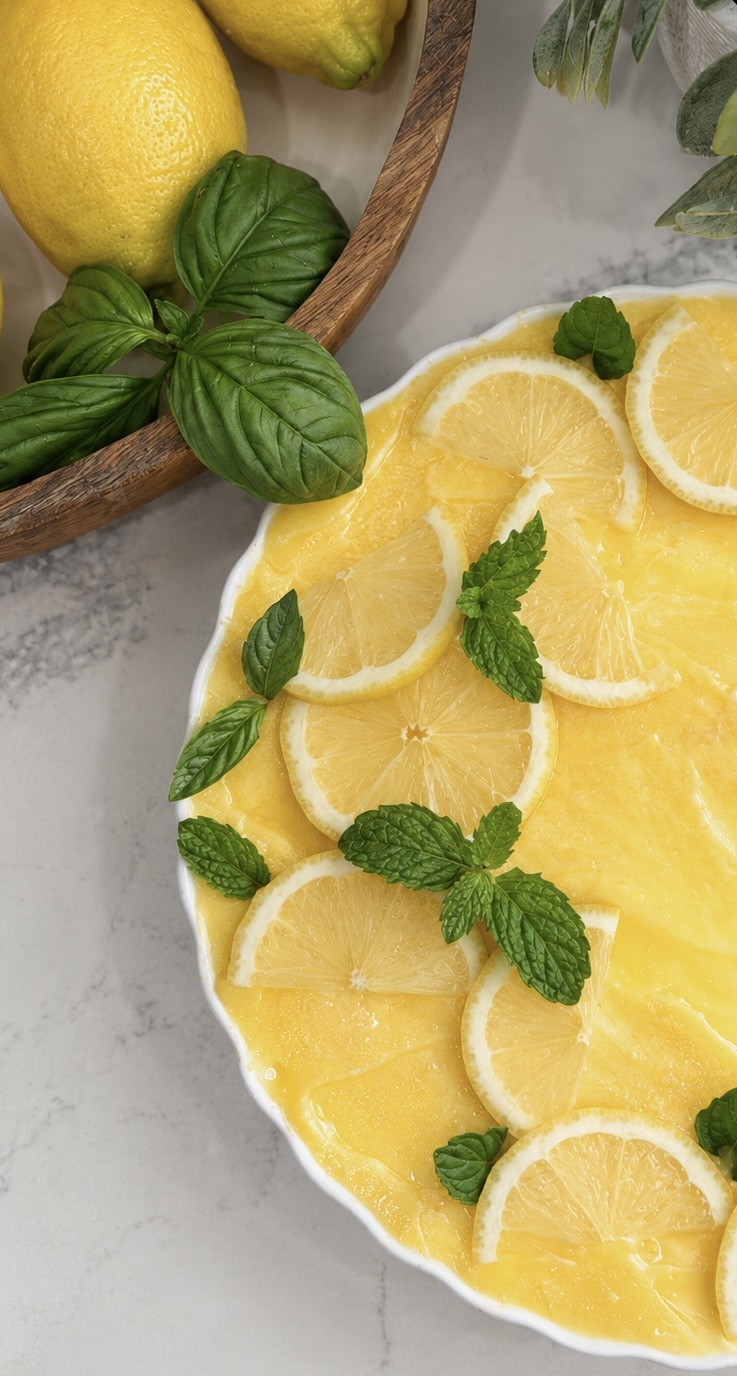


Thanks for reading!
If this recipe inspired you, save it, share it, and tag me — I love seeing your creations!
NATALIA
The way you combine beautiful presentation with easy-to-follow recipes makes everything feel approachable and exciting to try.
The texture was soft and light, and every bite melted in my mouth. 🫶🏻