Ingredients
Method
Step 1 — Prepare the Chocolate Base
- In the bowl of a stand mixer or a large heatproof bowl for a double boiler, combine:
- White chocolate or white coating
- Heavy cream
- Corn syrup
- If you want an extra white buttercream, add the white powdered coloring or titanium dioxide at this stage. It dissolves beautifully into the warm mixture.
- Place the bowl over a double boiler on low heat.
- Using a spatula, gently stir the mixture until the chocolate is almost completely melted.
- Do not overheat the chocolate.
Step 2 — Melt the Cocoa Butter
- At the same time, place the cocoa butter into a microwave-safe bowl.
- Cover the bowl with plastic wrap.
- Microwave for 1–2 minutes first, then check and continue heating in short intervals if needed until fully melted.
- Be careful — cocoa butter becomes extremely hot.
- Do not skip this ingredient. Cocoa butter is one of the main reasons this frosting becomes so stable for large cakes and warmer temperatures.
Step 3 — Blend Until Smooth
- Once the cocoa butter is fully melted, carefully pour it into the warm chocolate mixture.
- Using an immersion blender, blend everything until completely smooth and silky.
- At this stage:
- The chocolate should be fully melted
- The coloring should dissolve completely
- The texture should look glossy and smooth
- The buttercream base is now finished.
Step 4 — Chill the Base
- Cover the surface directly with plastic wrap touching the cream.
- Place it into the refrigerator for at least 5 hours, but overnight is best.
- This chilling step is extremely important for the final texture and stability of the frosting.
Step 5 — Whip the Buttercream
- Remove the chilled base from the refrigerator about 30 minutes before mixing.
- Place it into your mixer bowl and begin whipping until it softens slightly.
- Slowly add the room-temperature butter in small pieces.
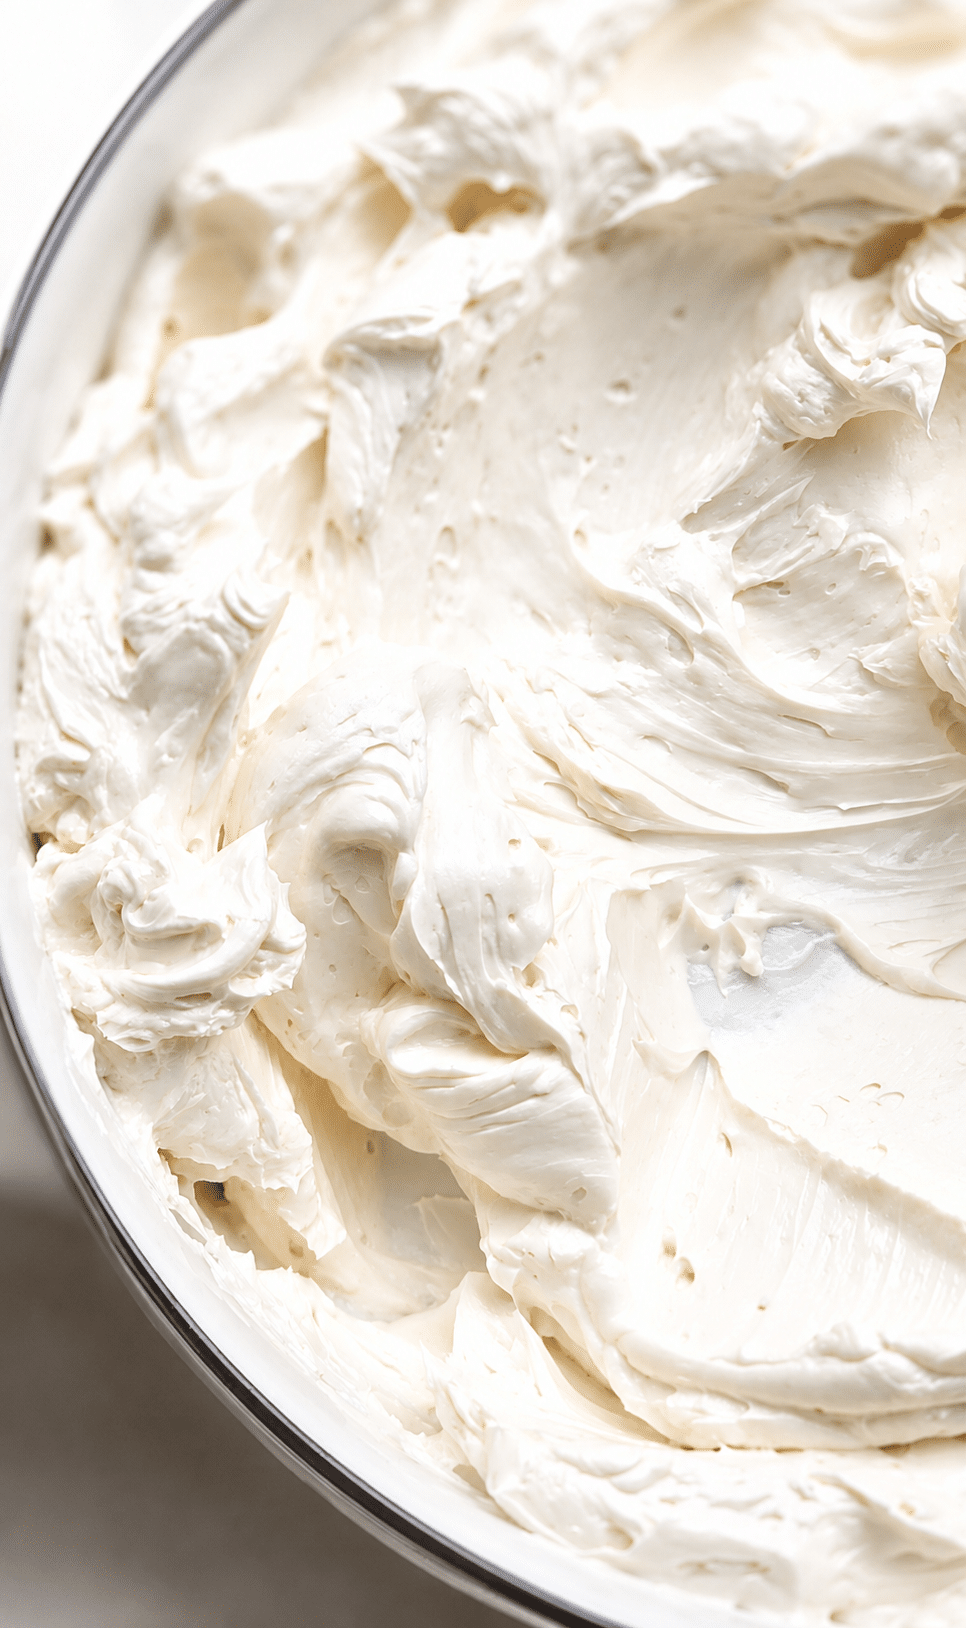
- Continue whipping until the buttercream becomes:
- Smooth
- Creamy
- Fluffy
- Fully combined
- At this stage, you can add vanilla extract or other flavorings if desired.
Step 6 — Add Flavor or Color
- This frosting is incredibly easy to customize.
- For coloring:
- Use fat-soluble food coloring for the best results
For flavor:
- Add vanilla extract
- Use coffee syrups
- Add sweet liqueurs
- Try flavored drink syrups or extracts
- The possibilities are endless.
Notes
Why This Frosting Works So Well
This buttercream:- Creates beautifully smooth cake edges
- Pipes very cleanly
- Holds its shape for large cakes
- Works perfectly under fondant
- Stays stable in warmer conditions
- Keeps a creamy texture without becoming overly sweet
Storage Instructions
I usually store this frosting:- Wrapped tightly in plastic wrap
- In piping bags
- Or in an airtight container in the refrigerator
Batch Sizes for Different Mixer Bowls
I usually make:- 5x recipe in a large 8-quart mixer bowl
- 3x recipe in a medium mixer
- 1–2x recipe in a smaller mixer
Pro Tips
- Let refrigerated frosting soften slightly before rewhipping
- Use room-temperature butter only
- Avoid overheating white chocolate
- Blend with an immersion blender for the smoothest finish
- Chill the base overnight for best results
- Use high-quality chocolate for the best flavor