
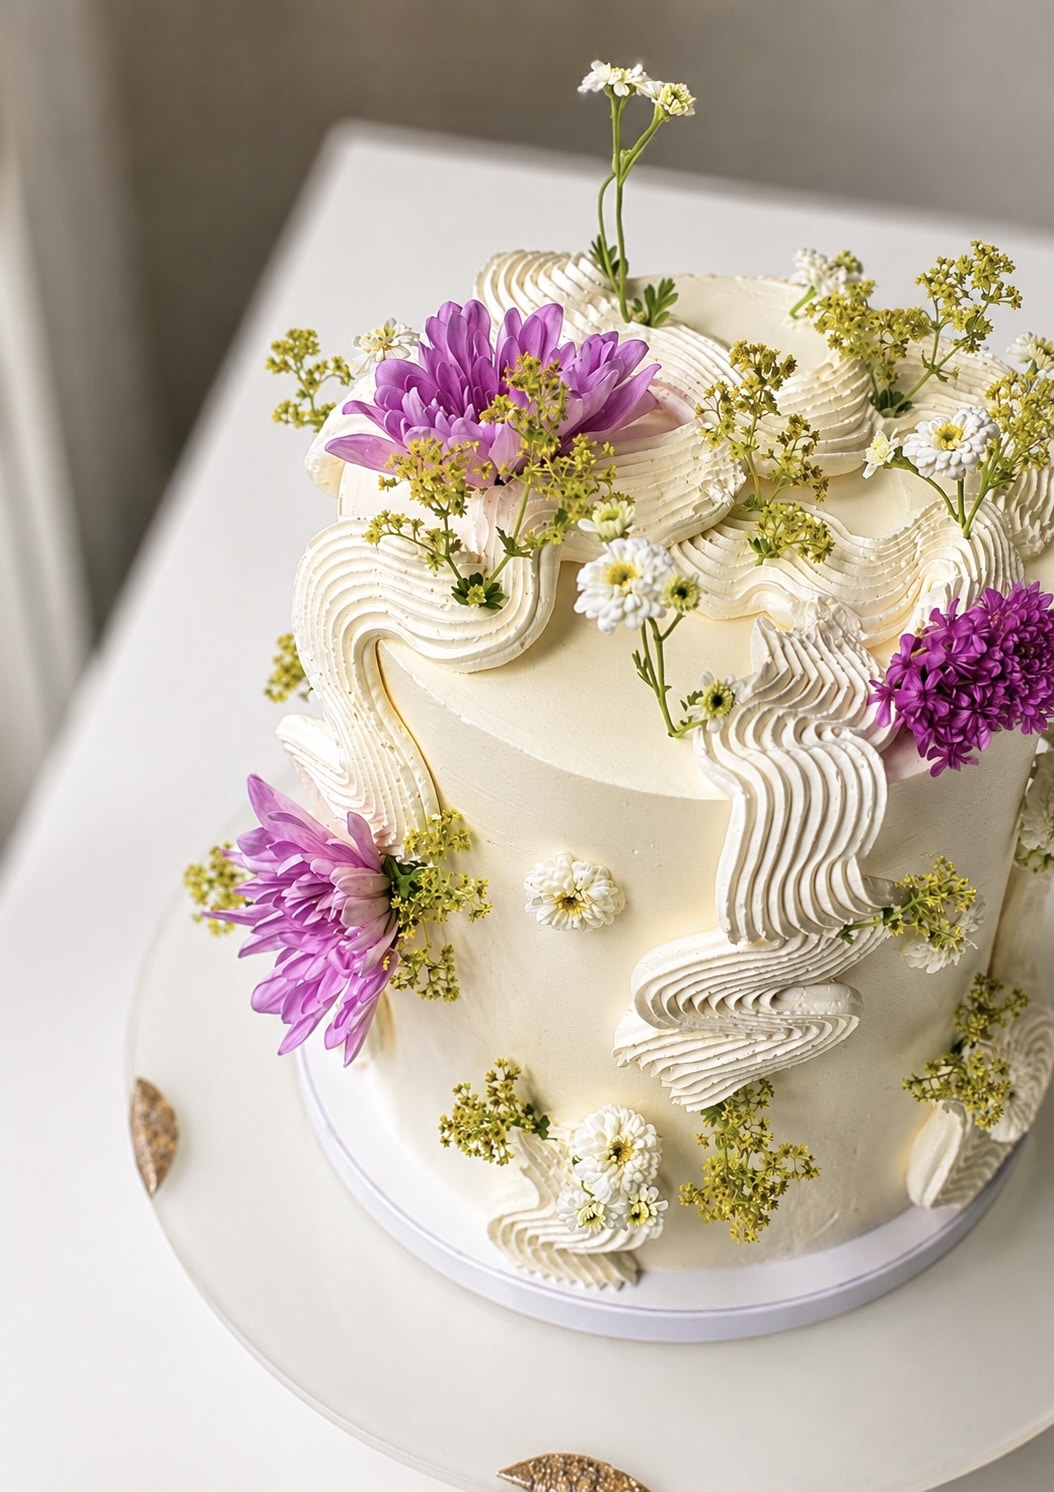
Stable Vanilla Buttercream for Wedding Cakes
Smooth, Stable Frosting for Sharp Edges, Tiered Cakes & Buttercream Decorating
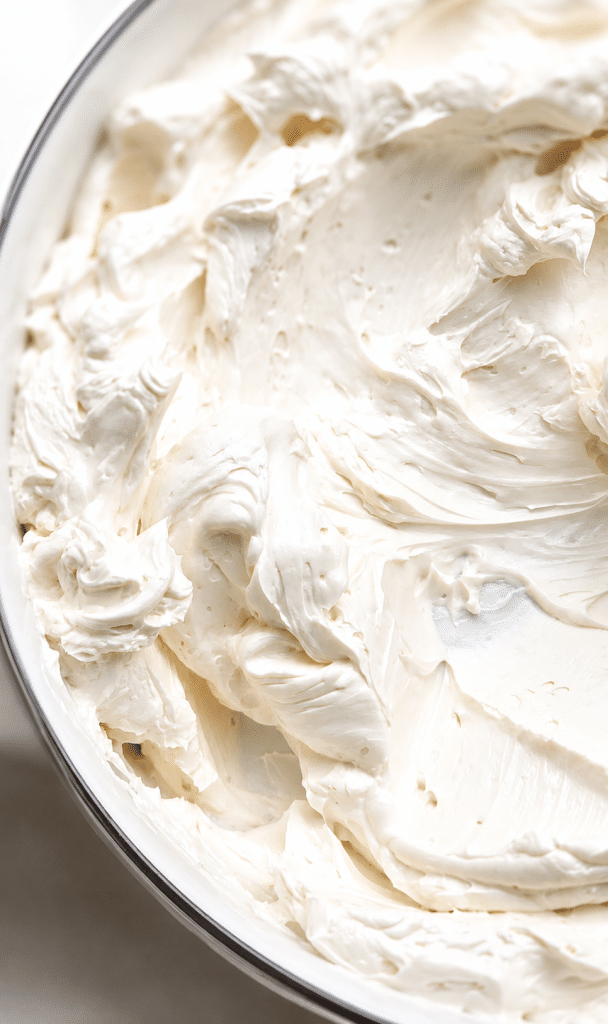
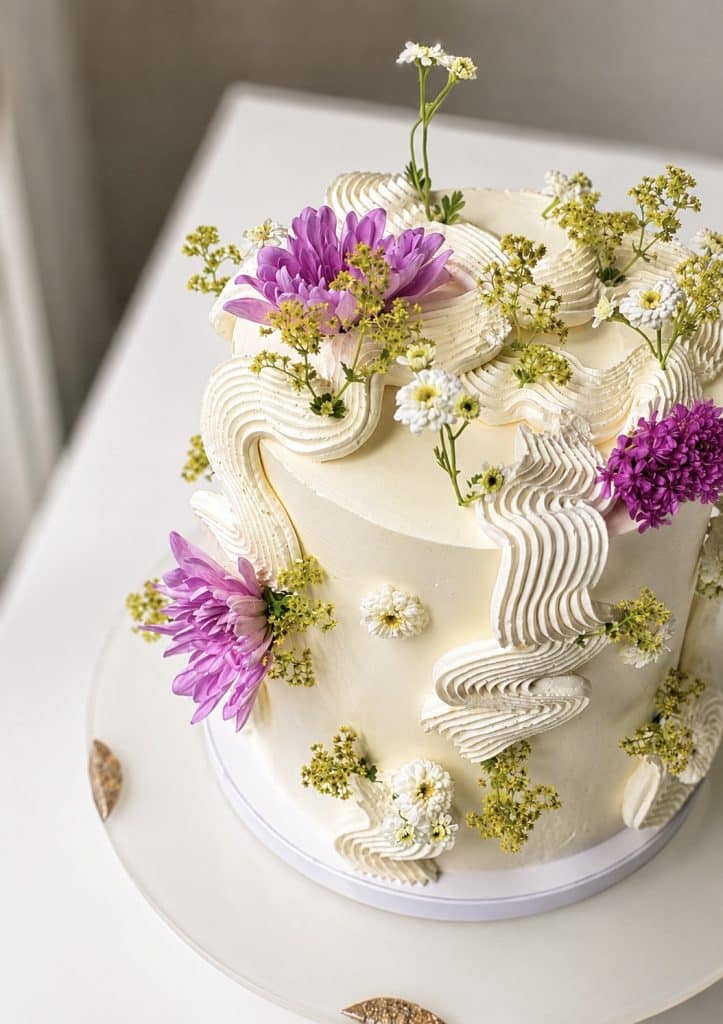
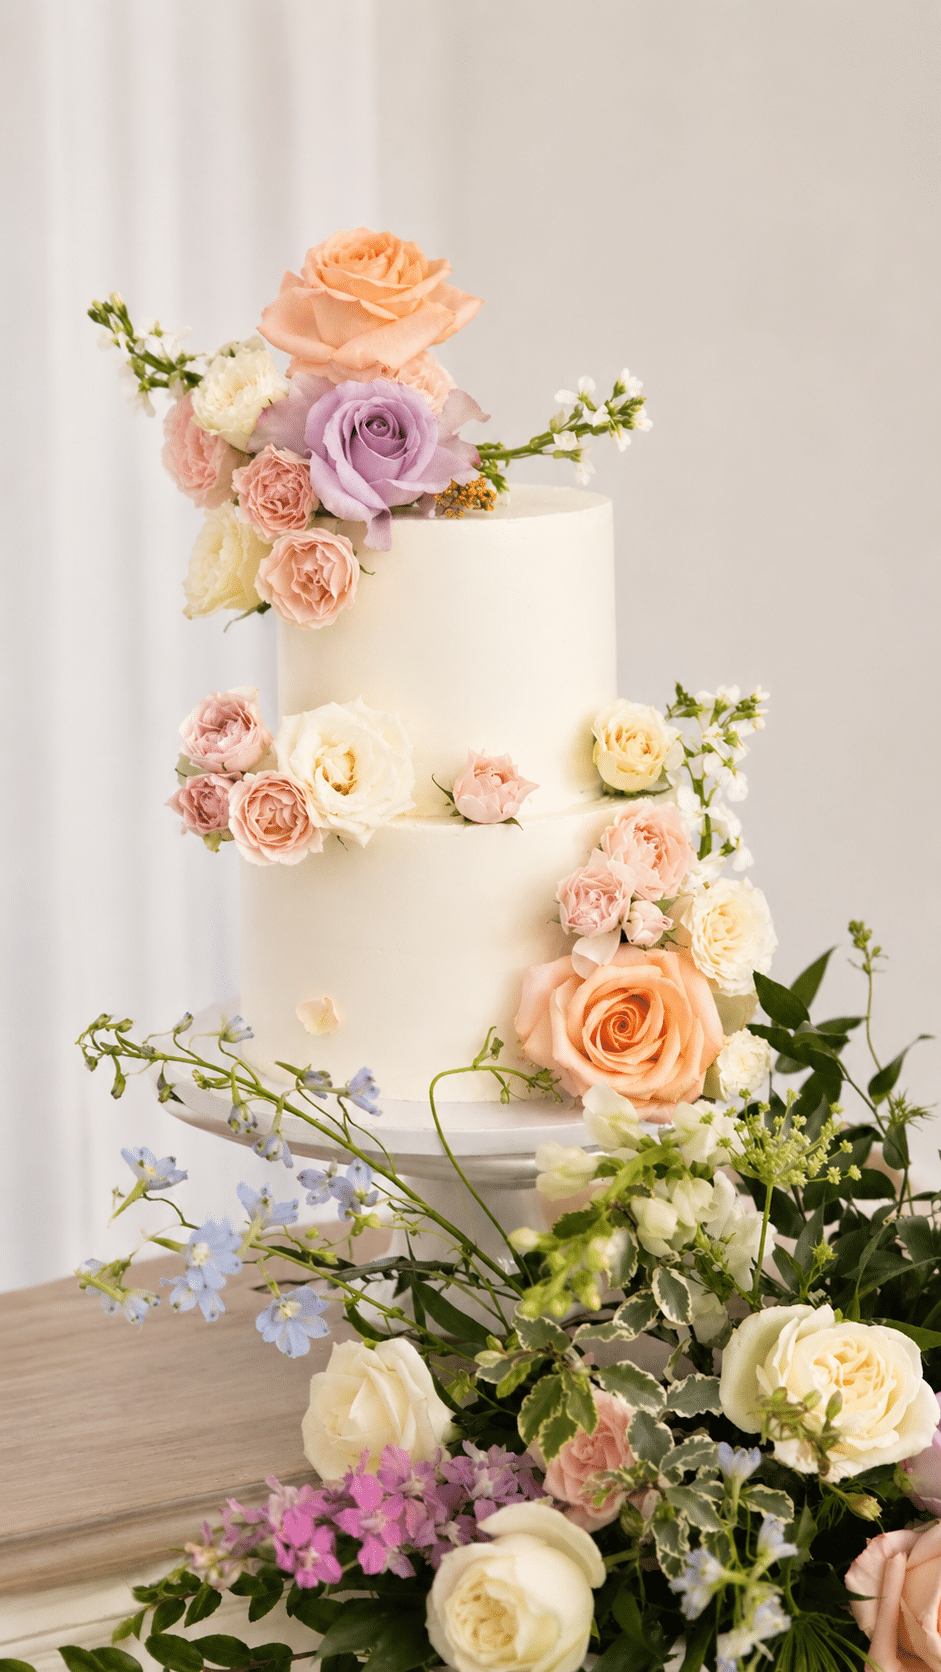
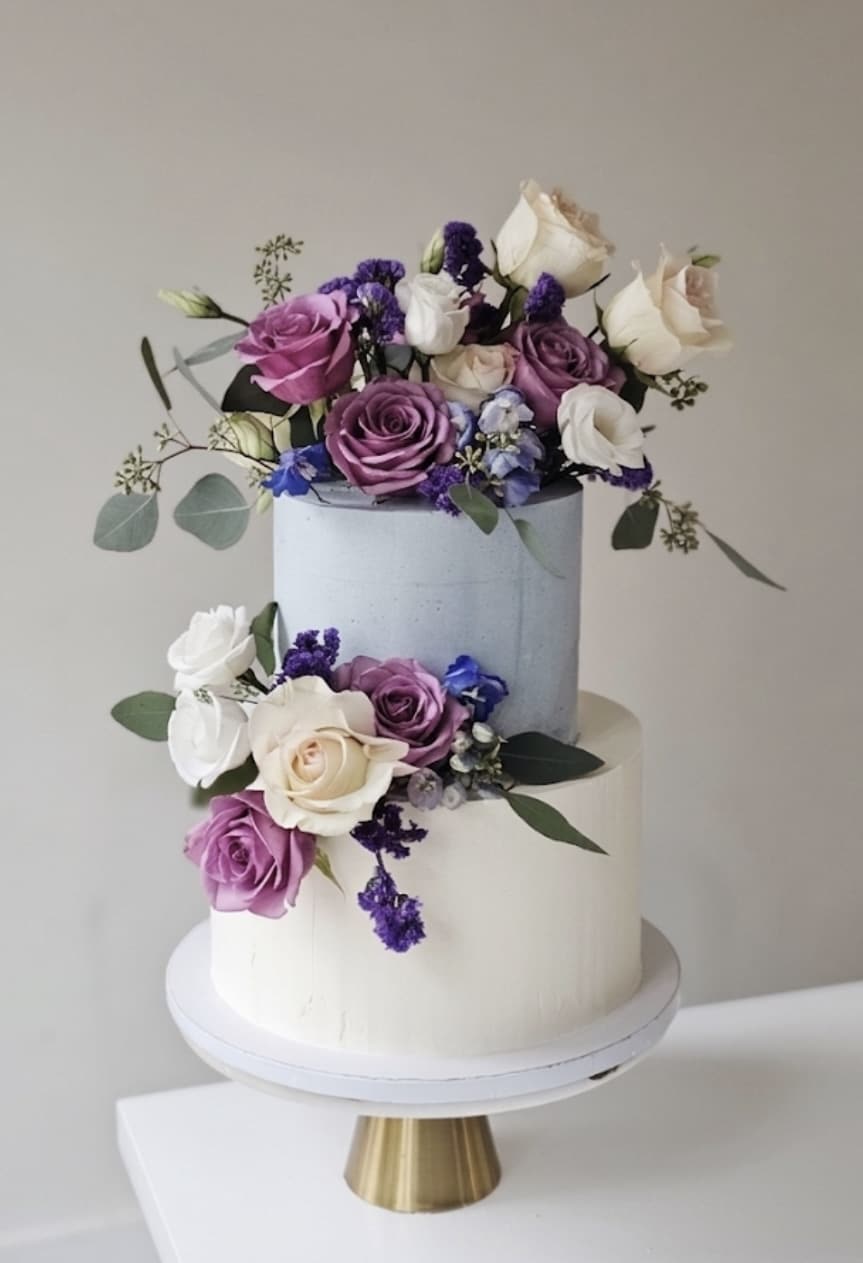
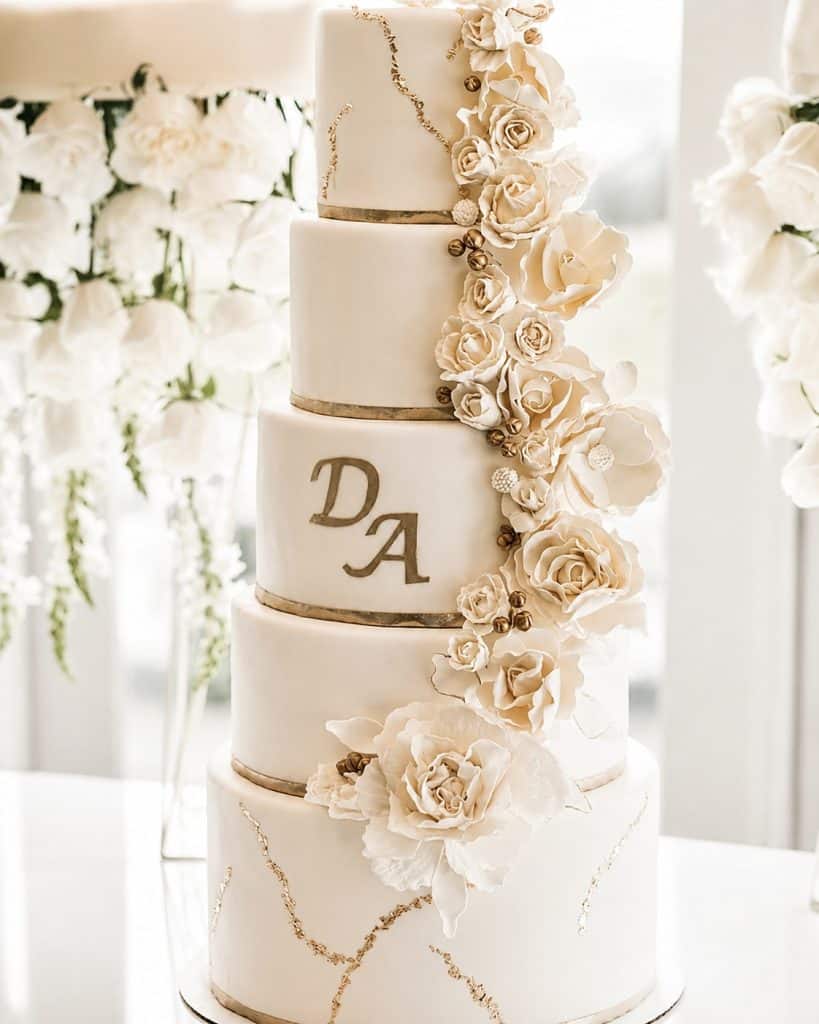
This stable white chocolate buttercream is the frosting I used for many years on my wedding cakes, tiered cakes, fondant cakes, and buttercream decorations. It creates incredibly smooth edges, stays stable even in warmer temperatures, and still tastes creamy and delicious after refrigeration.
One of the best things about this frosting is how customizable it is. You can easily change the flavor by adding vanilla extract, coffee syrups, sweet liqueurs, or other flavorings. It also colors beautifully with fat-soluble food coloring.
Why You’ll Love This Recipe
- Extremely stable for wedding and tiered cakes
- Perfect for sharp edges and smooth cake finishing
- Great for piping and buttercream flowers
- Delicious even after refrigeration
- Excellent under fondant
- Easy to color and flavor
- Holds up well in warmer weather
- Stores beautifully for days
Kitchen Tools
- Stand mixer or large mixing bowl
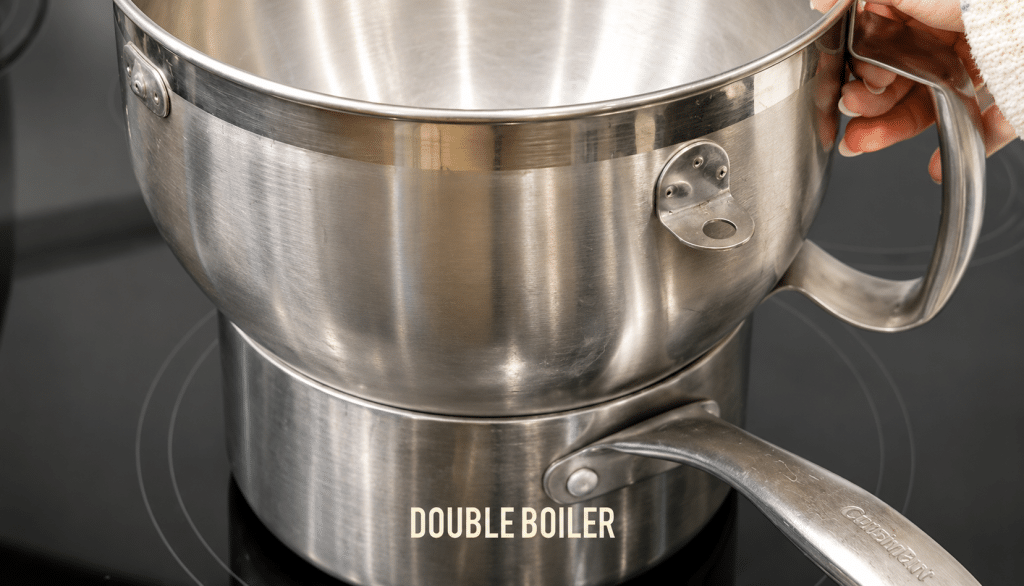
- Heatproof bowl or double boiler, or mixer bowl
- Silicone spatula
- Microwave-safe bowl
- Immersion blender
- Plastic wrap
Ingredients
For the Buttercream Base
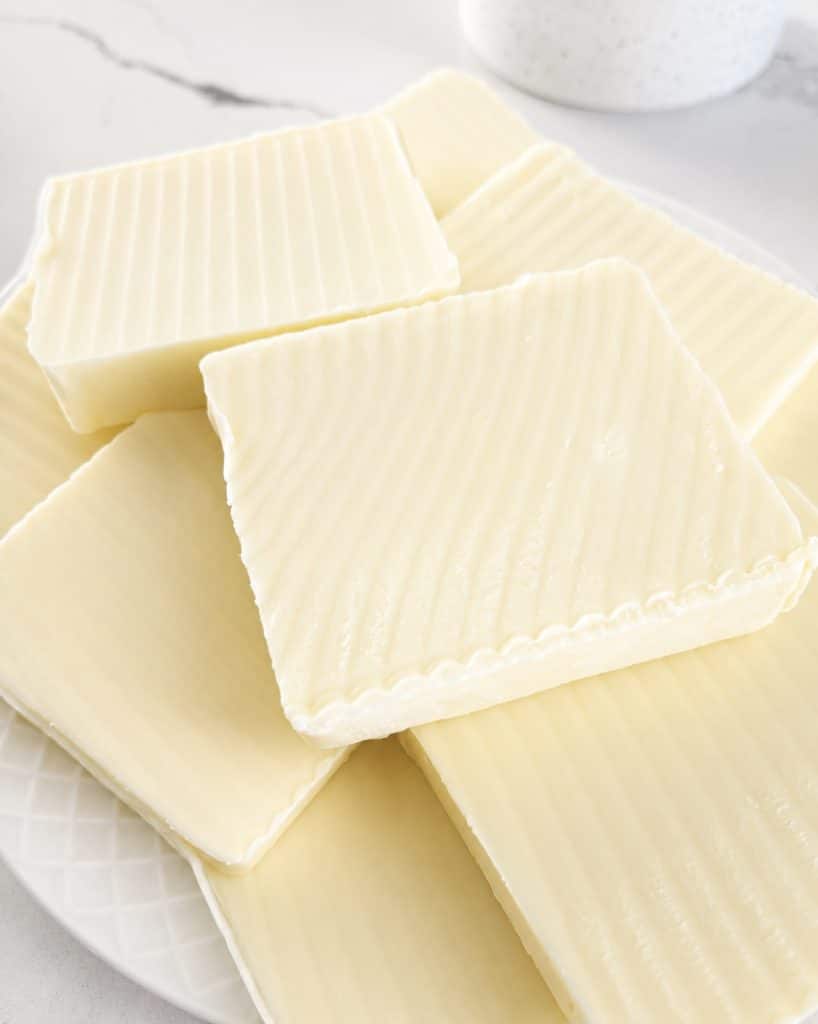
- 300 g white chocolate or white confectionery coating
- 150 g heavy cream
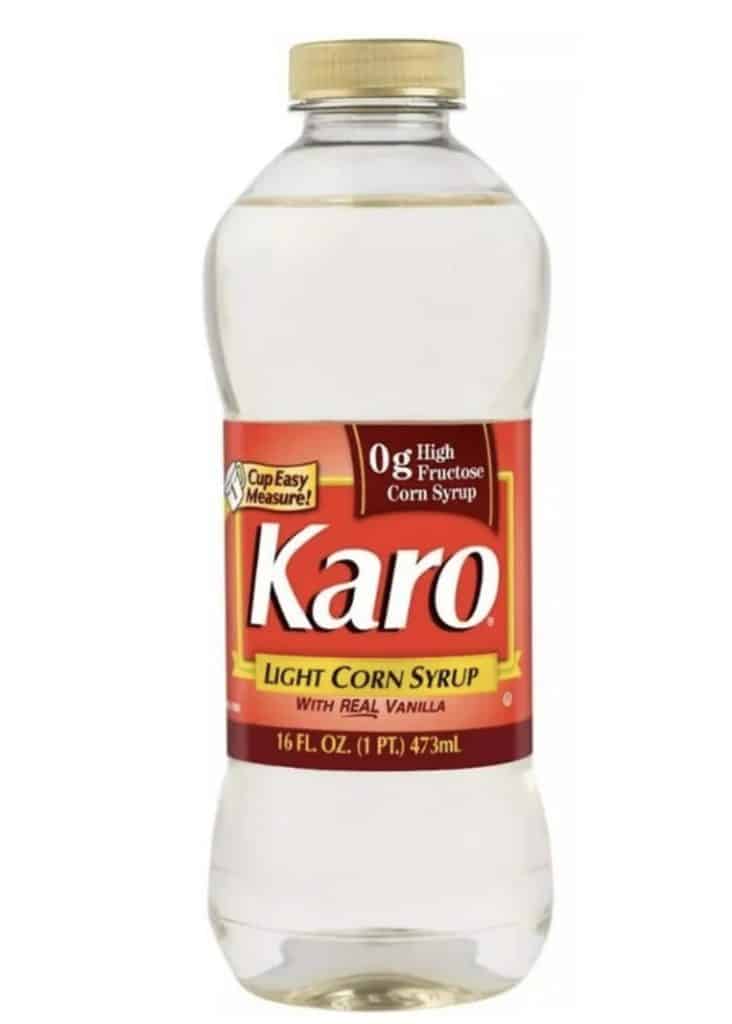
- 10 g corn syrup or glucose syrup
- 10 g cocoa butter
- White powdered food coloring or titanium dioxide (optional)
To Finish the Buttercream
- 300 g unsalted butter, room temperature
Optional Flavor Additions
- Vanilla extract
- Almond extract
- Coffee syrups
- Sweet liqueurs
- Coconut extract
- Caramel flavoring
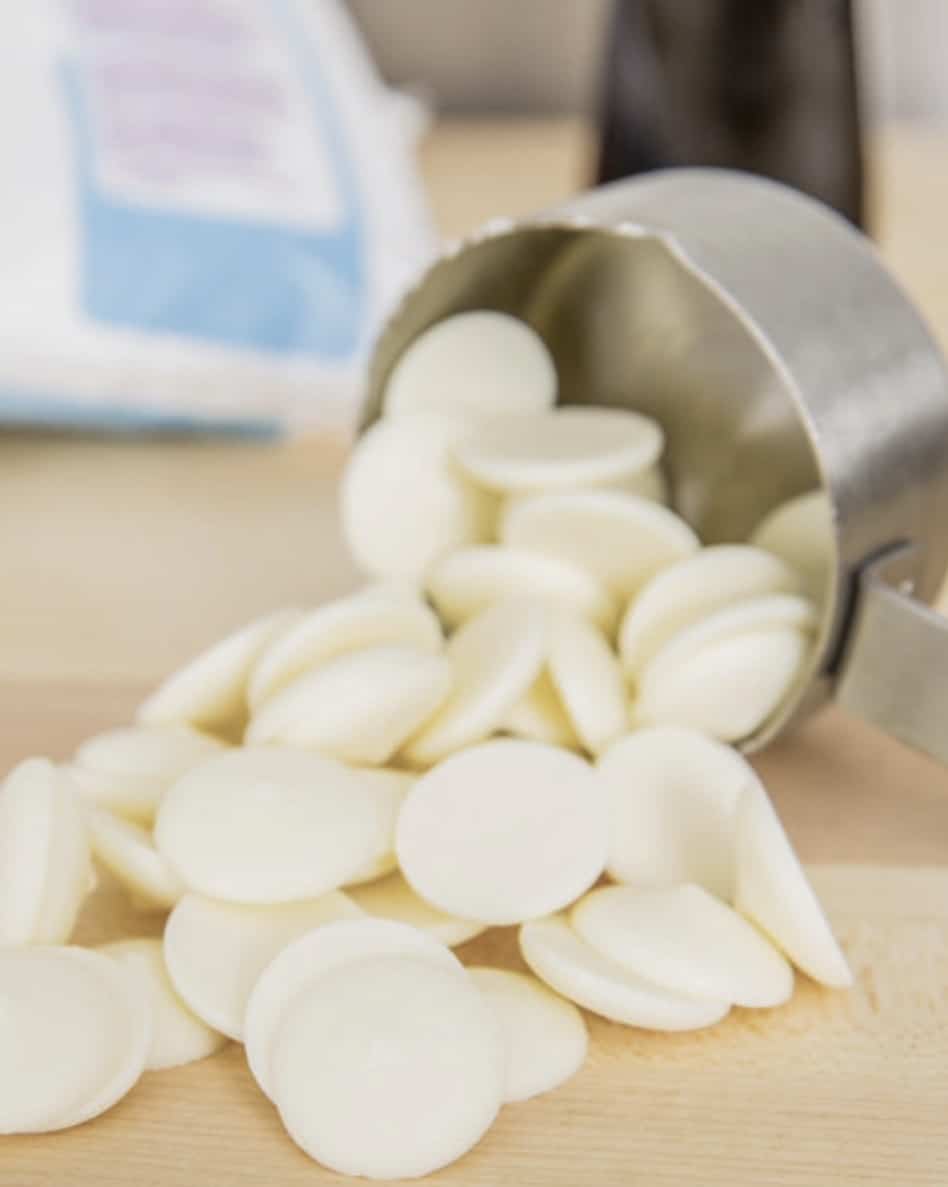
Ingredient Notes
You can use either real white chocolate or white confectionery coating (melting wafers).
- Real white chocolate gives the frosting a richer and deeper flavor.
- White confectionery coating creates a sweeter bakery-style taste and slightly firmer texture.
Both work well, but the final flavor of the buttercream will depend on which one you choose.
For many of my wedding cakes, I preferred using white confectionery coating because it created an incredibly stable finish for large tiered cakes and perfectly sharp edges.
These cake flavors have been tested for years and are stable enough for tiered and wedding cakes when assembled properly. The fillings hold their shape well, slice beautifully, and stay delicious even after refrigeration.
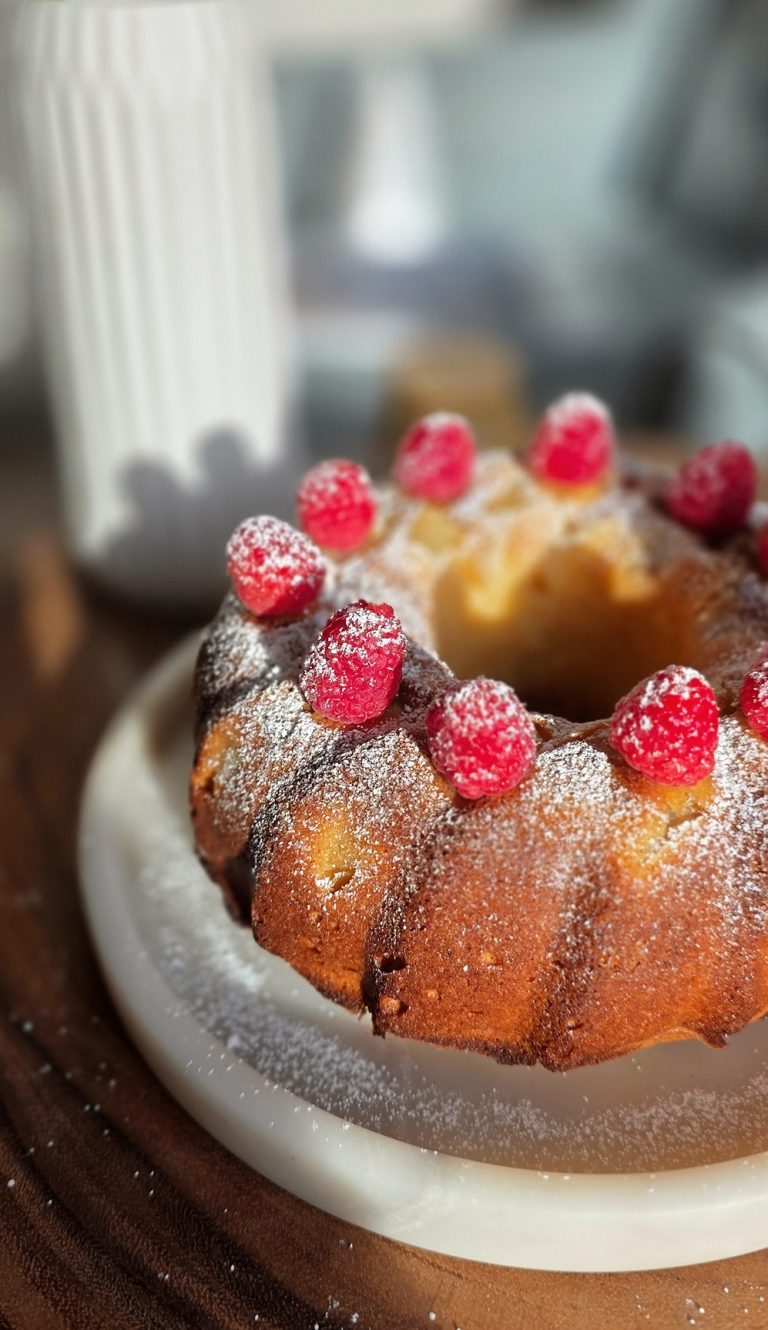
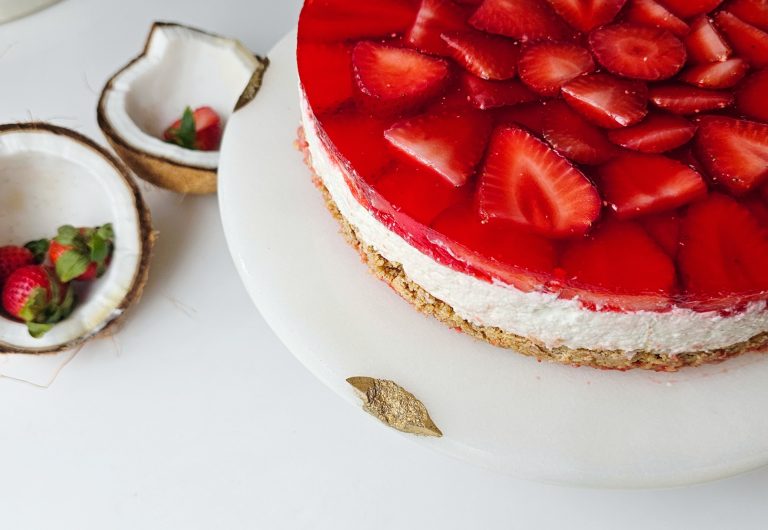
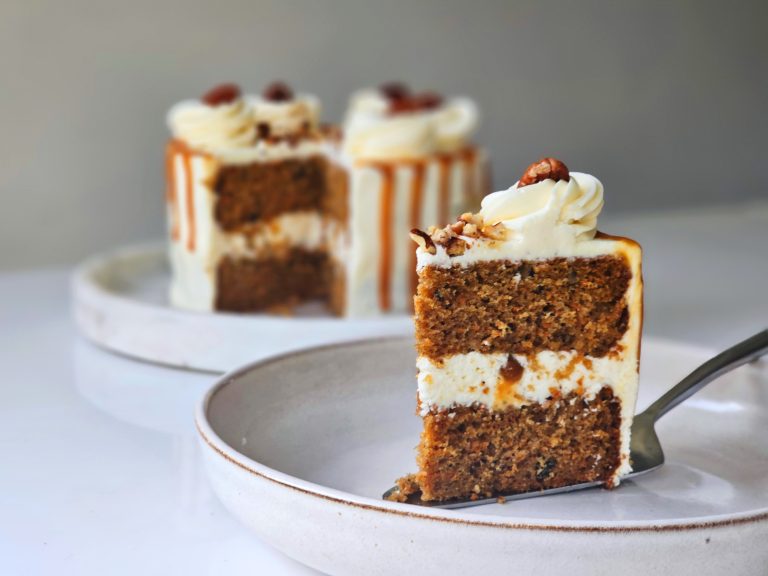
Some of my favorite cakes to pair with this frosting are:
For tall or multi-tier cakes, don’t forget to properly support and reinforce each layer with dowels and sturdy cake boards before stacking. This is especially important for wedding cakes and large celebration cakes to keep them stable and secure throughout the event
Step-by-Step Instructions
Step 1 — Prepare the Chocolate Base
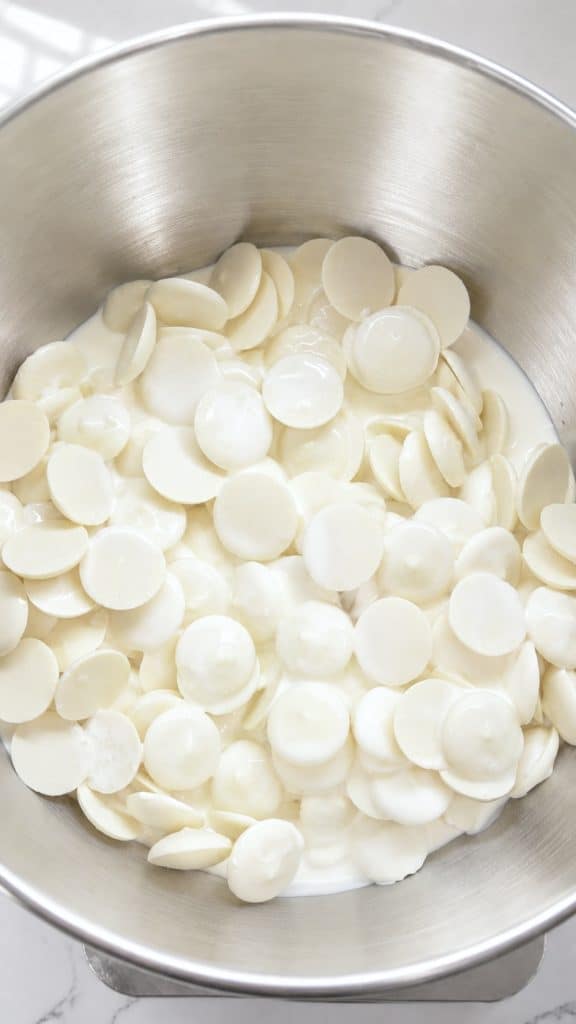
In the bowl of a stand mixer or a large heatproof bowl for a double boiler, combine:
- White chocolate or white coating
- Heavy cream
- Corn syrup
If you want an extra white buttercream, add the white powdered coloring or titanium dioxide at this stage. It dissolves beautifully into the warm mixture.
Place the bowl over a double boiler on low heat.
Using a spatula, gently stir the mixture until the chocolate is almost completely melted.
Do not overheat the chocolate.
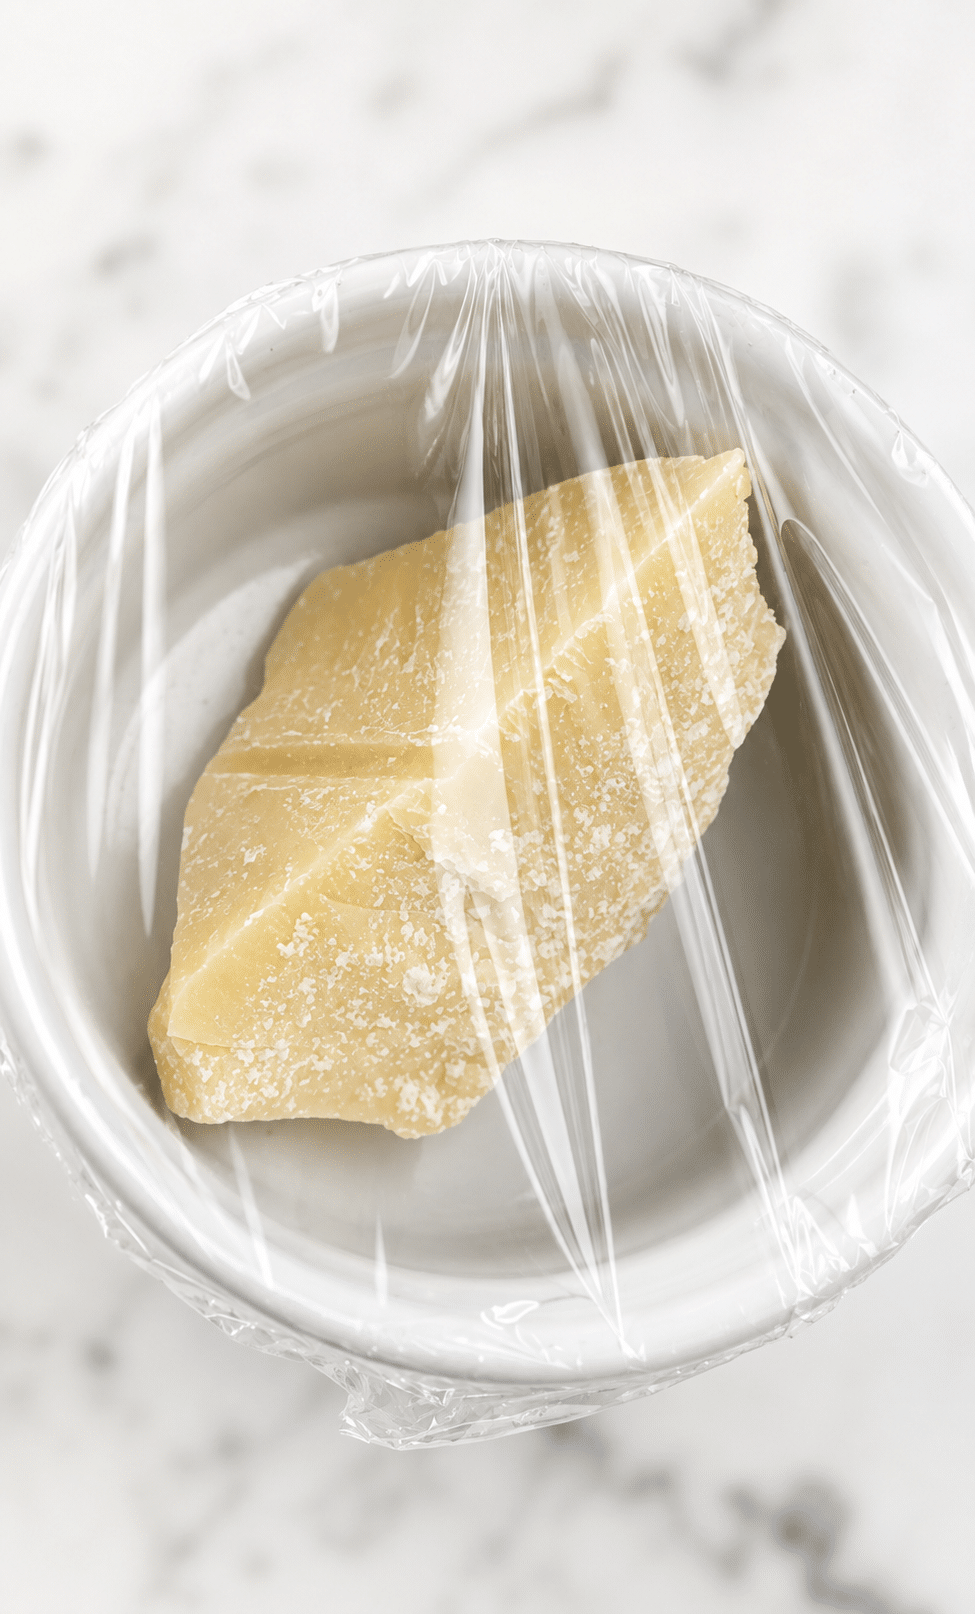
Step 2 — Melt the Cocoa Butter
At the same time, place the cocoa butter into a microwave-safe bowl.
Cover the bowl with plastic wrap.
Microwave for 1–2 minutes first, then check and continue heating in short intervals if needed until fully melted.
Be careful — cocoa butter becomes extremely hot.
Do not skip this ingredient. Cocoa butter is one of the main reasons this frosting becomes so stable for large cakes and warmer temperatures.
Step 3 — Blend Until Smooth
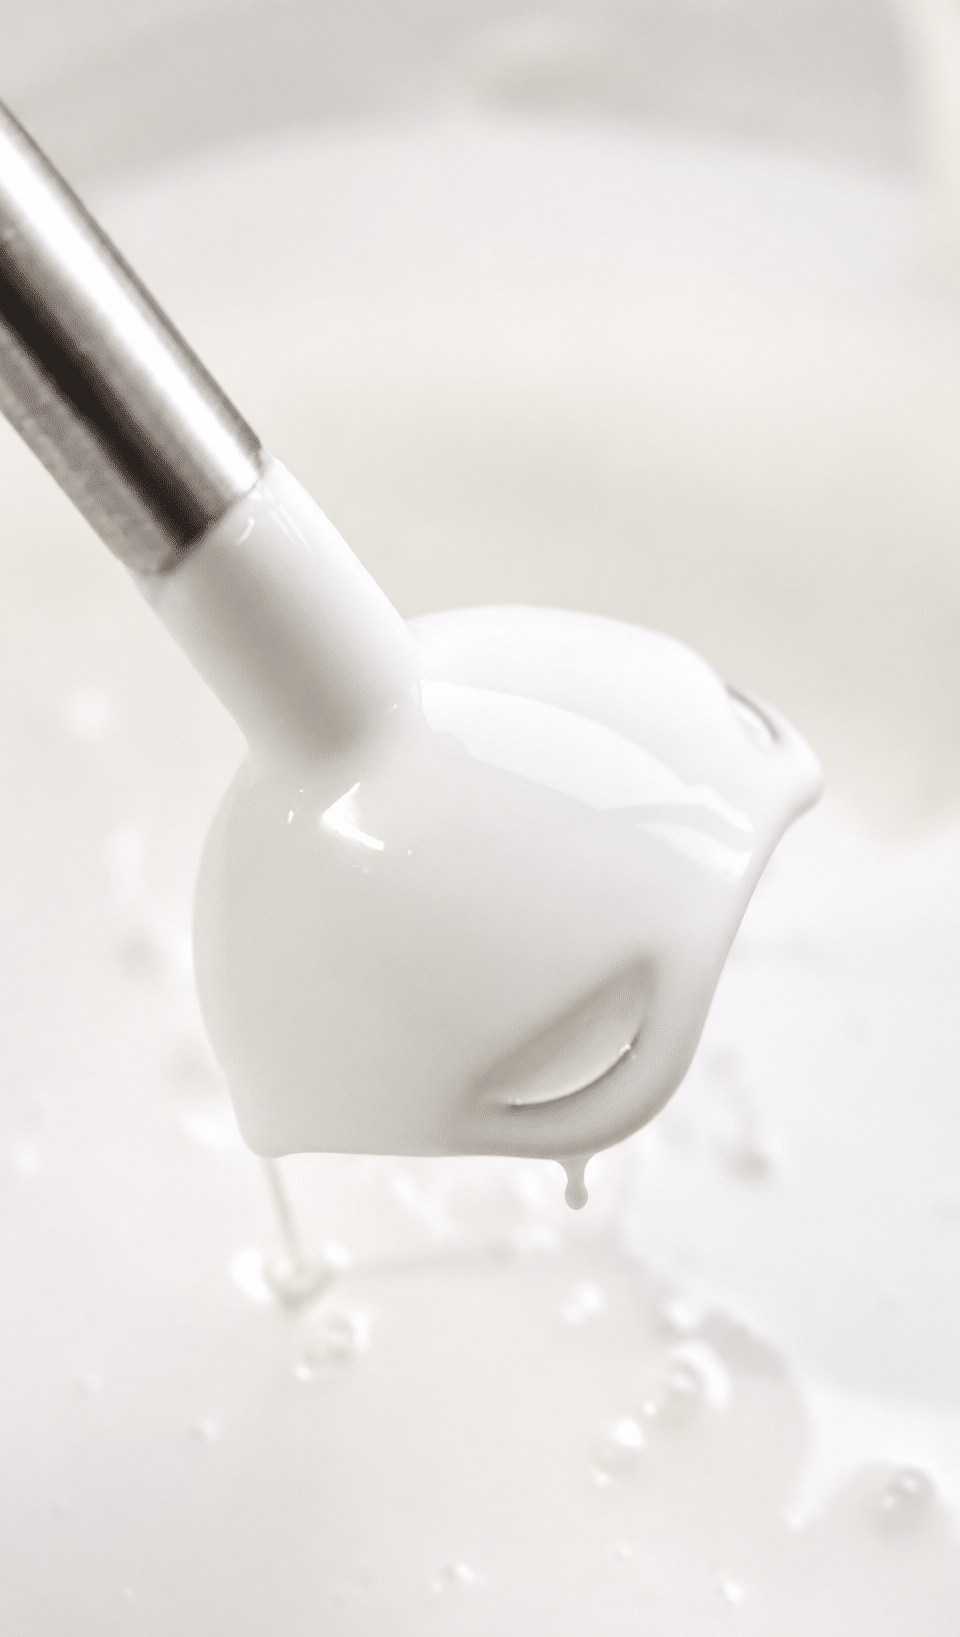
Once the cocoa butter is fully melted, carefully pour it into the warm chocolate mixture.
Using an immersion blender, blend everything until completely smooth and silky.
At this stage:
- The chocolate should be fully melted
- The coloring should dissolve completely
- The texture should look glossy and smooth
The buttercream base is now finished.
Step 4 — Chill the Base
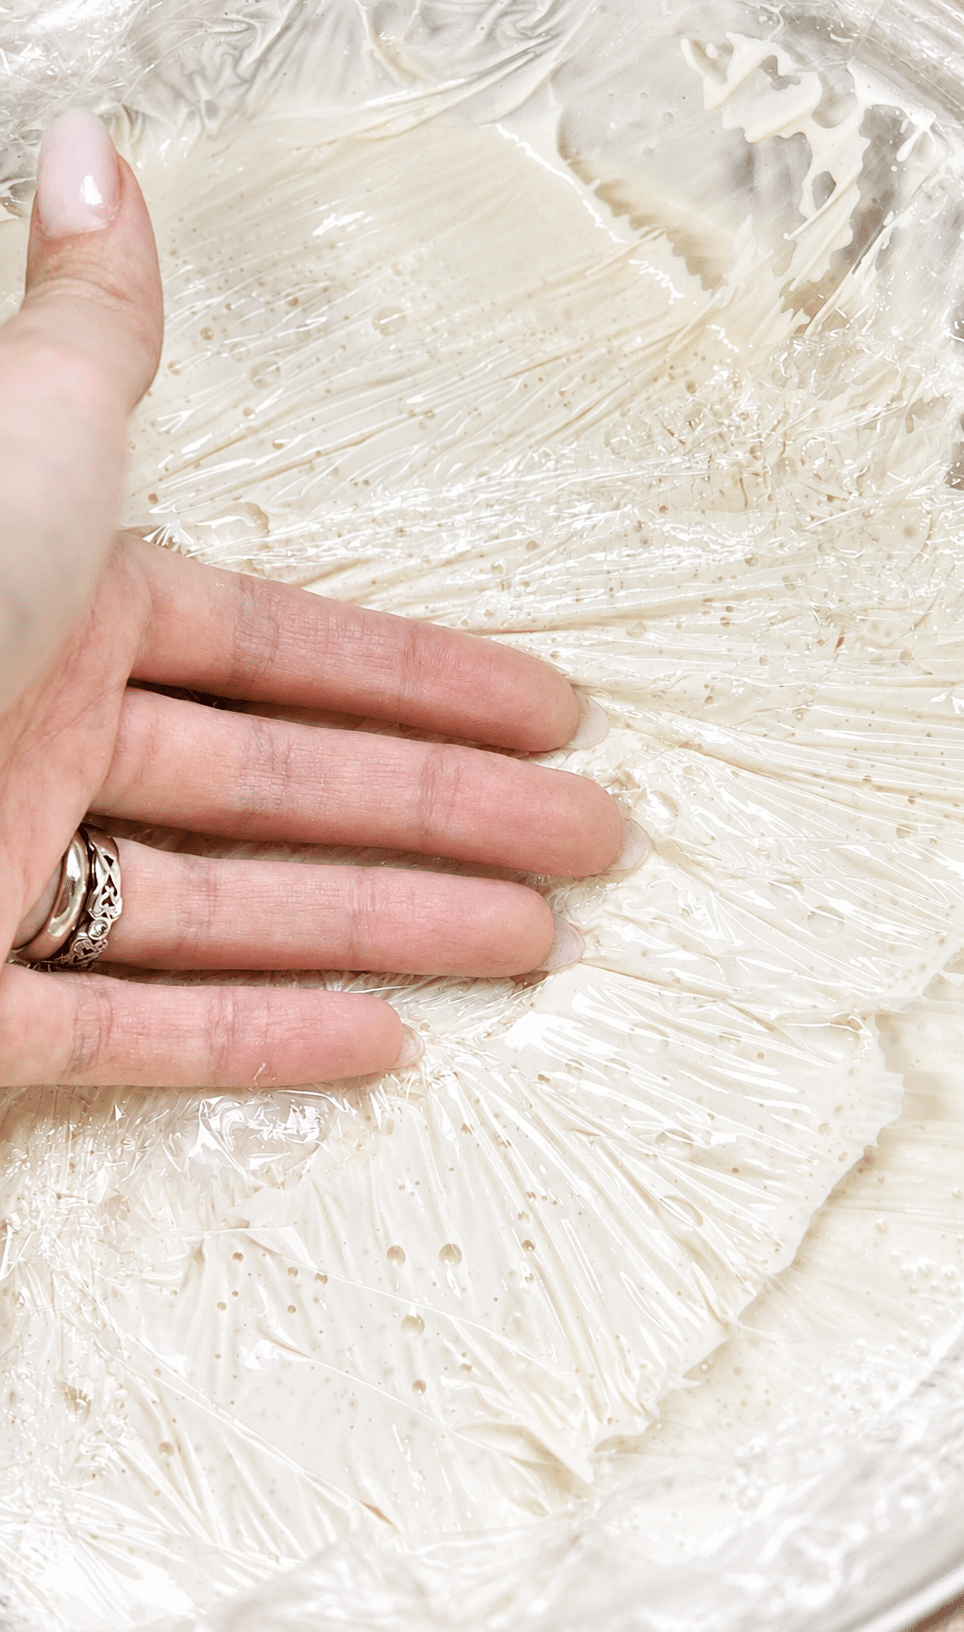
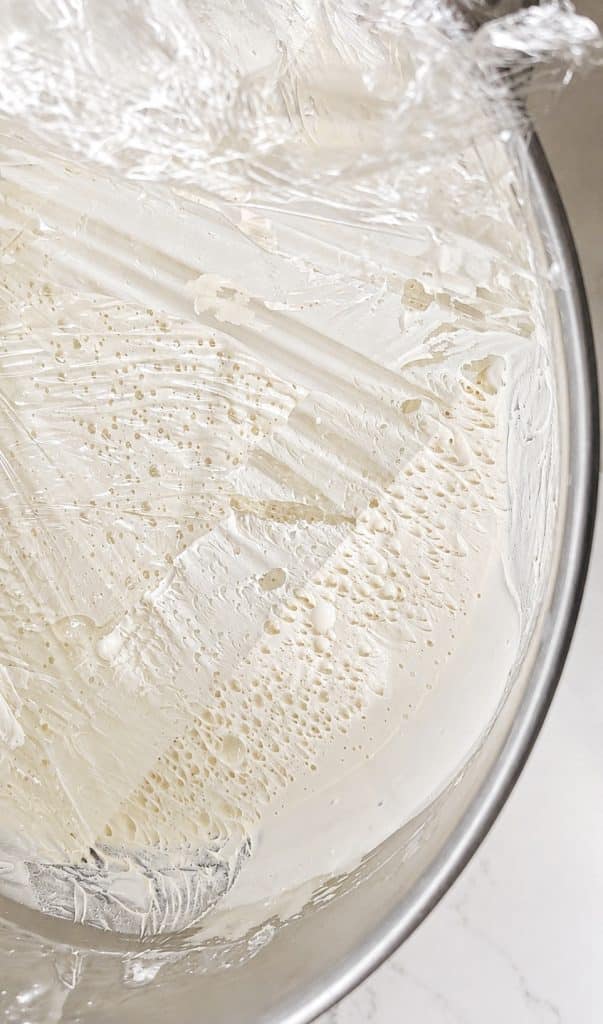
Cover the surface directly with plastic wrap touching the cream.
Place it into the refrigerator for at least 5 hours, but overnight is best.
This chilling step is extremely important for the final texture and stability of the frosting.
Step 5 — Whip the Buttercream
Remove the chilled base from the refrigerator about 30 minutes before mixing.
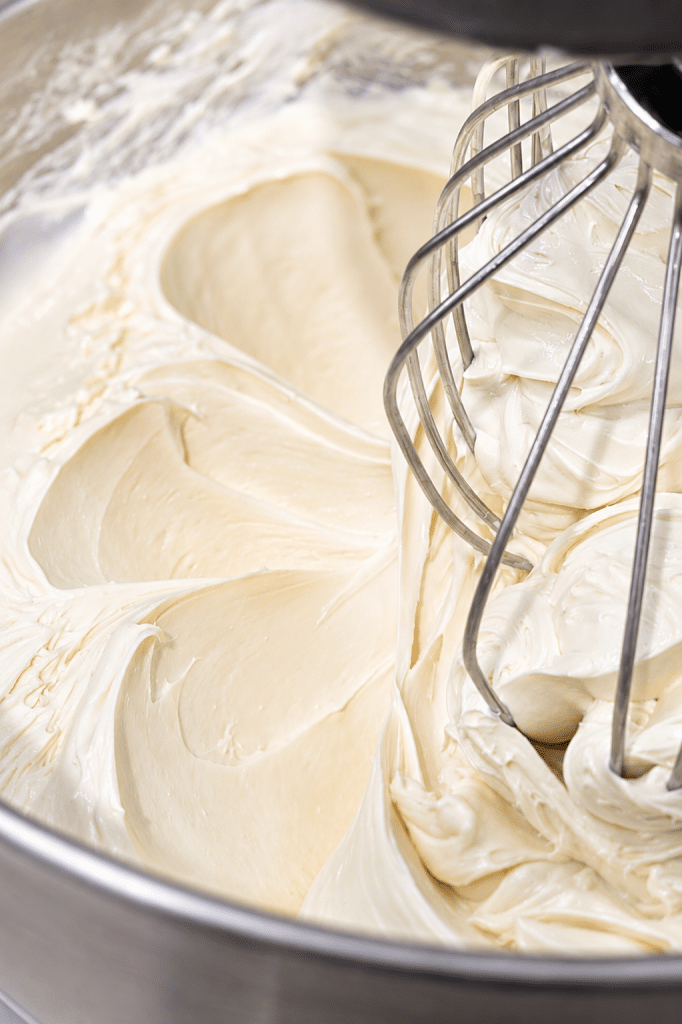
Place it into your mixer bowl and begin whipping until it softens slightly.
Slowly add the room-temperature butter in small pieces.
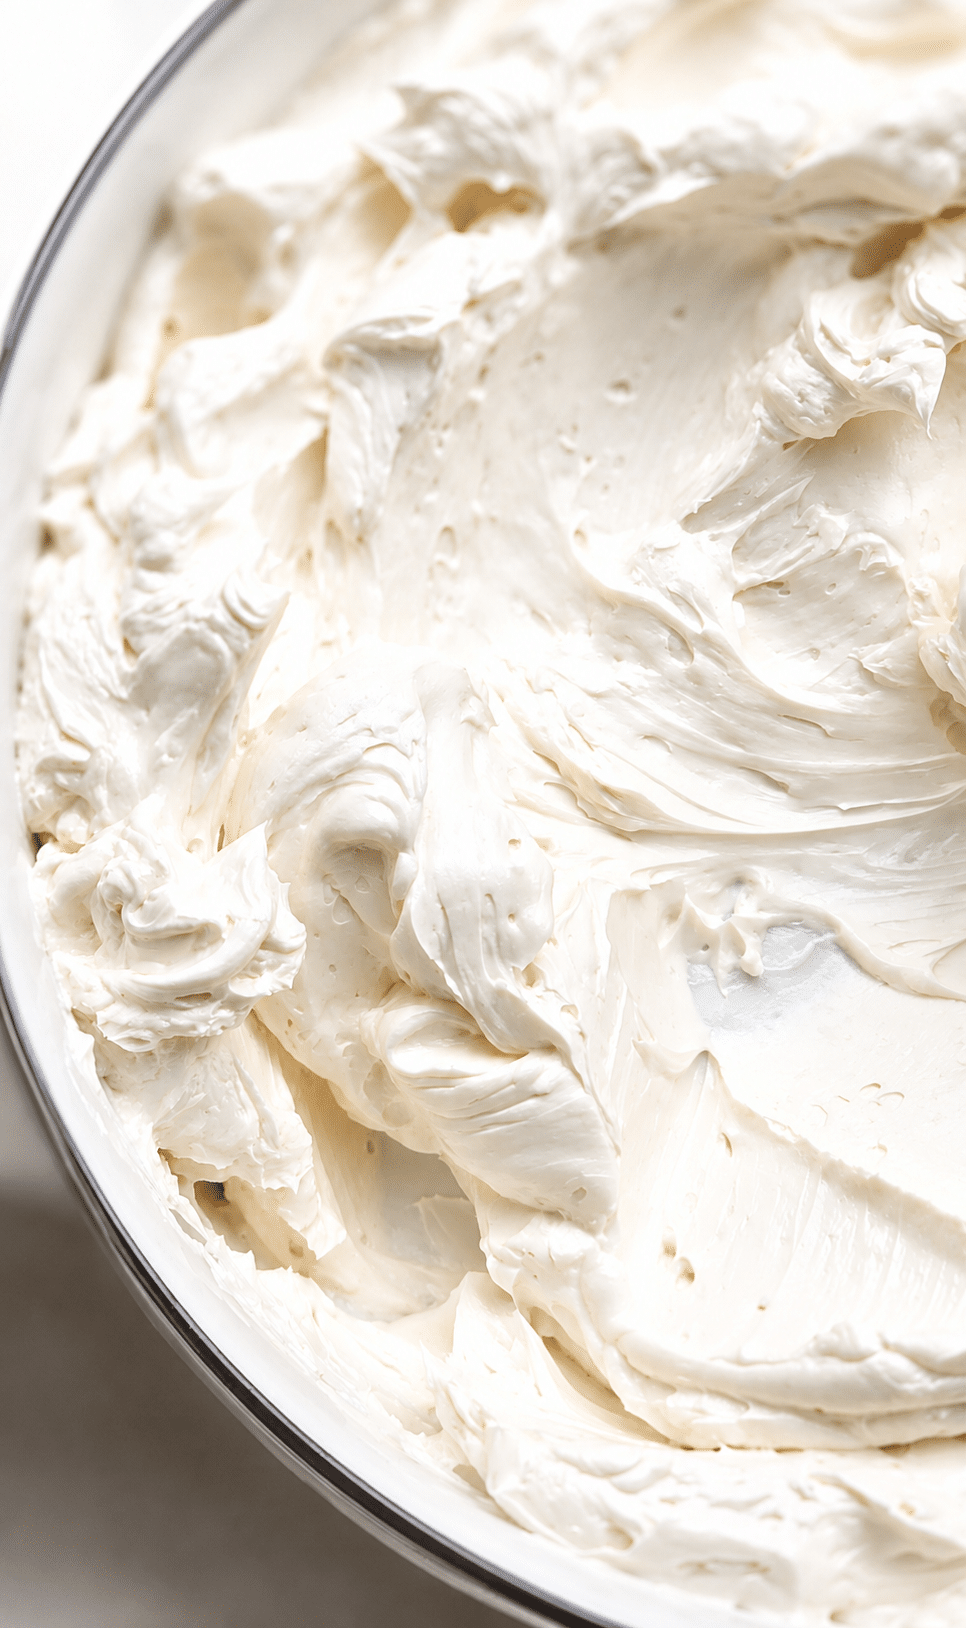
Continue whipping until the buttercream becomes:
- Smooth
- Creamy
- Fluffy
- Fully combined
At this stage, you can add vanilla extract or other flavorings if desired.
Step 6 — Add Flavor or Color
This frosting is incredibly easy to customize.
For coloring:
- Use fat-soluble food coloring for the best results
For flavor:
- Add vanilla extract
- Use coffee syrups
- Add sweet liqueurs
- Try flavored drink syrups or extracts
The possibilities are endless.
Why This Frosting Works So Well
This buttercream:
- Creates beautifully smooth cake edges
- Pipes very cleanly
- Holds its shape for large cakes
- Works perfectly under fondant
- Stays stable in warmer conditions
- Keeps a creamy texture without becoming overly sweet
This is one of the most reliable frostings I have ever used for professional cakes.
Storage Instructions
I usually store this frosting:
- Wrapped tightly in plastic wrap
- In piping bags
- Or in an airtight container in the refrigerator
It keeps very well for up to 1 week.
This frosting handles storage exceptionally well.
Batch Sizes for Different Mixer Bowls
I usually make:
- 5x recipe in a large 8-quart mixer bowl
- 3x recipe in a medium mixer
- 1–2x recipe in a smaller mixer
This recipe scales beautifully for wedding cakes and large projects.
Pro Tips
- Let refrigerated frosting soften slightly before rewhipping
- Use room-temperature butter only
- Avoid overheating white chocolate
- Blend with an immersion blender for the smoothest finish
- Chill the base overnight for best results
- Use high-quality chocolate for the best flavor
Frequently Asked Questions
Can I use this frosting under fondant?
Yes. This frosting works beautifully under fondant because it becomes very smooth and stable.
Can I freeze this buttercream?
Yes. Store it in an airtight container and thaw overnight in the refrigerator before rewhipping.
Why is cocoa butter important?
Cocoa butter helps the frosting set firmly and stay stable, especially for wedding cakes and warm environments.
Can I make different flavors?
Absolutely. This recipe is very easy to customize with extracts, syrups, and flavorings.
Is this frosting overly sweet?
No. Because it uses chocolate instead of large amounts of powdered sugar, the flavor is smoother and more balanced than traditional American buttercream.
Ingredients
Method
- In the bowl of a stand mixer or a large heatproof bowl for a double boiler, combine:
- White chocolate or white coating
- Heavy cream
- Corn syrup
- If you want an extra white buttercream, add the white powdered coloring or titanium dioxide at this stage. It dissolves beautifully into the warm mixture.
- Place the bowl over a double boiler on low heat.
- Using a spatula, gently stir the mixture until the chocolate is almost completely melted.
- Do not overheat the chocolate.
- At the same time, place the cocoa butter into a microwave-safe bowl.
- Cover the bowl with plastic wrap.
- Microwave for 1–2 minutes first, then check and continue heating in short intervals if needed until fully melted.
- Be careful — cocoa butter becomes extremely hot.
- Do not skip this ingredient. Cocoa butter is one of the main reasons this frosting becomes so stable for large cakes and warmer temperatures.
- Once the cocoa butter is fully melted, carefully pour it into the warm chocolate mixture.
- Using an immersion blender, blend everything until completely smooth and silky.
- At this stage:
- The chocolate should be fully melted
- The coloring should dissolve completely
- The texture should look glossy and smooth
- The buttercream base is now finished.
- Cover the surface directly with plastic wrap touching the cream.
- Place it into the refrigerator for at least 5 hours, but overnight is best.
- This chilling step is extremely important for the final texture and stability of the frosting.
- Remove the chilled base from the refrigerator about 30 minutes before mixing.
- Place it into your mixer bowl and begin whipping until it softens slightly.
- Slowly add the room-temperature butter in small pieces.
- Continue whipping until the buttercream becomes:
- Smooth
- Creamy
- Fluffy
- Fully combined
- At this stage, you can add vanilla extract or other flavorings if desired.
- This frosting is incredibly easy to customize.
- For coloring:
- Use fat-soluble food coloring for the best results
- Add vanilla extract
- Use coffee syrups
- Add sweet liqueurs
- Try flavored drink syrups or extracts
- The possibilities are endless.
Notes
Why This Frosting Works So Well
This buttercream:- Creates beautifully smooth cake edges
- Pipes very cleanly
- Holds its shape for large cakes
- Works perfectly under fondant
- Stays stable in warmer conditions
- Keeps a creamy texture without becoming overly sweet
Storage Instructions
I usually store this frosting:- Wrapped tightly in plastic wrap
- In piping bags
- Or in an airtight container in the refrigerator
Batch Sizes for Different Mixer Bowls
I usually make:- 5x recipe in a large 8-quart mixer bowl
- 3x recipe in a medium mixer
- 1–2x recipe in a smaller mixer
Pro Tips
- Let refrigerated frosting soften slightly before rewhipping
- Use room-temperature butter only
- Avoid overheating white chocolate
- Blend with an immersion blender for the smoothest finish
- Chill the base overnight for best results
- Use high-quality chocolate for the best flavor

One Comment