Isomalt Lollipops (No mold needed)
If you are looking for a way to wow your kids (and yourself!), these Isomalt Lollipops for kids and cake design! No mold needed!. My children were absolutely in awe watching these come to life—they called them! The best part? As a mom, I love them because isomalt is much kinder to little teeth than regular sugar and isn’t quite as sickly sweet. It’s a total win-win!
What is Isomalt?
Isomalt is a sugar substitute derived from real beets, but it’s a sugar alcohol. It has about half the calories of regular sugar and a very low glycemic index, meaning no crazy sugar crashes. Most importantly for bakers, it doesn’t crystallize or turn yellow like sugar does, so you get that perfectly clear, “glass” look every time.
Why You’ll Love This Guide to Lollipops for kids and cake design
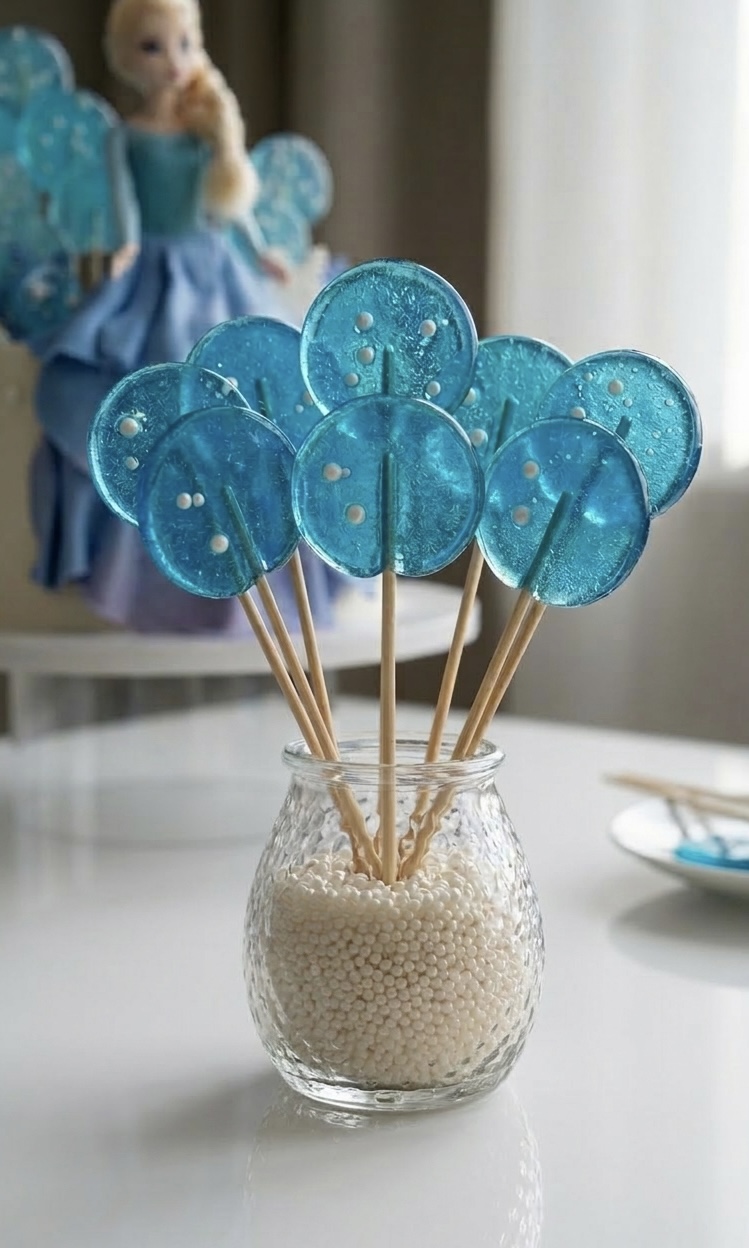
- Kid-Approved: They look like something out of a fairy tale.
- Healthier Choice: It doesn’t promote tooth decay.
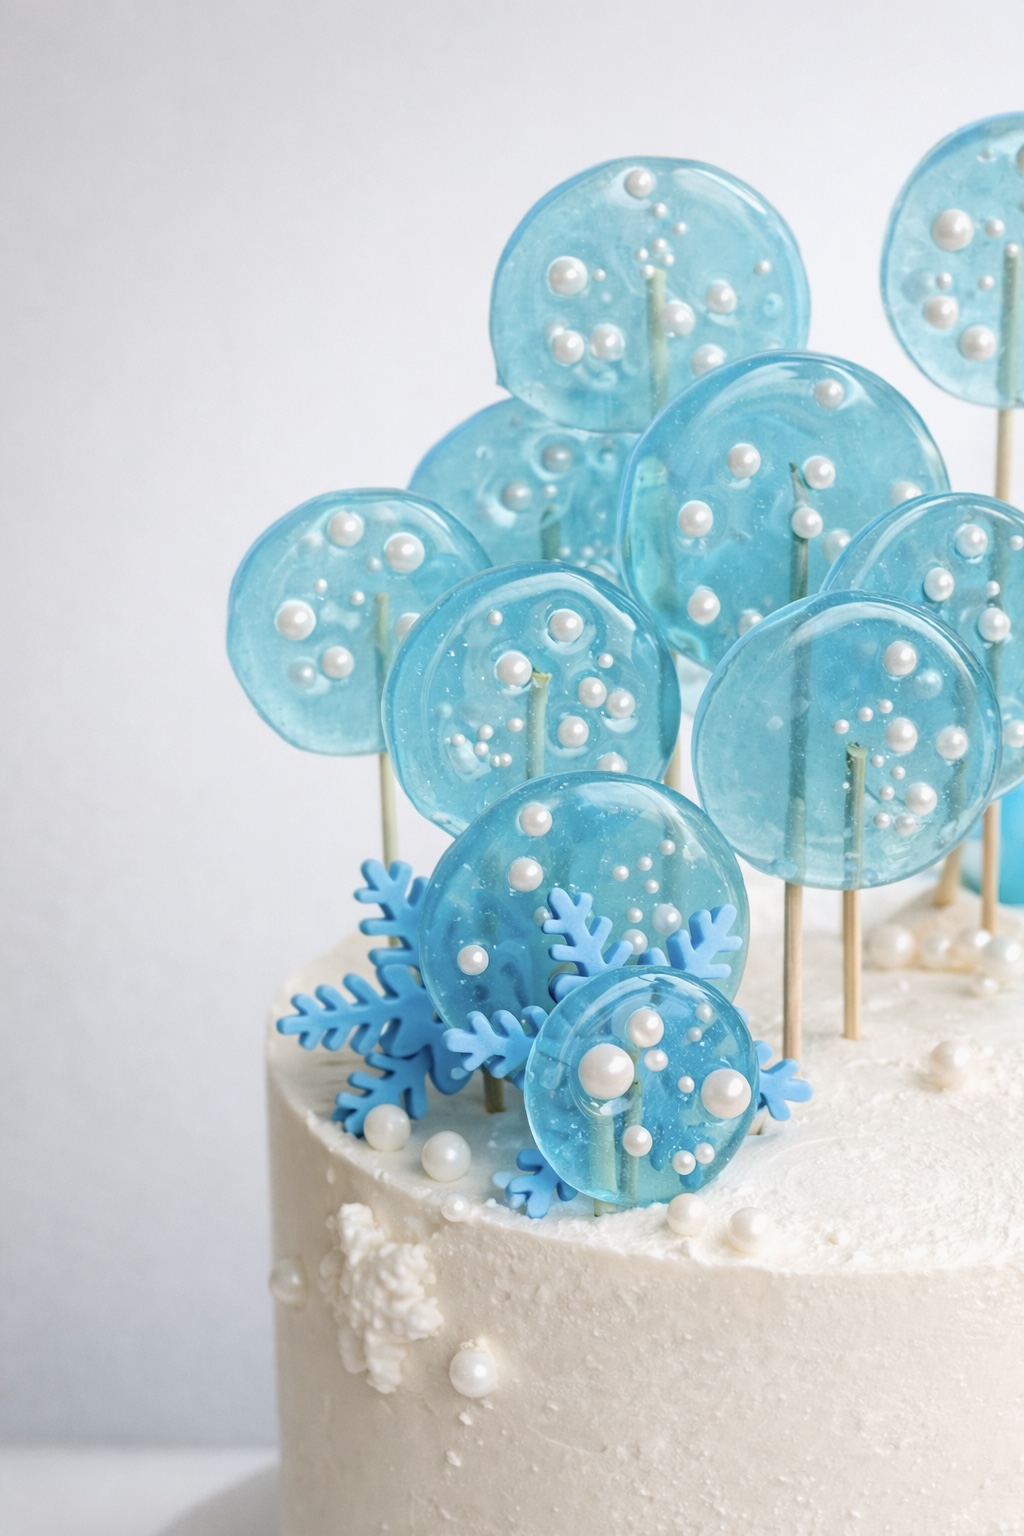
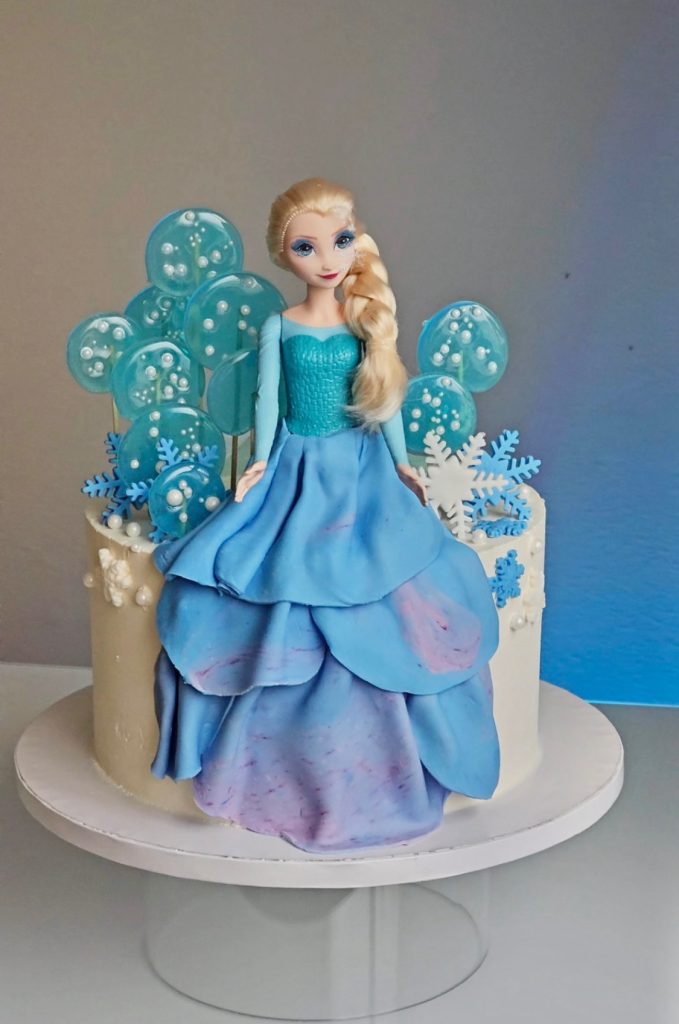
- Perfect for Cakes: These make the most stunning cake toppers (like the Elsa cake in the photos!).
- High Humidity Resistance: Unlike sugar candy, these won’t get sticky as quickly.
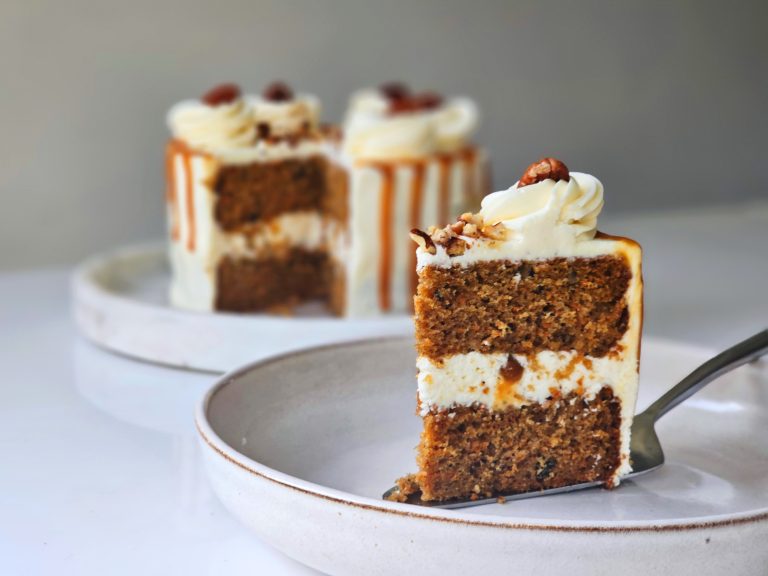
Perfect cake recipes for kids party:
What You’ll Need for Lollipops for kids and cake design
- Isomalt Crystals: Look for the pre-tempered kind for the easiest experience.
- Gel Food Coloring: A little goes a long way.
- Lollipop Sticks: Wooden or paper sticks work great.
- Silicone Mat: A must-have so the candy doesn’t stick.
- Small Saucepan: Preferably with a heavy bottom for even heating.

How to Make Isomalt Lollipops:
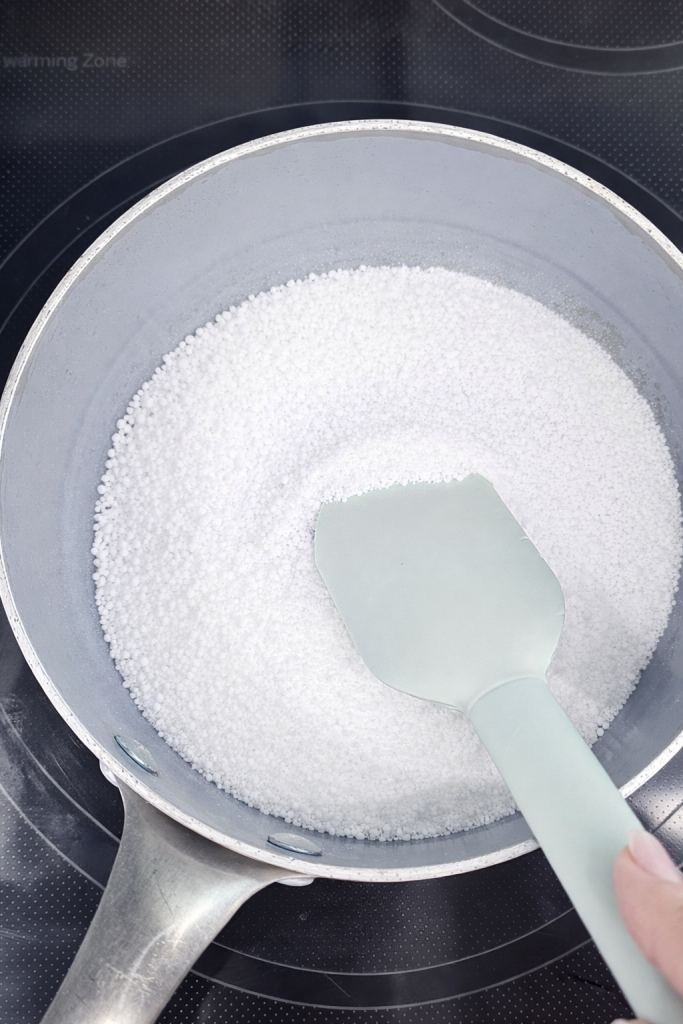
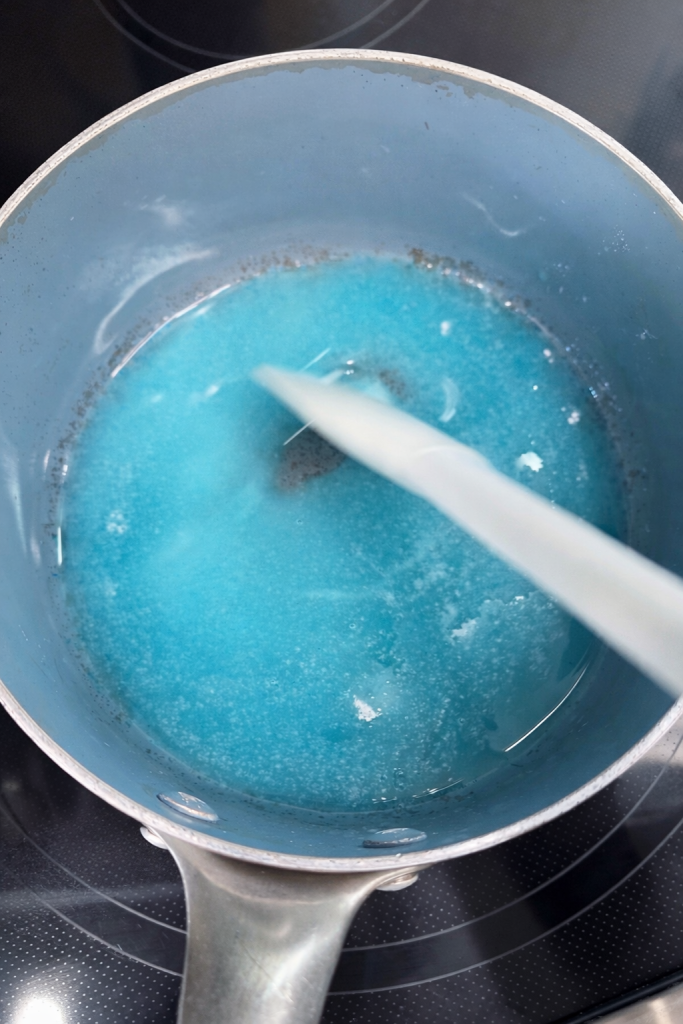
1. Melt the Isomalt
Place your isomalt crystals into a clean saucepan over medium heat. You don’t need to add water! Stir gently with a silicone spatula as it begins to melt.
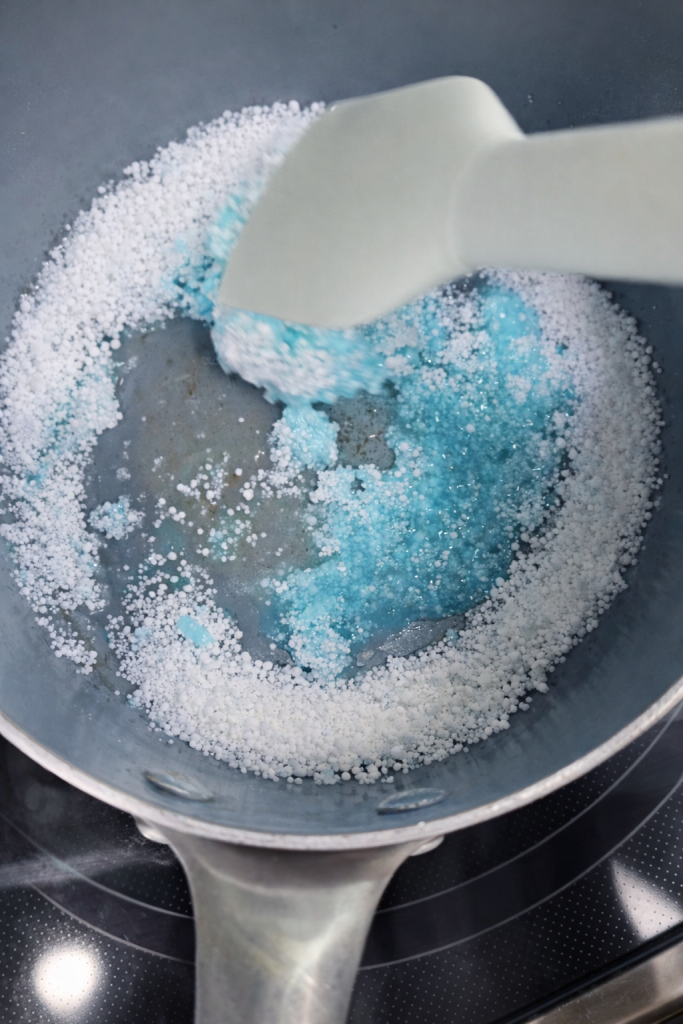
2. Add the Food Color
Once the crystals have completely dissolved and the liquid is clear, add a tiny drop of gel food coloring. For that “Frozen” or “Ice” look, a soft sky blue is perfect. Stir until the color is even.
Pro Tip: If you see too many bubbles, let the syrup sit for a minute off the heat until it’s smooth before pouring.
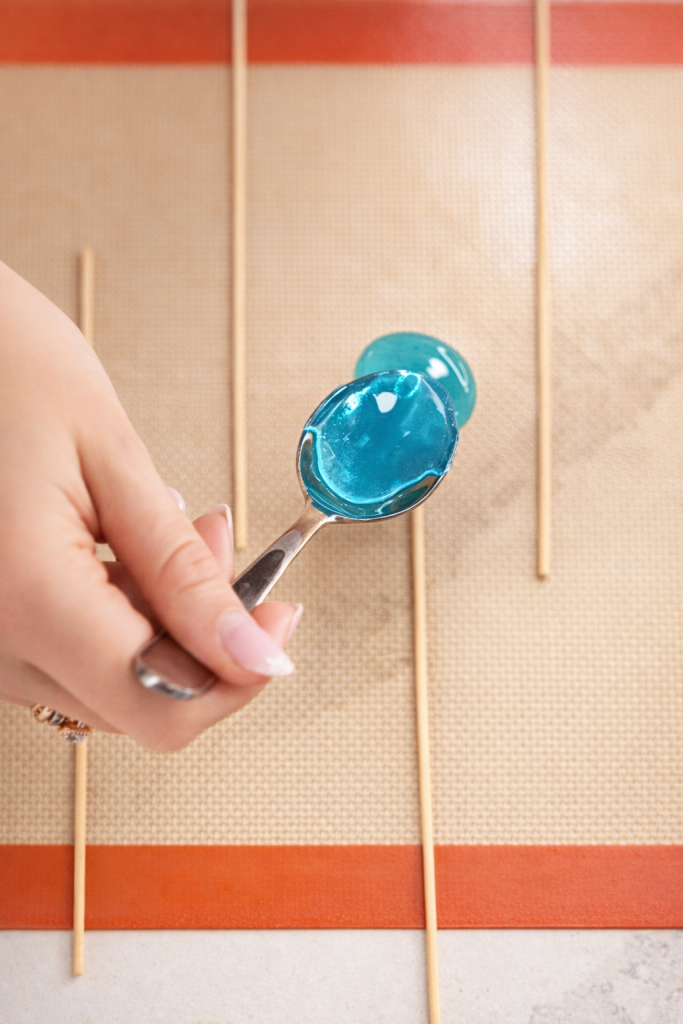
3. Pour the Lollipops
Place your lollipop sticks on a silicone baking mat, leaving enough space between them. Carefully spoon the hot isomalt over the top third of the stick, allowing it to naturally form a circle.
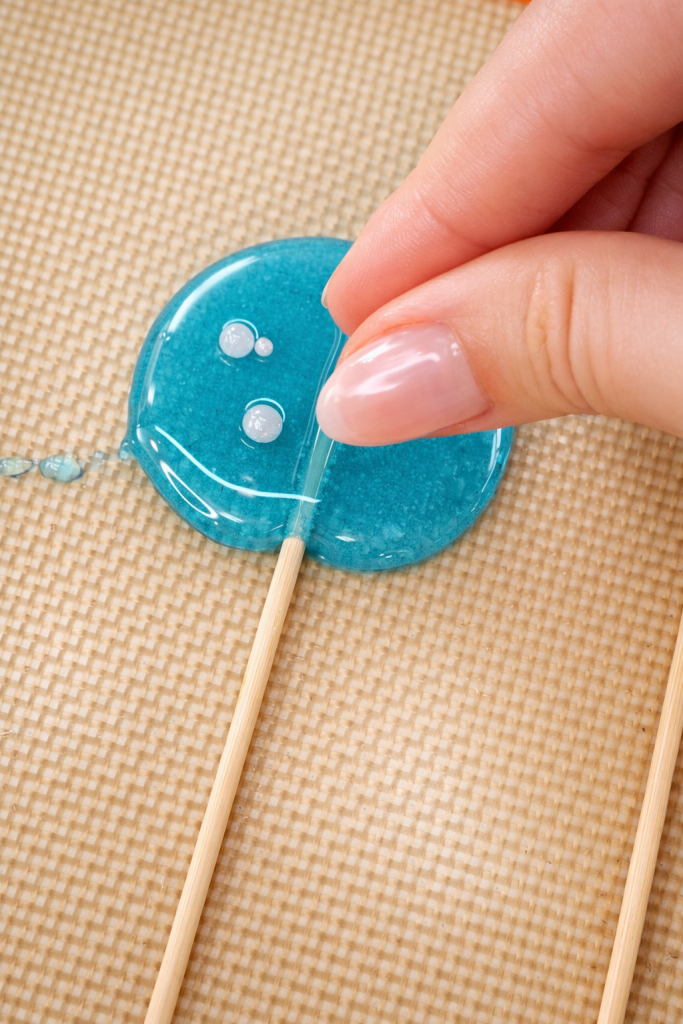
4. Add Decorations
While the isomalt is still tacky (but not runny), you can drop in edible pearls, sprinkles, or even edible glitter to create a “snowy” effect.
5. Let it Set
Allow the lollipops to cool completely at room temperature. This usually takes about 10–15 minutes. Once hard, they will peel right off the silicone mat!
Dessert Recipes You’ll Love
Tips for Success:
- Safety First: Isomalt gets extremely hot (around 300°F/150°C). This is a task for adults—keep the kiddos at a safe distance until the candy is cool!
- The Spatula Matters: Use a high-heat resistant silicone spatula. Plastic will melt!
- Storage: Store in an airtight container or individual cellophane bags. Isomalt hates moisture, so don’t put them in the fridge.
- Cleaning Up: To clean your pot, simply soak it in hot water. The hardened isomalt will dissolve away effortlessly.
These lollipops truly take a birthday cake from “homemade” to “masterpiece.” Whether you’re making them for an Elsa-themed party or just a fun weekend treat, your family is going to love them!

Ingredients
Equipment
Method
- How to Make Isomalt Lollipops:
- Place your isomalt crystals into a clean saucepan over medium heat. You don’t need to add water! Stir gently with a silicone spatula as it begins to melt.
- Once the crystals have completely dissolved and the liquid is clear, add a tiny drop of gel food coloring. For that “Frozen” or “Ice” look, a soft sky blue is perfect. Stir until the color is even.
- Place your lollipop sticks on a silicone baking mat, leaving enough space between them. Carefully spoon the hot isomalt over the top third of the stick, allowing it to naturally form a circle.
- While the isomalt is still tacky (but not runny), you can drop in edible pearls, sprinkles, or even edible glitter to create a “snowy” effect.
- Allow the lollipops to cool completely at room temperature. This usually takes about 10–15 minutes. Once hard, they will peel right off the silicone mat!